
It's Day 4 of my fourth Use It! class.
This week, my supplies are:
and Simple Stories Sn@p Typeset and Letters
Lesson 4: Die Cut Shaker Cards
I just lurrrrve shaker cards. I remember the first one I ever made. I seriously thought it was the hardest thing I had ever created. All that foam tape… working out how to position the top layer EXACTLY onto the bottom…trying not to spill all the shaker material as I sandwiched my layers... it was tough going. Now I can cope OK with them, but this method is a bit different. No foam tape at all! I saw this method recently on my idol Jocelyn Olson's blog and just had to try it.
Creation
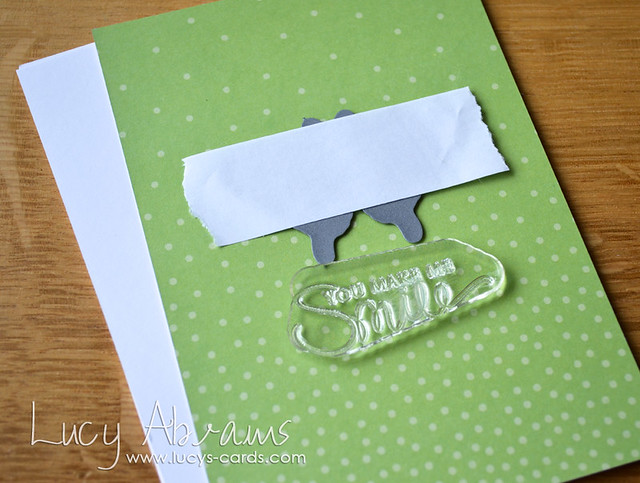
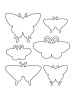
Work out the positioning of your card by laying out the die and stamp.
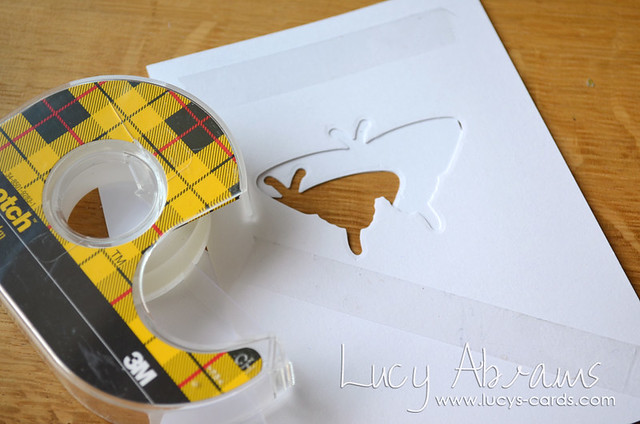
Temporarily adhere the die to some patterned paper measuring 5 1/2 x 3 3/4".
Run through your die cut machine.
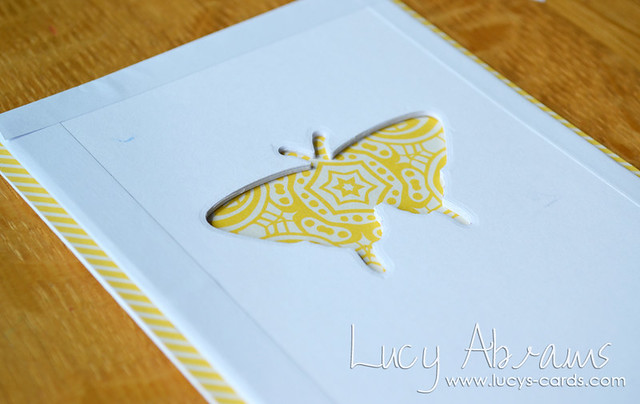
Now the bit that is hard to explain… without removing the die from the patterned paper, place a piece of white cardstock (also 5 1/2 x 3 3/4") behind and line up carefully. Run through your die cut machine.
Now you should have die cut shapes in exactly the same place on the patterned paper and the cardstock.
Repeat with three or four more pieces of cardstock.
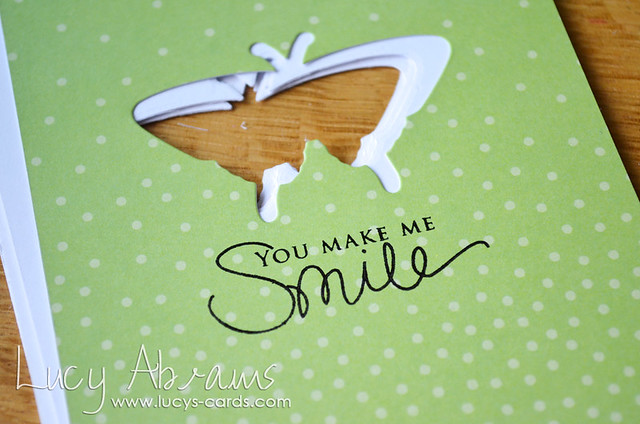
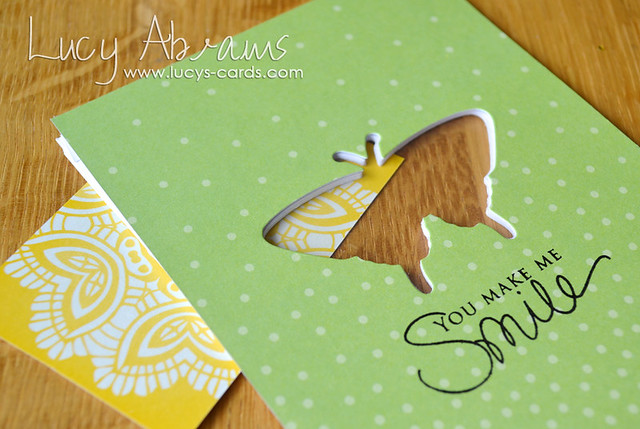
Stamp the sentiment with black ink.
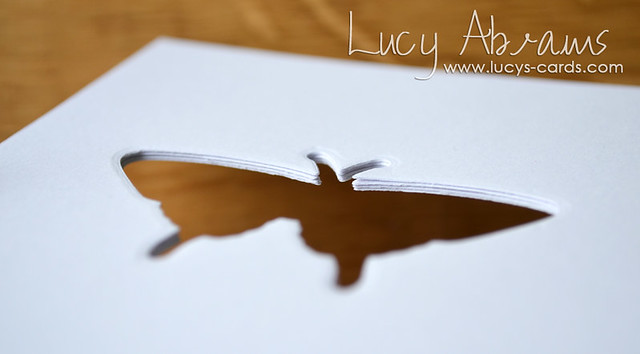
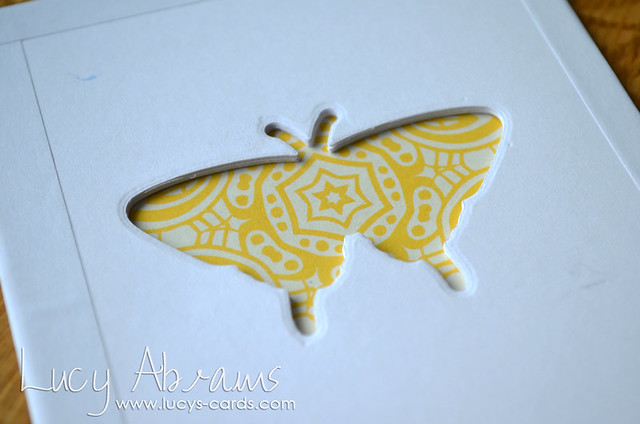
Adhere all the white die cut pieces together to create a thick sandwich.
It will look like this when finished.
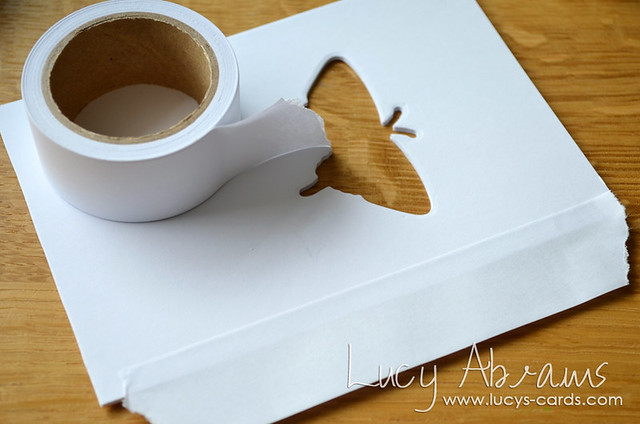
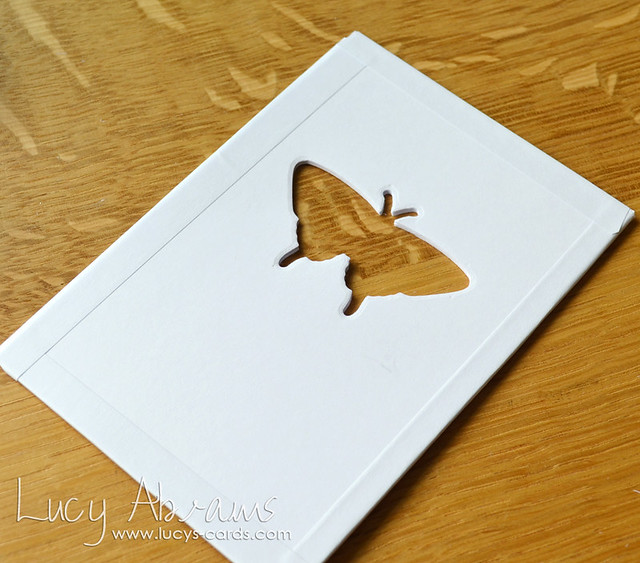
To hide the multiple layers, I used some Eclipse Masking Strip tape on the edges. This way, the card looks clean even from an angle.
All lovely and neat!
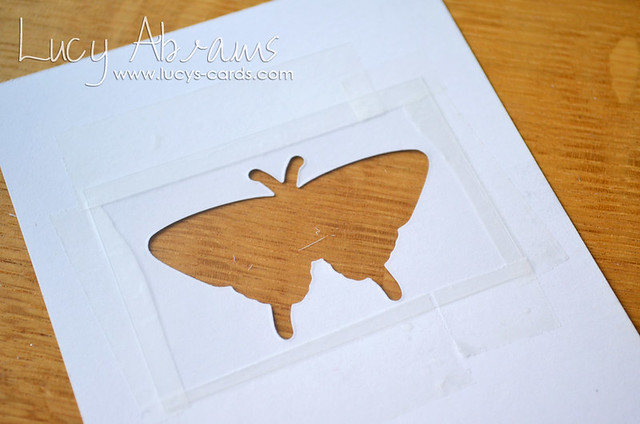
Adhere acetate to the reverse of the patterned paper die cut panel.
Trim a piece of patterned paper from a larger sheet and adhere behind the white sandwiched die cut pieces.
I carefully lined it up to create a mirror image of design (like a real butterfly). :)
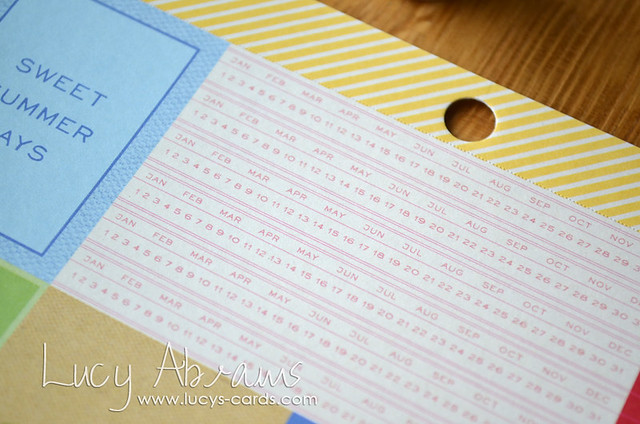
See the strip of yellow stripy paper at the top of this piece? Well, I wanted to USE IT! These bits usually end up in the trash and I HATE that. So I found a way to use them up.
Trim the strip using a guillotine.
Adhere the strips to the edge of a notecard measuring 5 1/2 x 4".
I trimmed the top off with scissors - it was easier to get a straight and exact line this way.
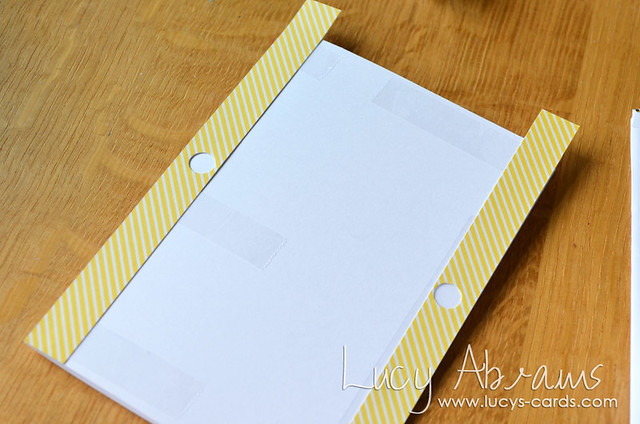
Adhere the white sandwich panel on top. And you'd never know these strips were just scraps, right?
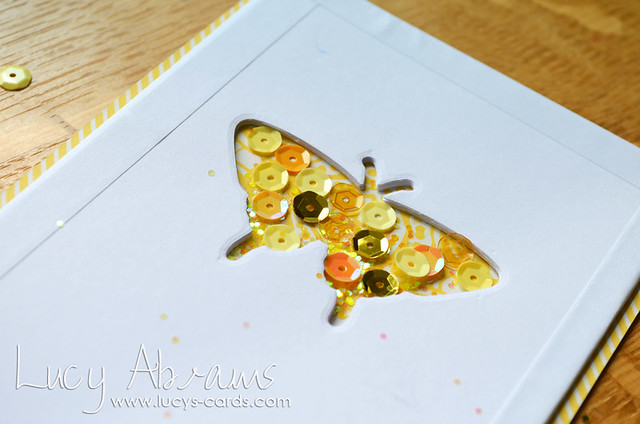
Fill the butterfly with sequins and glitter.
(Note: I did not put enough sequins in… I thought they would not be able to overlap but actually they did. More is less when it comes to shaker cards contents, I think!)
Add some stitching to the edges of the patterned paper panel and adhere on top of the card.
And you're done! Easy.
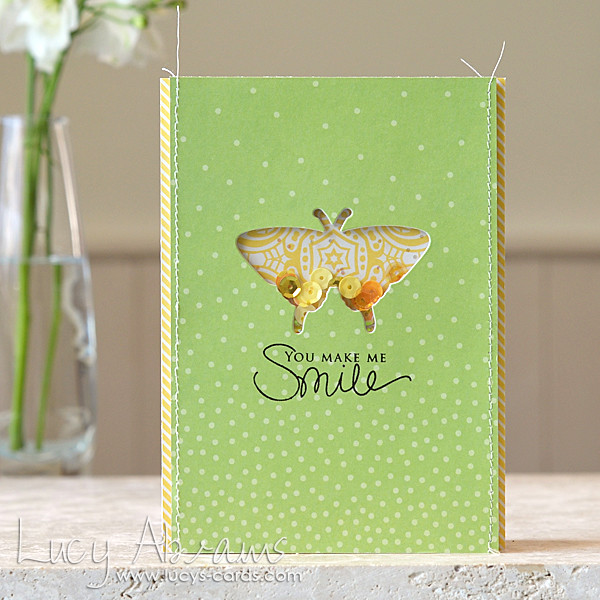
I like the way the sequins and glitter cannot "disappear" beneath the bottom of the die cut shape as usually happens with foam adhesive style shakers. Here the contents are completely enclosed in the die cut shape. Brilliant.
OK - that's me done for today.
Pop back tomorrow for Day 5: Simple Stitching.
Bye for now.
Supplies


12 comments:
Oh Lucy, you have made my day with this lesson!! I have just recently created my first shaker card and I have become a bit obsessed, taking on bigger challenges by making the shaker shape more complex. This afternoon I had just finished making one using a hummingbird stamp which was so so painstaking getting the foam pads in the places where they wouldn't be seen. I was happy with the end result but was a huge effort. I'll be posting it on my blog tonight- http://le-designsboutique.blogspot.co.uk
I then just read your email with the much better way to do shakers cards and now I'm so desperate to get my kids to bed so I can try it out the way you suggest!!!! It annoys me so much when sequins get stuck to the foam pads and so this will be amazing!!!! Thank you so so much for all the lessons you are posting. You are a real inspiration and I am learning so much from you. Laura xxx
I wondered how you made your shaker cards and now I know. A fab tutorial and a gorgeous card x thanks x
Such a cool shaker card! Thanks for sharing this technique - I would never have thought of layering up die cut panels instead of using foam adhesive - so clever!
Wow!! A fantastic way to make shaker card!!! Love your design Lucy!
Love this tutorial...I'm definitely going to try this out soon!! This card is fantastic as well...so cute!
I have been enjoying your class projects as well. My first shaker card was inspired by one of your tutorials years ago. I can't wait to try out this great technique!
Love this card so much, Lucy. I really like your technique and appreciate your excellent tutorial.
Awww...you're so sweet Lucy. Thanks for the shout-out. And yes, I agree that this technique is a game-changer. The foam tape (or fun foam glued down) would drive me nuts. I also use chipboard, too (if you have any extra pieces). Your tutorial is great! I'm so glad you did the step-by-steps. :)
Wonderful card! Thanks for the tutorial :D
Absolutely brilliant! I dislike using foam dots, this is one awesome alternative!
Awesome!!!! Now I can use up all my bazillion sequins. I feel a CASE coming, and soon. :)
I hate that foam tape and this is an awesome alternative and so clean! Thanks for the tutorial!
Post a Comment