Wednesday 30 April 2014

From All of Us

Hello!
Today I have a fun rainbow card to share which features a cute bird stamp Simon Says Stamp's adorable We're Expecting stamp set, along with a sentiment from Hero Arts 'Yay!' set. I just stamped my birds on lots of tiny paper scraps from my (huge) scrap bag, then added wiggle eyes. Such a simple card. The only hard part was working out where to stamp all the legs. :)
DSC_001 
Oh how I love wiggle eyes...
DSC_00 copy
Cards like this are a great way to use up some scraps. That's why I keep them (or so I tell my ever-despairing husband).
Happy Wednesday.
x
Supplies

Monday 28 April 2014

Loads of Love

Rooting through my supplies to find produce to use for upcoming Use It! classes has been so much fun. I've found all sorts of old favourites. :)
One of my favourite sentiment stamp sets from previous years was Simon Says Stamp's Just a Love note set… I love the mix of fonts and styles. So today I have a shaker card to share which uses a stamp from this set, along with Simon's Tic Tac Toe Hearts die and some yummy My Mind's Eye Heirloom paper
DSC_0014
I filled my shaker card with some neon pink and lovely white sequins. This card looks better in real life - the sequins sparkle much more. It's hard to photograph shaker cards as the acetate catches the light...
DSC_0104
Oh how I love Simon Says Stamp products. :)
And, as it's a shaker card, I am entering it into the Pretty Pink Posh Sequin Shaker Blog Hop challenge:
Have you played along??
Right - off to make some lunch and clean up the mess created by my toddler's painting session. :)
Have a great day.
x
Supplies

Friday 25 April 2014

Use It! with Lucy's Cards - Class 2: Lesson 5 (Alphabet Stickers)

banner
Hello, and welcome to the final day of my 2nd Use It! class.
My supplies for this week are:

Lesson 5 - Alphabet Stickers

I confess - I have about a gazillion sets of alphas. I love them… but do not use them enough.
Today I am sharing an idea of how to get more from your alphas by customising them with ink.
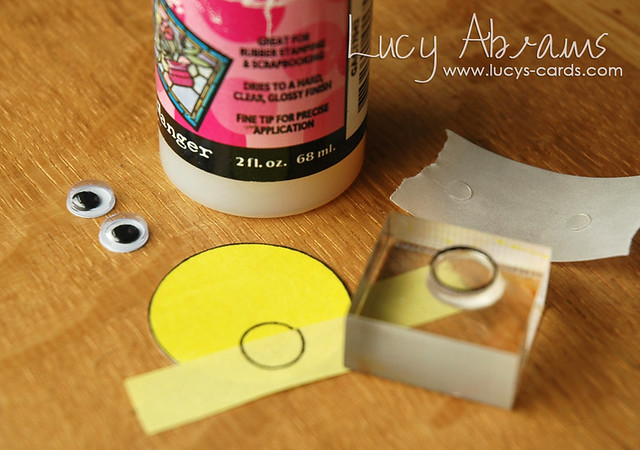
Creation
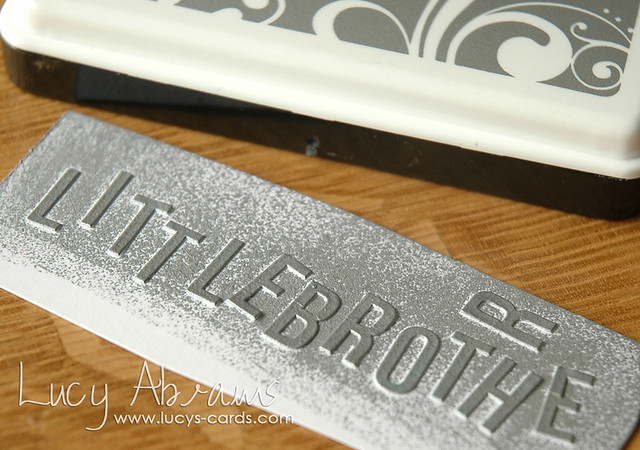
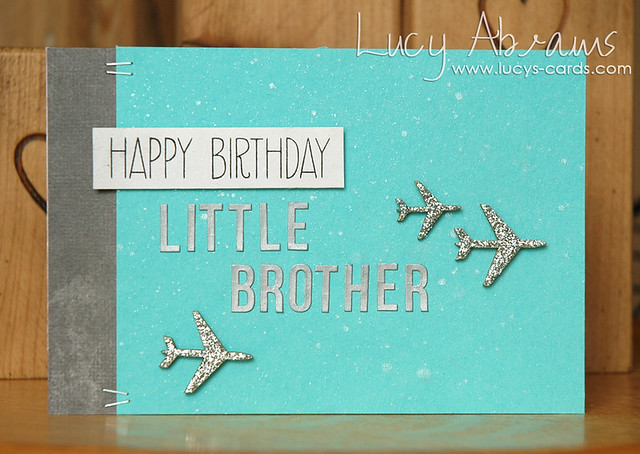
Adhere alphabet stickers to some scrap paper, spelling out 'Little Brother'. 
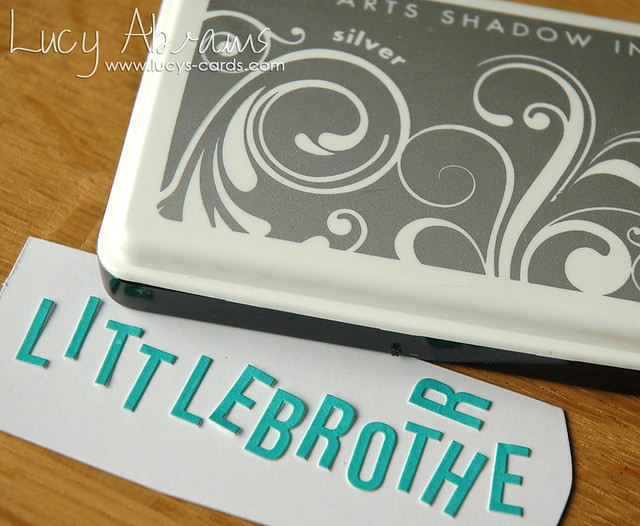
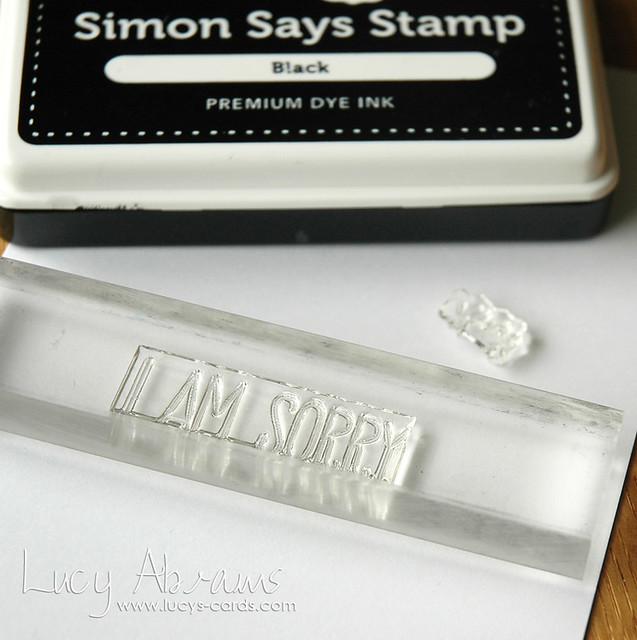
DSC_0037
Press Silver Shadow Ink directly onto the alphabet stickers and allow to dry.
DSC_0038
Trim patterned papers.
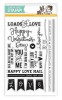
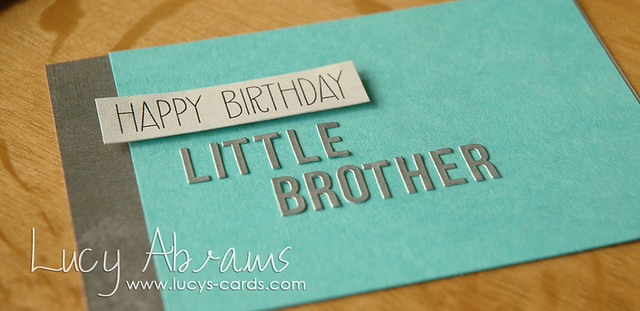
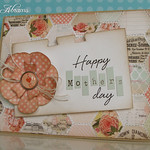
Stamp 'Happy Birthday' onto patterned paper and trim into a banner shape.
Adhere the banner to the blue paper with foam adhesive.
Adhere the stickers beneath the banner.
DSC_0042 
Mist the blue panel with Calico Shine Mister Huey's and leave to dry.
DSC_0044 
Temporarily adhere wood veneer aeroplanes to some scrap paper and cover with Silver Stickles.
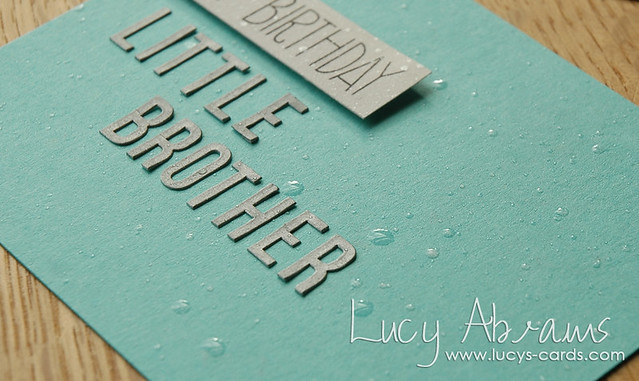
Allow to dry thoroughly. (I put mine on a radiator!)
DSC_0005 
When completely dry, apply another layer of Stickles. It looks really gloopy and thick but will dry flat.
DSC_0006 
Adhere grey paper to a card base. Adhere the blue panel top the card and staple the panels together with a Tiny Attacher.
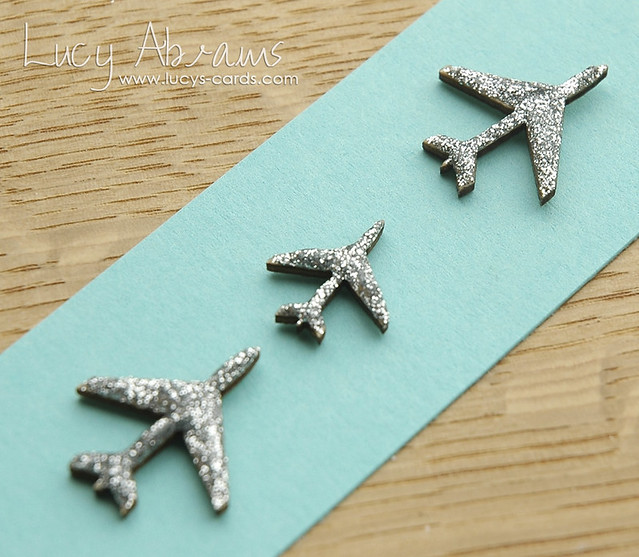
Adhere the aeroplanes to the card with Glue Dots and you're done. Yay!
DSC_00023
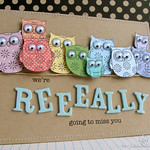
I tend to use alphabet stickers more when I am making a card for a specific recipient. Kids seem to LOVE cards with their names on and Thickers work great for this - they are nice and large and textured too. :)
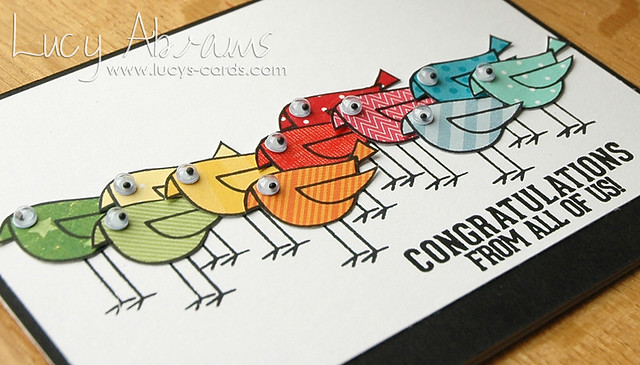
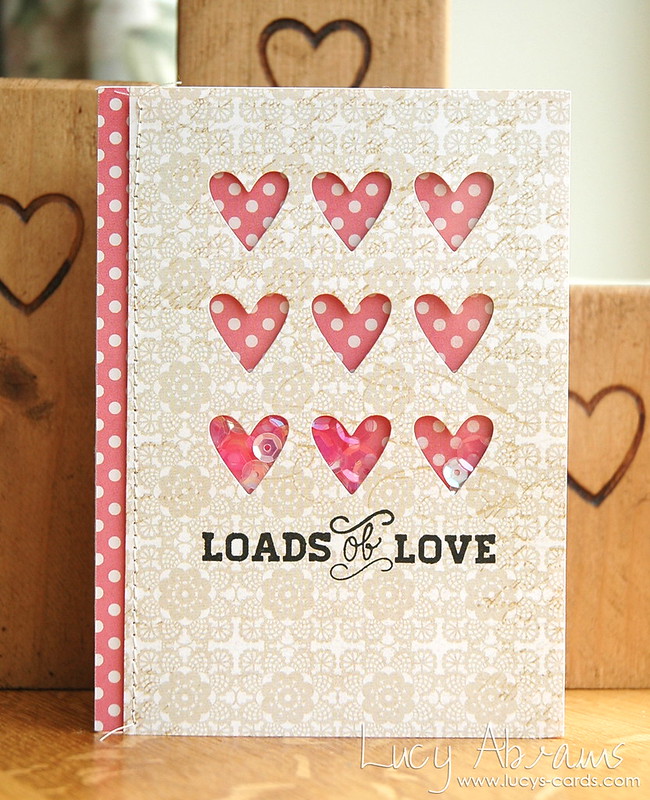
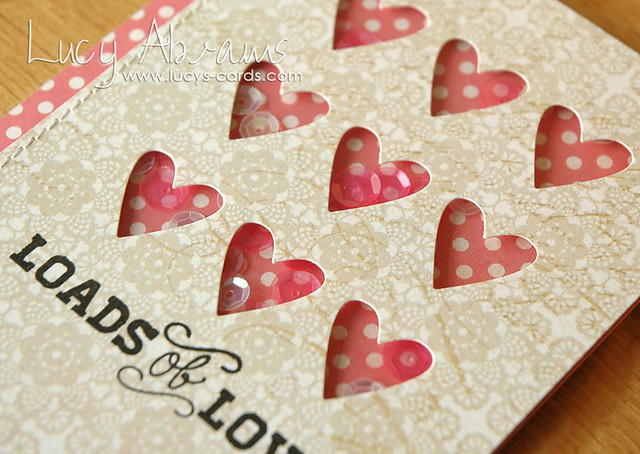
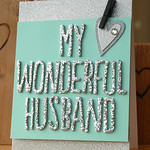
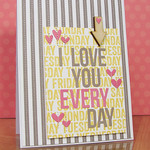
Here are a few more of my cards created with alphas:

Wonderful Husband Every Day Happy Mother's Day
That's all for this class.
I hope you enjoyed it.
I have another class all prepared and ready to go soon… but please let me know if you have any requests. :)
Bye for now - have a wonderful weekend.
x
Supplies


Thursday 24 April 2014

Use It! with Lucy's Cards - Class 2: Lesson 4 (Wiggle Eyes)

banner
It's Day 4 of my Use It! class 2.
My supplies for this week are:

Lesson 4 - Wiggle Eyes

Have you noticed my unhealthy addiction to wiggle eyes? I love them. Whenever my hubby buys me a card, he always finds me a wiggle eyed one. He agrees… a card just isn't fun unless it is adorned with some fun shaky eyes. :)

Creation
Stamp a circle of Lemon Yellow ink on white cardstock.
DSC_0009
Stamp an outline circle on top of the yellow circle with Black Ink.
DSC_0011 
Cut out the circle. 
You could just stamp on yellow card, but I lurrrrrve this Lemon Yellow ink colour and had to use it. :)
DSC_0012 
Using a Post-It note as a mask, stamp half a tiny outline circle onto the yellow circle. 
Adhere two eyes above the half circle. I always use tiny glue dots for wiggle eyes.
Then, add a drop of Glossy Accents beneath one eye to create a tear drop.
DSC_0022
TIP: lean the face against something while the Glossy Accents dries, so that it forms a drip shape rather than drying into a circle.
DSC_0024
Stamp the sentiment in black ink onto a white card base.
Adhere the face above the sentiment using foam adhesive.
DSC_0023  DSC_0004
Here are some of my wiggle eyed cards from the past (including one from way back in 2010!). Click to see in full.

I Only...    Glittery Bats    Miss You    

I hope you will join me tomorrow for Day 5: Alphabet Stickers.
Bye for now!
Supplies