Hello, and welcome to my stop on the Simon Says Stamp Winter Twinkle Blog Hop. If you have not hopped from the start, head to the
Simon blog HERE. :)
If you have just hopped from the lovely blog of my talented friend
Kathy Racoosin, then welcome!!
Today we are hopping along to celebrate the
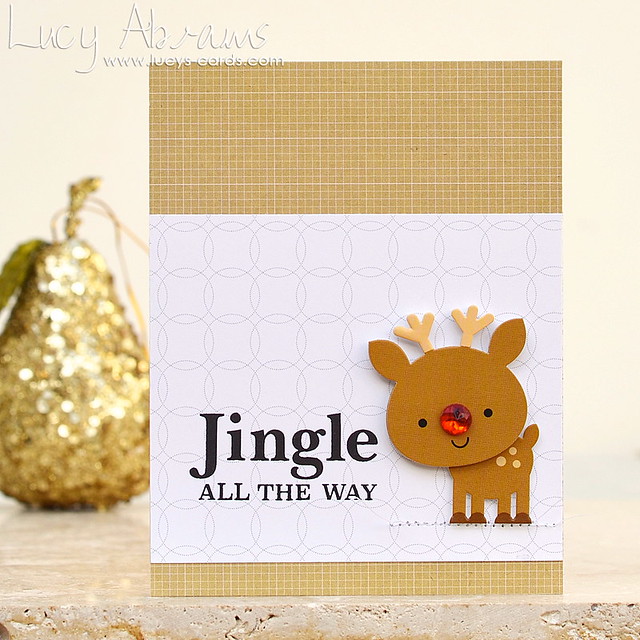
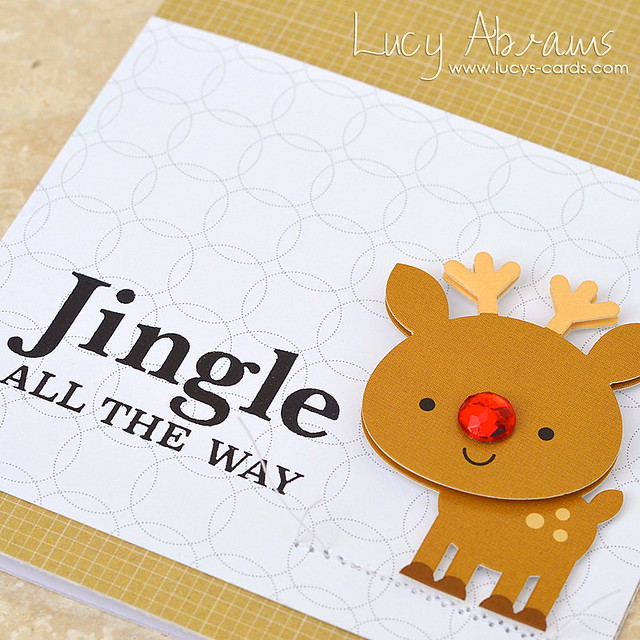
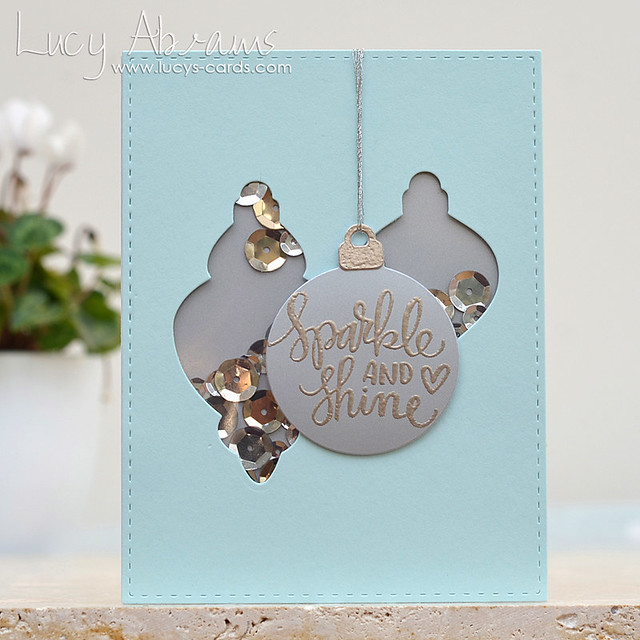
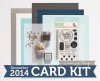
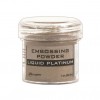
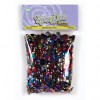
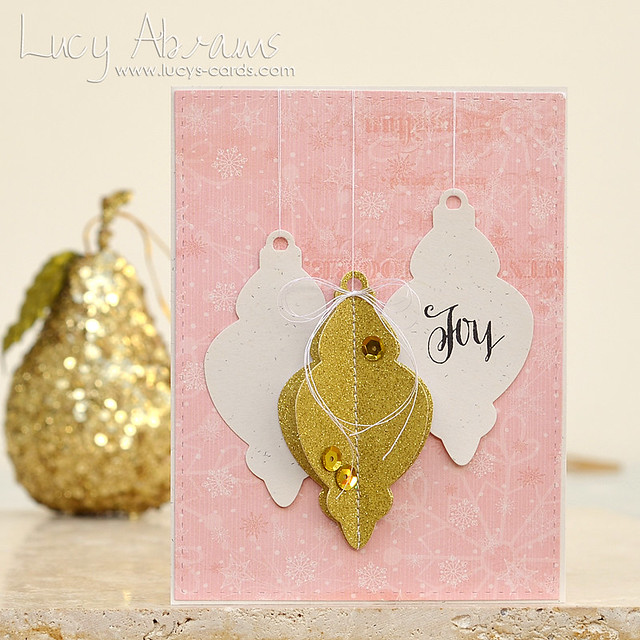
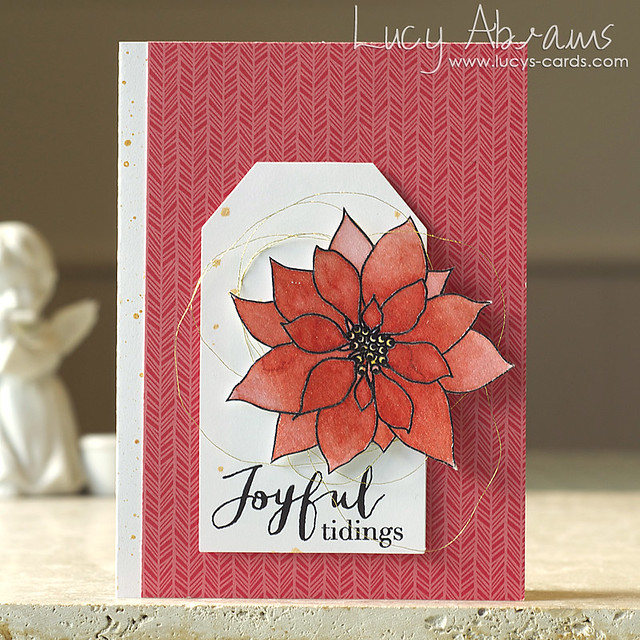
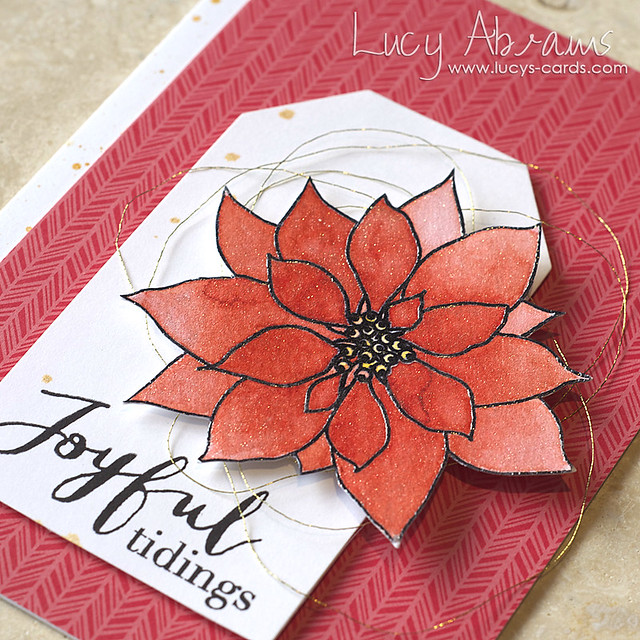
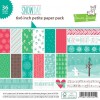
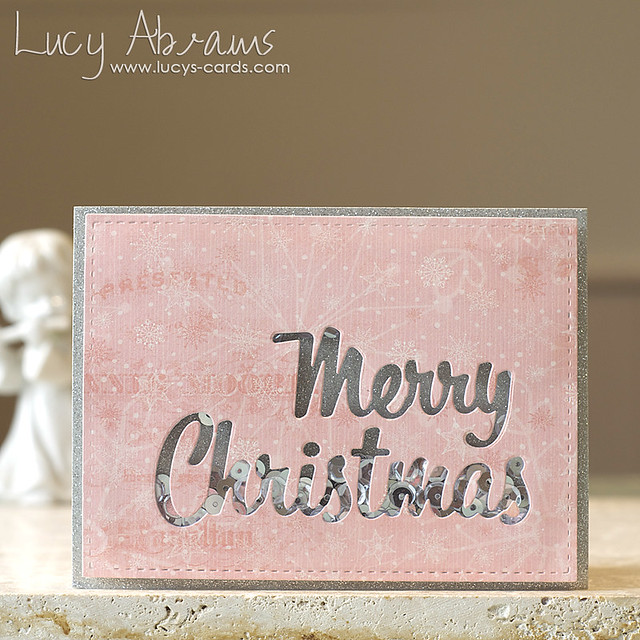
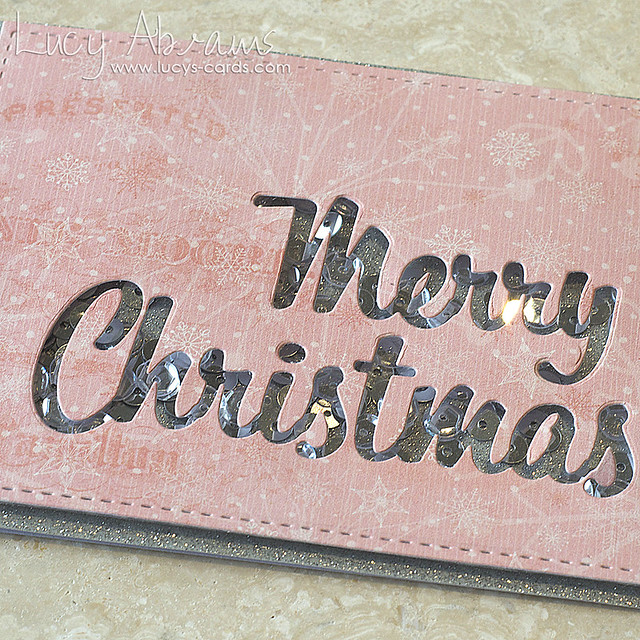
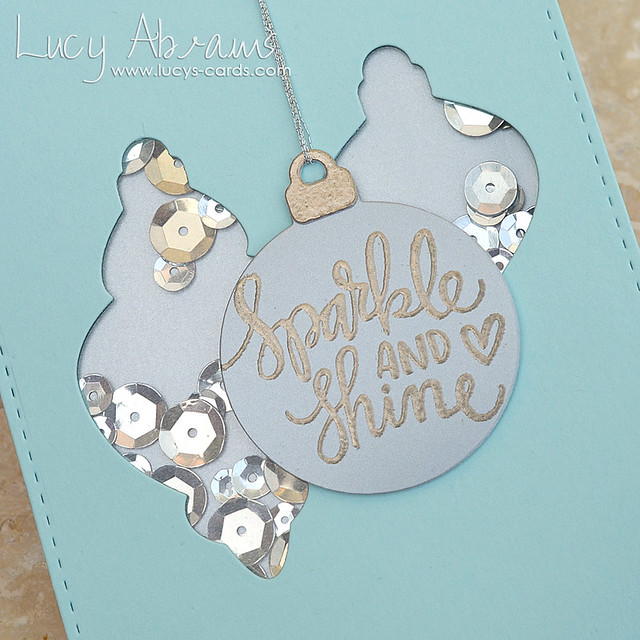
December Card Kit. It's such a fun kit, with an embossing theme. So, I've got a simple shaker card to share that features some embossing on the gorgeous silver card that comes in the kit.
I admit, I was a little skeptical about embossing on this surface (I am NOT an embossing expert…) thinking the ink might slip and slide on this shiny card… but how wrong I was. It stuck beautifully, and left a super crisp impression.
As I mentioned, I do not consider myself to be an embossing expert… in fact, I am pretty lazy when it comes to embossing.
I remember the wonder of embossing for the first time… it was like magic. My sister (who lives in Canada) bought me a heat gun and together we tried it out. We were both pretty excited by the results, and she isn't even into paper crafting. :)
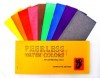
Today, I tend to use embossing most when working with watercolours - it's a great way to keep the paint in place and create lovely pools of paint (see this card
HERE with a photo tutorial,
THIS card which also has a tutorial, or this card
HERE). I love that this kit gave me a kick up the butt to get my heat gun out to emboss a sentiment. I love the look and will certainly be trying it out again soon. :)
---------------Giveaway------------
Simon Says Stamp is giving away a grab bag on every stop of the hop. The grab bag will be filled with lots of fun products to try. Leave a comment here (and on every stop) by 6.00pm EST on Saturday November 29th.
Right - time to hop on. Your next stop is my sweet friend:
Sarah Moerman
Bye for now.
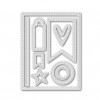
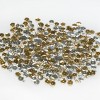
Supplies