Hello, and welcome to the final lesson of my first ever Use It! class.
I am thrilled with all the kind words I have received about this series, and will definitely aim for Use It! Class 2 in the very near future. If you have any suggestions of particular products you would like me to feature, please let me know. :) I have recently purchased a lovely set of Distress Markers, so that may be an option...
Anyway, a quick recap on Class 1's featured products:
Hello Sunshine and
Into the Woods 6 x 6 pads
And now,
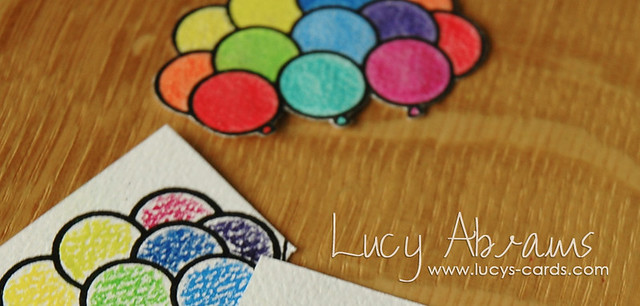
Lesson 5 - Distress Inks
OK, let me state immediately that I am afraid of Distress Inks.
Well, not afraid as such, not in the same way as I am afraid of Copics, but wary. I watch the wonderful
Jennifer McGuire use Distress Inks with such AMAZING results and I think "no. I cannot do that."
So, I have a lovely collection of Distress Inks sitting in my attic craft room, while I do all my crafting in the kitchen now. They have been abandoned. And I feel bad about that… I mean, I spent a lot of money on those inks, right. They MUST be used.
So, I dug them out, was thrilled to see that they were all still inky even after a few years of neglect, and forced myself to take the plunge. :)
And I am so glad I did. I think I might even have missed them a little bit. :)
Creation
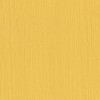
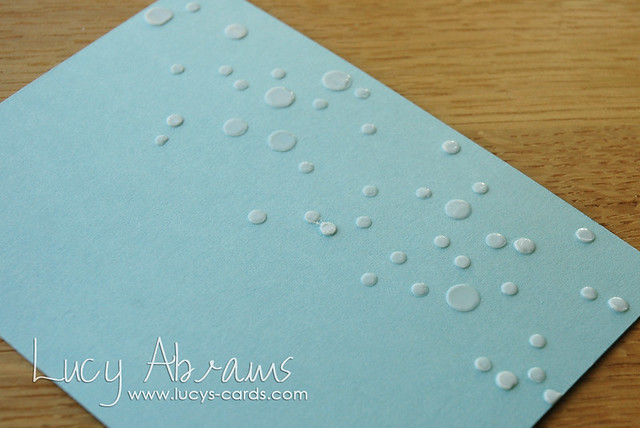
Adhere the Confetti stencil to a piece of
Surf Blue cardstock with washi tape.
Apply
Translucent Embossing Paste with a palette knife
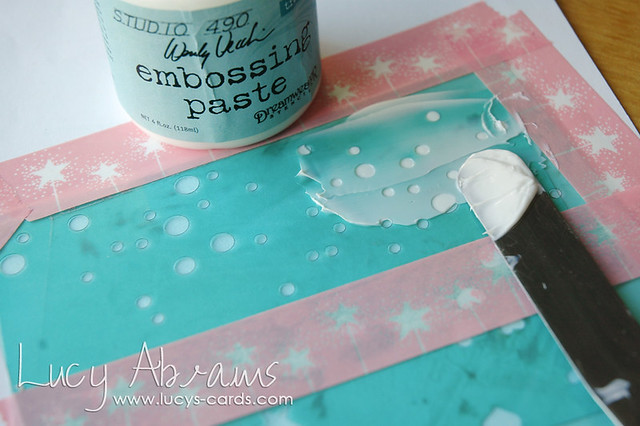
While it is wet, the paste looks white. It dries clear though and looks FAB. And you can barely see the bit I messed up right in the middle on the final card. ;)
Allow the paste to dry (it doesn't take long) then adhere the stencil to the other side of the paper and repeat the process.
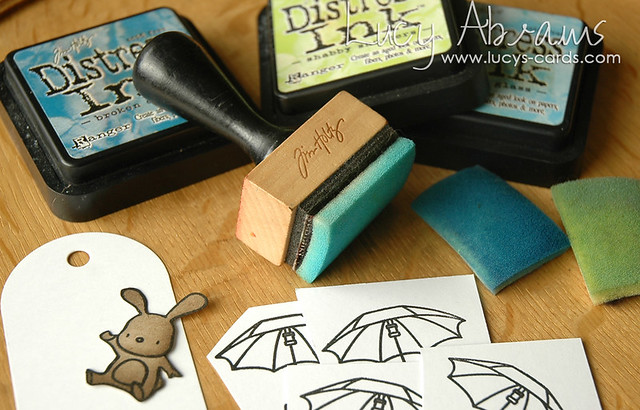
I trimmed this blue panel down to 3 1/2 x 5", then inked it with
Tumbled Glass Distress Ink and an
Ink Bleding Tool. (Stupid me, I forgot to take a photo of this stage… sorry!) But this inking makes the clear dots stand out even more.
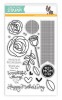
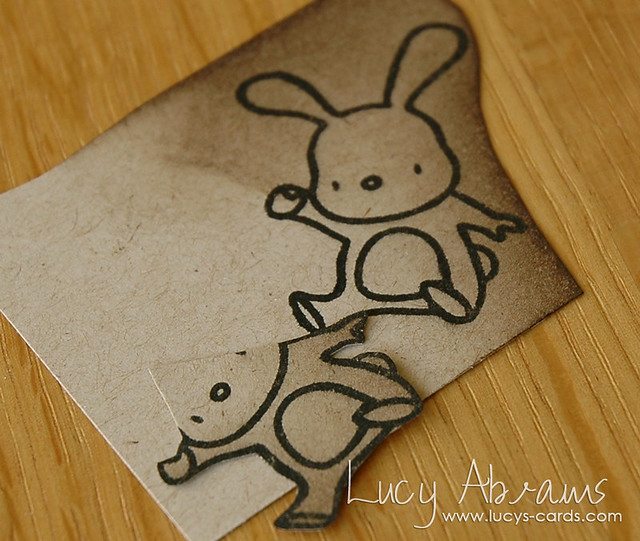
Next, stamp two bunnies on kraft cardstock.
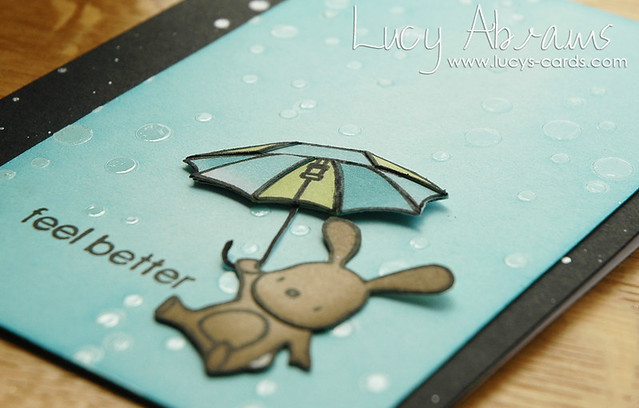
Trim the bunnies out - the body of one and the head of the other - then add more ink to the edges of each piece. Adhere them together.
TIP: having the head and body separate means you can add ink all around the head of the bunny, around his chin too, giving extra dimension.
Add a dot of white to his tail with a white gel pen.
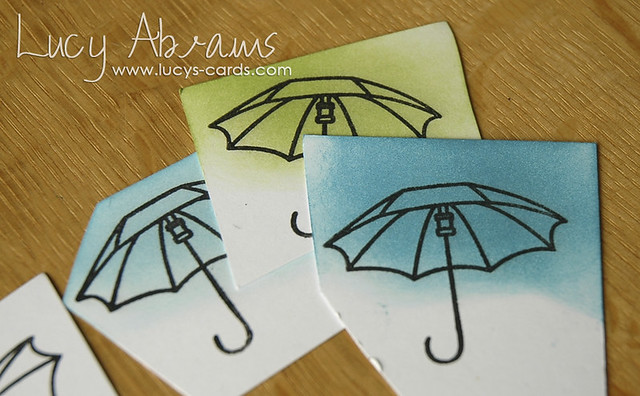
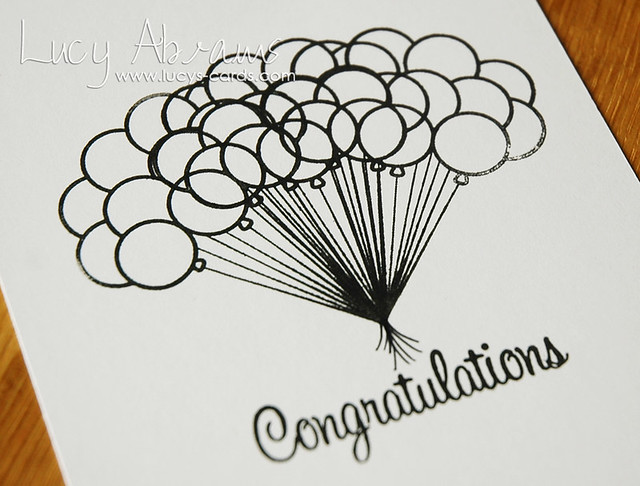
Stamp the umbrella four times on white card stock. (Ignore the tag in this picture… originally I planned to put the bunny on a tag but I changed my mind as I worked)
Cut the white umbrella out and use it as a base. Cut the others apart to create a three colour striped umbrella. Adhere the bits onto the white base umbrella.
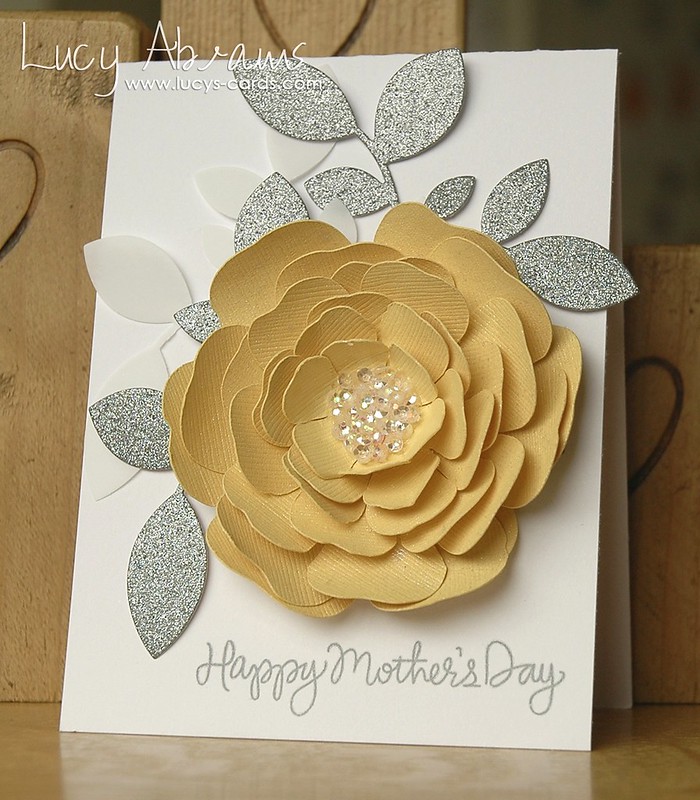
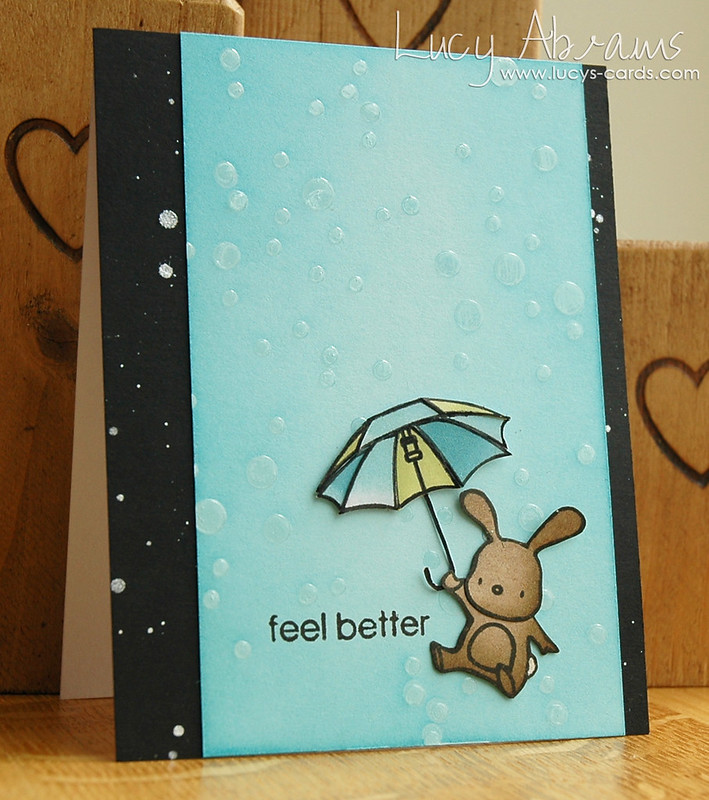
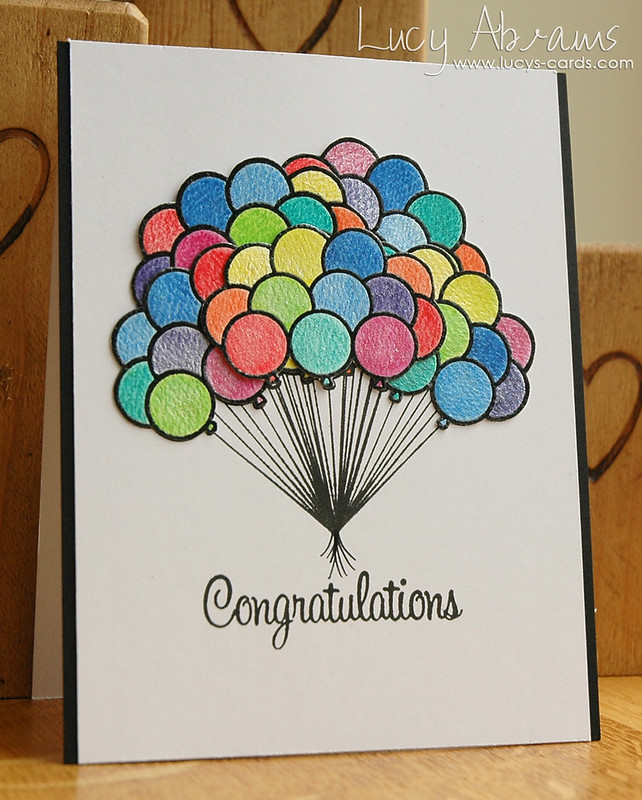
Stamp the sentiment onto the blue panel then adhere the bunny and umbrella.
Adhere the blue panel to the black panel and adhere to a folded card.
And you're done.
My aim was for the translucent embossed dots to look like rain. I think it worked. :)
So maybe Distress Inks are not that scary after all.
I have definitely inspired myself to use them again… in fact, I have put my collection in a box and brought it downstairs!!!
And that's it!
Thank you for visiting. I hope I have inspired you to get more from your supplies, to revisit old things and remember to play with new ones! It's something I need to make myself do more often too. :)
Have a lovely weekend. I'm off to start planning Use It! Class 2. Yay!
Bye
xx
Supplies