
It's Day 3 of my fourth Use It! class.
Here is a recap of the supplies I am using this week:
and Simple Stories DIY Typeset and DIY Letters
Lesson 3: Shaped Cards
I've not made a shaped card for ages. I used to make lots - especially circular cards… nowadays I am so dull. :)
Creation
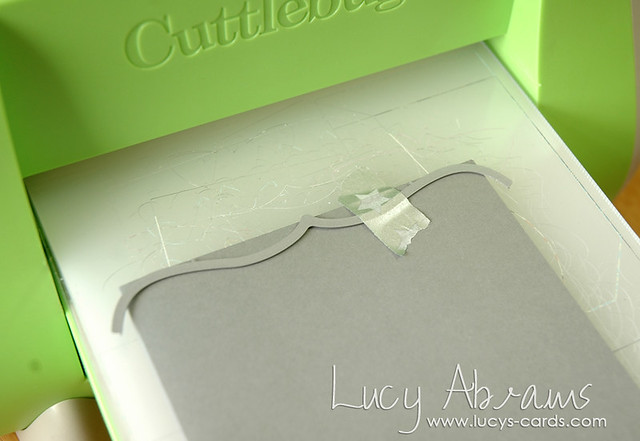
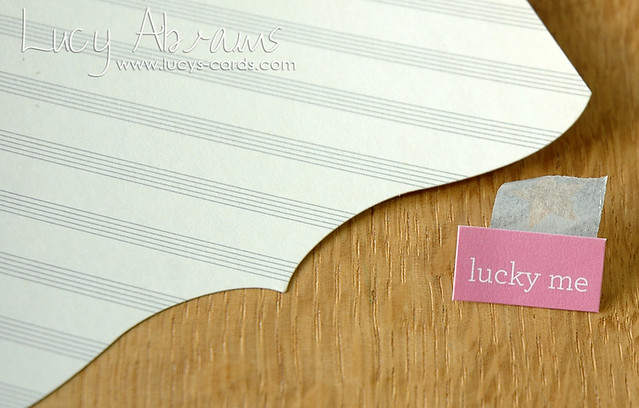
Take a Hero Arts Charcoal notecard, trim to 4" wide, adhere the Bracket die to the top and run through your die cut machine.
Lesson 3: Shaped Cards
I've not made a shaped card for ages. I used to make lots - especially circular cards… nowadays I am so dull. :)
Creation
Take a Hero Arts Charcoal notecard, trim to 4" wide, adhere the Bracket die to the top and run through your die cut machine.
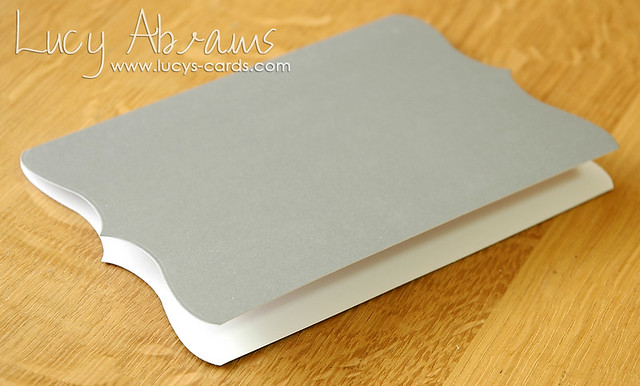
Repeat with the bottom of the card to create a unique shaped notecard card. So simple.
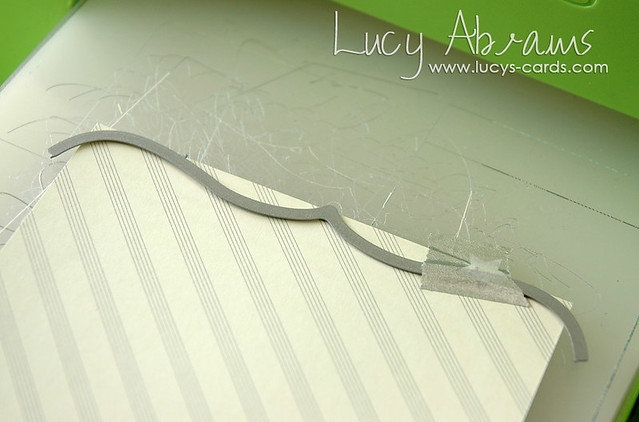
Trim some patterned paper to 4" wide and die cut the top and bottom with the bracket die.
Take a sticker and adhere to the reverse of the grey panel. I use washi tape so it's easy to reposition.
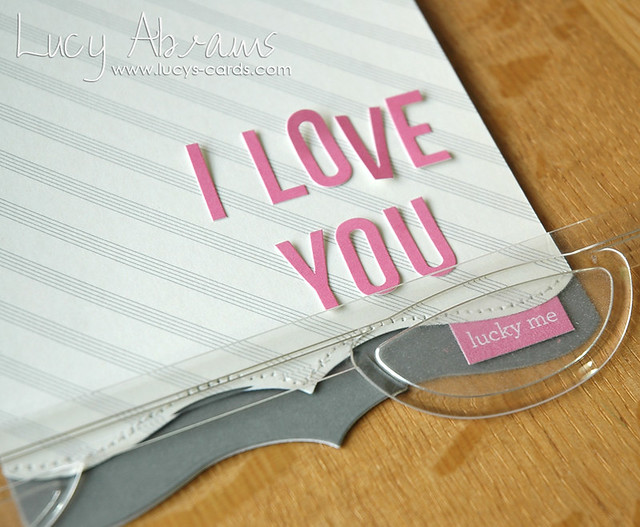
Add stitching to the edges of the die cut panel.
TIP: when stitching curved edges, try using the handle rather than the pedal. This will take more time but will give you much more control.

Adhere alphas to your card.
TIP: to make sure your stickers are straight, use a ruler or something straight as a guide. I have used the plastic guide from my guillotine to help me. It helps that it is see through.
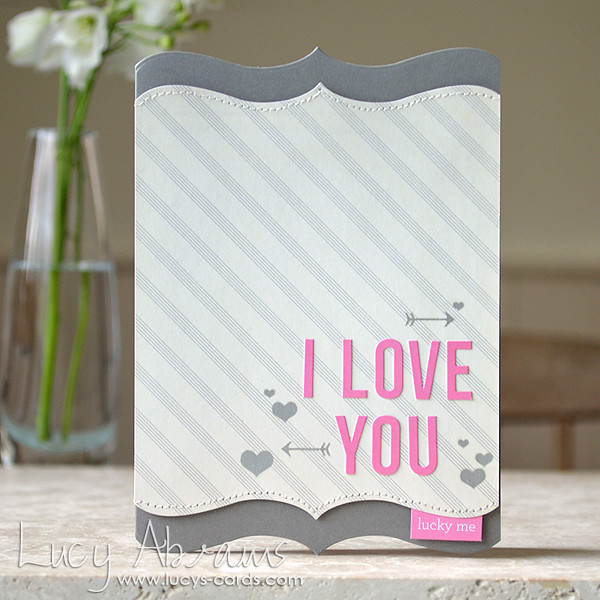
Add rub ons.
Adhere the striped panel to the notecard with foam adhesive.

And the card is complete.
Another way to get more from your supplies - look at your dies and see if any of them would work for a fun shaped card.
I'll see you tomorrow for Lesson 4: Die Cut Shaker Cards
Bye for now.
Supplies


6 comments:
Love the curved edges.
Eveline.
Wonderful card :D
So cute!!!
Such a delightful shape! I really love the tiny "lucky me" tag.
Love the different looks you produce with just a simple twist - the bracket edges and stitching turn this into a special card!
Have just discovered your site and wow, your card creations in your classes are something else, just stunning!
Post a Comment