
Welcome to Day 2 of my fourth Use It! class.
First, a quick recap of this week's supplies:
and Simple Stories DIY Typeset and DIY Letters
Lesson 2: Rub Ons
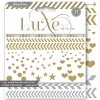
OK, I confess, rub ons are not my favourite thing… I like the concept, but in truth I rarely use them. However, I loved the look of these gold and silver rub ons by Pink Paislee and purchased them a while back. They have sat unused and lonely in my stash ever since… So what a perfect time to use them up. :)
Creation
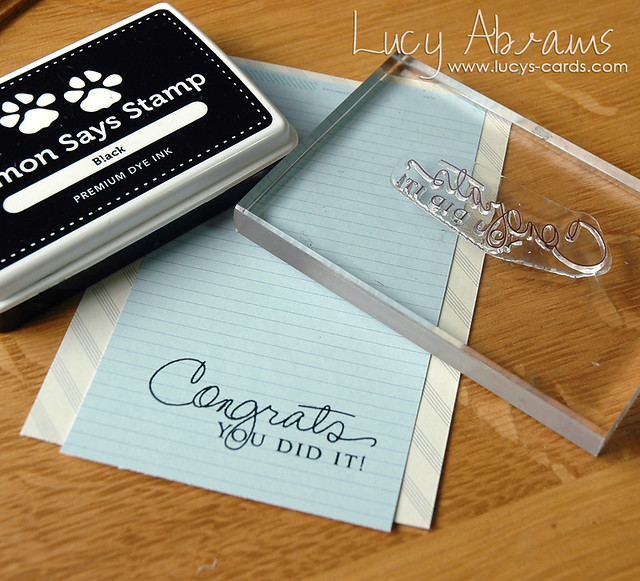
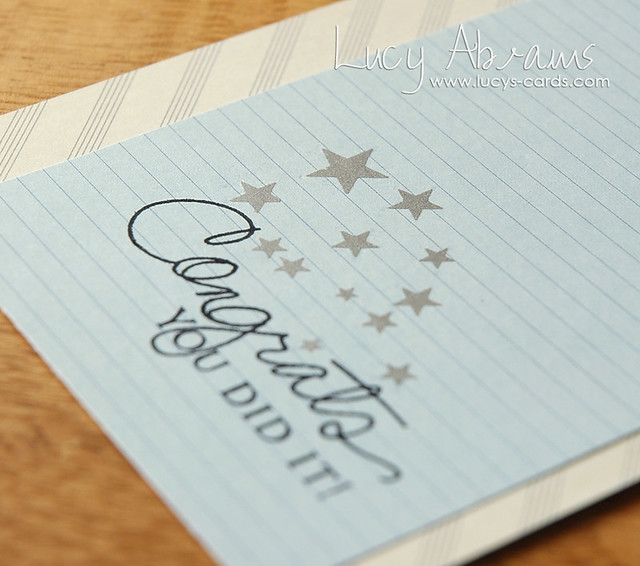
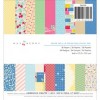
Trim patterned papers to size. The diagonal stripe paper measures 5 1/2 x 4" and the blue notebook is 5 1/2 x 3 1/4".
Stamp the sentiment in black ink.
Lesson 2: Rub Ons
OK, I confess, rub ons are not my favourite thing… I like the concept, but in truth I rarely use them. However, I loved the look of these gold and silver rub ons by Pink Paislee and purchased them a while back. They have sat unused and lonely in my stash ever since… So what a perfect time to use them up. :)
Creation
Trim patterned papers to size. The diagonal stripe paper measures 5 1/2 x 4" and the blue notebook is 5 1/2 x 3 1/4".
Stamp the sentiment in black ink.
TIP: trim the rub ons you wish to use from the sheet. This will help prevent bits sticking from the rest of the pack.
Oh, and I recommend cutting off the adhesive that is used to seal the rub on package if you plan to reuse the package. I have ruined several rub ons by getting them stuck to the packaging…
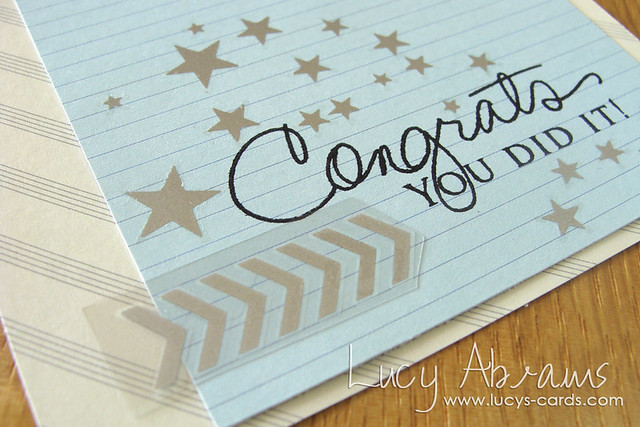
Rub on your rub ons. :)
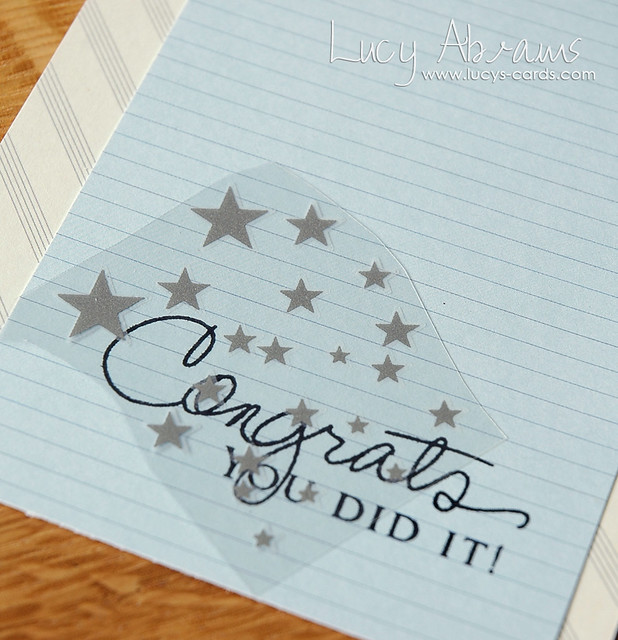
When you remove the acetate sheet, you may see that the rub ons are rather rough around the edges like this:
For a smooth finish, very carefully rub over the edges with your finger (but make sure it is not ink stained!!)
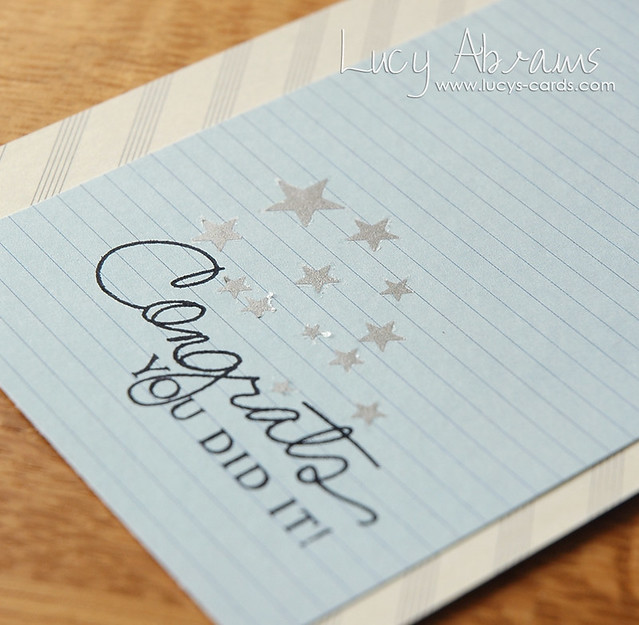
See, much better. :)
Continue applying the rub ons to the card.
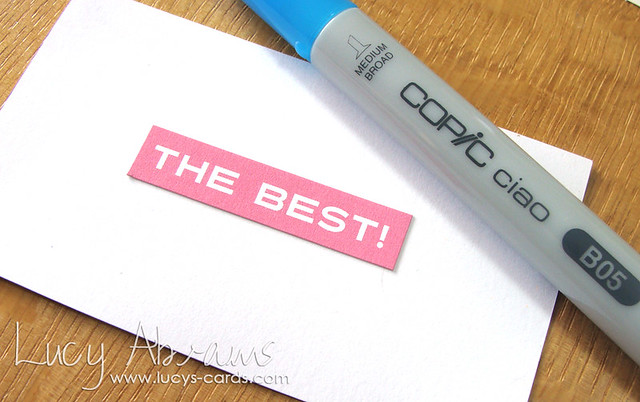
I really wanted to add this sticker to my card, but wanted to keep the card masculine. My solution - colour it in.
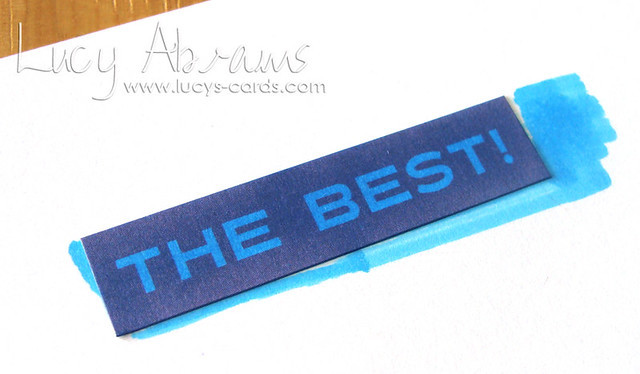
I chose a Copic marker that was similar in colour to my blue paper, adhered my sticker to some white paper and coloured away! This is a great way to get more from your supplies.
TIP: I tested the colour first on one of the stickers I knew I would never use!
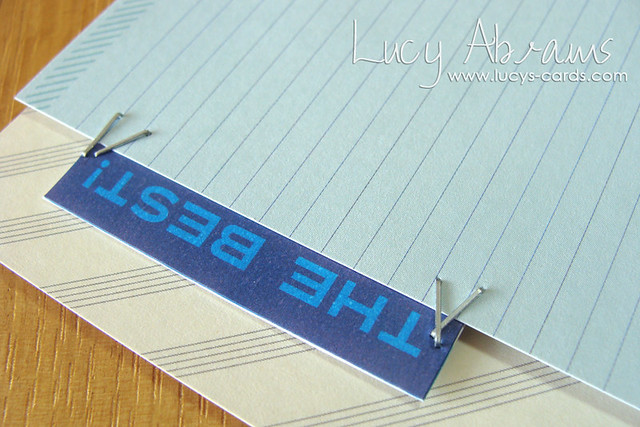
Trim the sticker out from the white paper so it is no longer sticky.
Adhere the sticker to the reverse of the blue paper and add some mini staples.
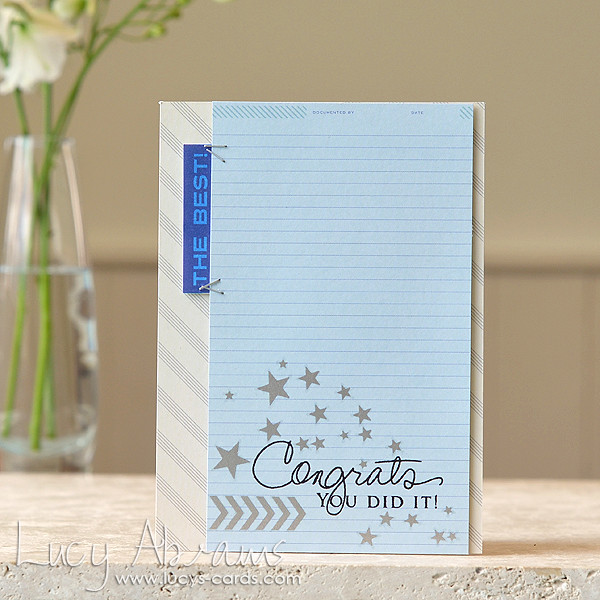
Adhere the blue panel to the stripy paper with foam adhesive then adhere to a notecard.
And the card is complete.
I hope you enjoyed today's class. Tomorrow is Lesson 3: Shaped Cards.
See you then.
Supplies


7 comments:
I love it when you do tutorial!! Awesome manly card! Thanks for sharing, Lucy! Can't wait to see the shape card tutorial!
I haven't used rub ons for a long while! fab card x
I love this CAS masculine design! And what a great idea to colour a sticker to match the rest of the card!!!
Great card! Love the sticker at the edge. It looks so simple but yet it is so eeh finished, just perfect!
Thanks for the tip on the sticker.
Very clean and love how it has a masculine feel.
Love your subtle use of patterned paper and the sticker on the edge - it adds a really designer touch!
Post a Comment