
Welcome to Day 2 of my 3rd class.
Here are my supplies for this week:
Simon Says Stamp's You're Expecting stamp set
Amy Tangerine's Cut & Paste Die Cut Shapes
Lesson 2 - Altering Stamped Images
Creation
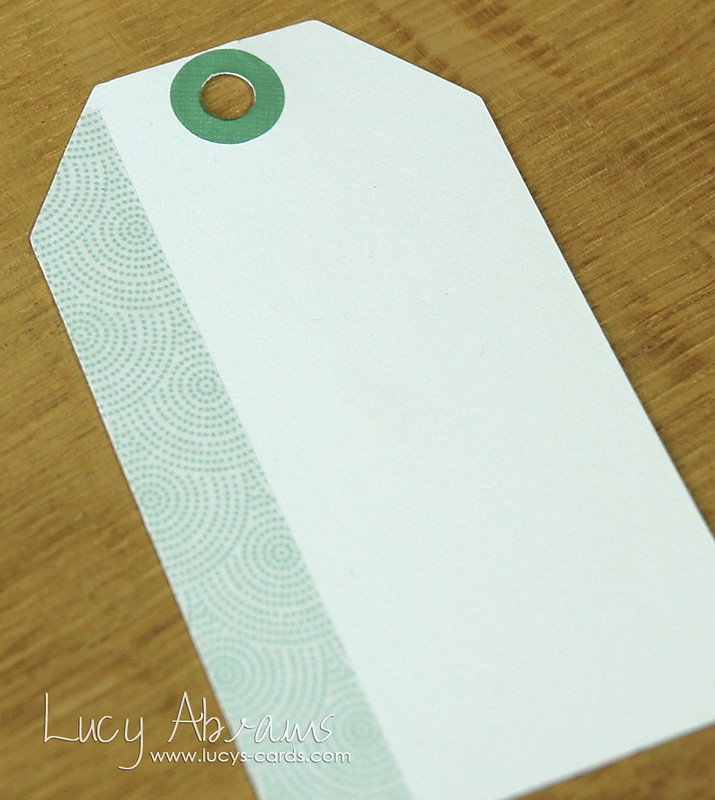
As I mentioned yesterday, I am always looking for ways to repurpose bits and pieces from die cut sets that I do not think I will use. Take this 'Good Stuff' tag from the Cut & Paste die cut shapes set. Perfect for scrapbooking maybe, and it might work well on a graduation card or something… but it's not really my style. So, I thought I'd just use the reverse. A nice plain white tag. Now that IS my style. :)
Lesson 2 - Altering Stamped Images
Creation
As I mentioned yesterday, I am always looking for ways to repurpose bits and pieces from die cut sets that I do not think I will use. Take this 'Good Stuff' tag from the Cut & Paste die cut shapes set. Perfect for scrapbooking maybe, and it might work well on a graduation card or something… but it's not really my style. So, I thought I'd just use the reverse. A nice plain white tag. Now that IS my style. :)

Embellish the tag with vellum stickers and tape.
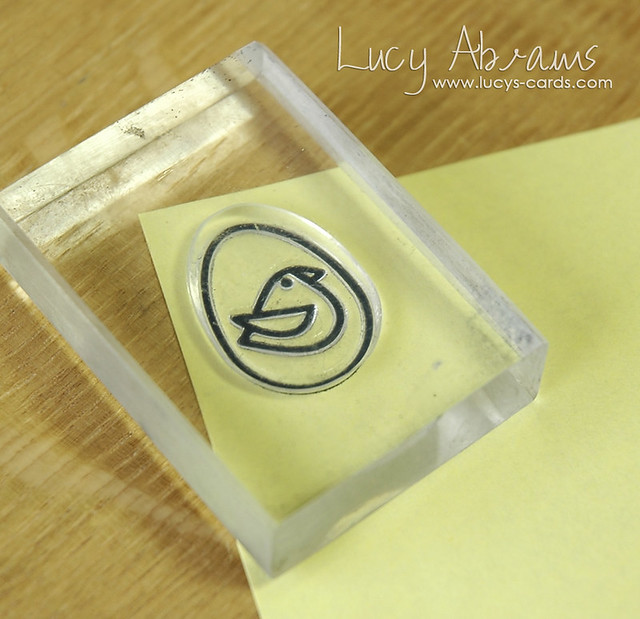
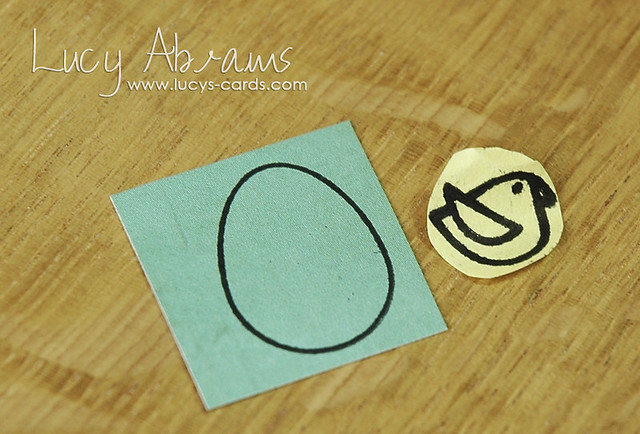
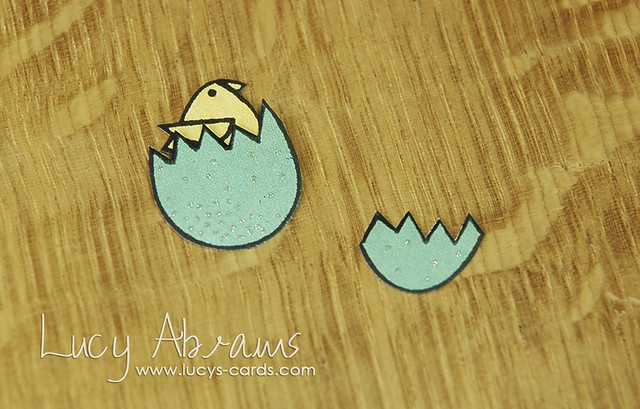
And like my embellishments, I try to find ways to re-purpose my stamps too. For this card, I wanted an egg, and I wanted a chick… but I wanted my chick popping OUT of the egg. So I had to do some creative thinking…
Stamp the egg image onto the sticky part of a Post-It note.
Roughly cut around the chick, then adhere the Post-It chick onto some patterned paper. Stamp the image again, lining it up on top of the Post-It chick.
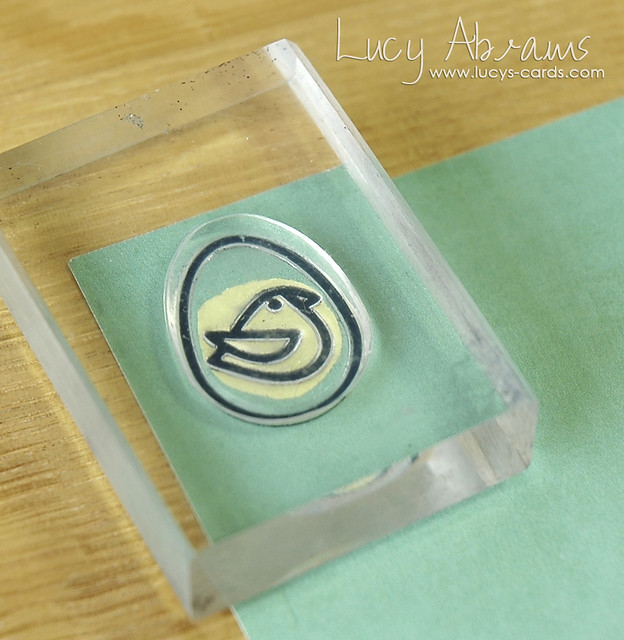
Remove the Post-It chick and you have just the egg. Perfect!
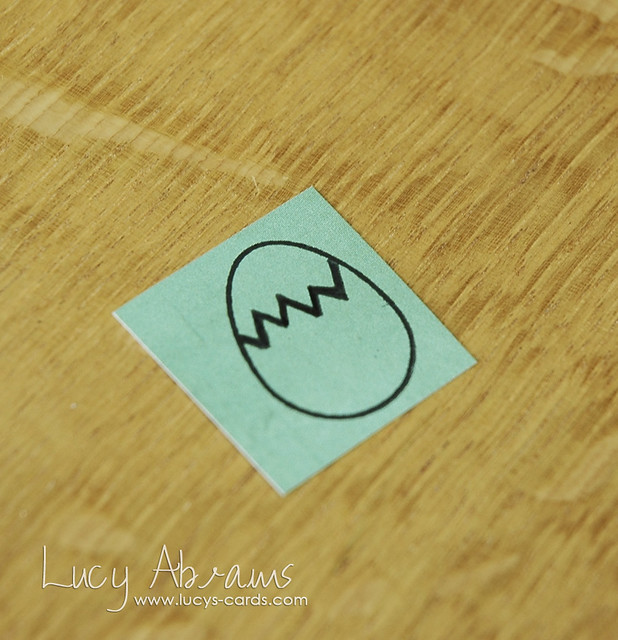
Using a black pen, draw a crack across the egg.
TIP: as you are going to cut this egg up, make the line nice and thick.
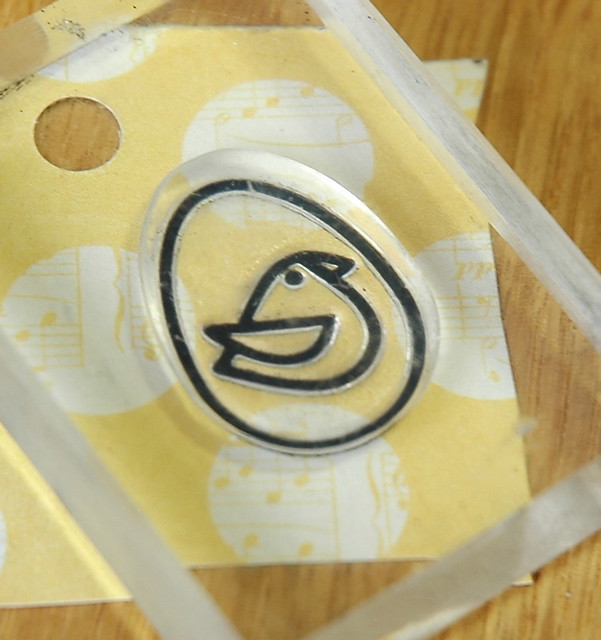
Stamp the egg again onto some yellow paper. This time, you will only be using the chick.
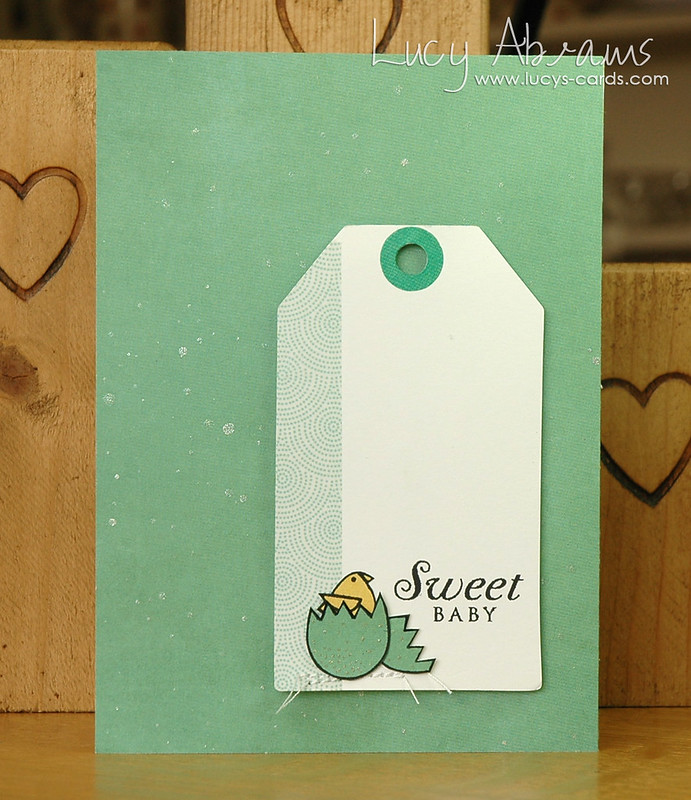
Fussy cut the egg and chick and arrange onto the tag.
Stamp the sentiment in black ink.
Stitch a couple of lines under where you want the egg to sit.
Stitch a couple of lines under where you want the egg to sit.
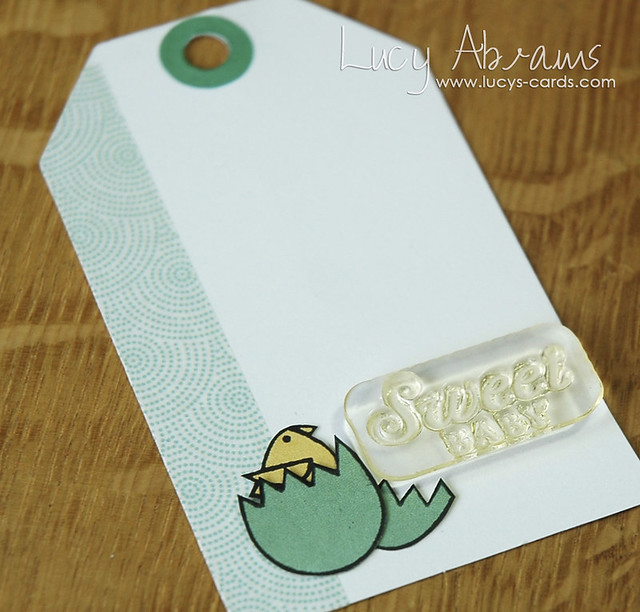
Add some speckles to the egg with a gel pen then adhere to the tag.
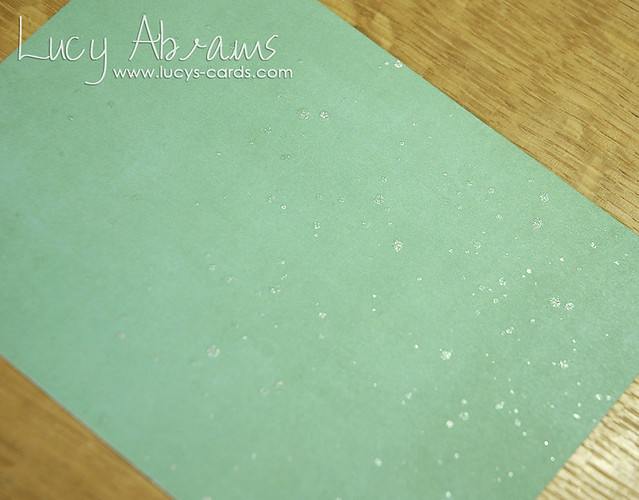
Mist the background paper with Calico Shine Mister Huey's.
Adhere the paper to a folded card, then add the tag with foam adhesive.
Adhere the paper to a folded card, then add the tag with foam adhesive.
So, have a look at some of your stamps and see if you can alter them in any way.
This is such a fun way to get even more from your supplies… die cuts AND stamps.
Right. That's me done for the day… but pop back tomorrow for Lesson 3: Die Cut Stencils.
Bye.
Supplies


7 comments:
This is so cute! Honestly Lucy, I'm almost bouncing up and down in my seat with excitement. Great technique, Jo x PS I think I better go and lie down...
Ack! So darn clever, Lucy! Adorable card!
Brilliant!
Very clever and very cute! I am enjoying your lessons. Thank you so much for taking the time to share.
Very clever! I tend to pick more complicated images, though, where masking won't work. I end up just using a marker to color the border. It mostly works for me. :)
Love the way you have adapted the stamp to suit your design, Lucy! Really clever...I will go away and look at my stamps again :)
Great way to stretch your stamps...very cute.
Post a Comment