Saturday, 10 May 2014

Mum...

Hello!
It's the weekend. Yay. And I have a LOT of creating to do… hopefully you'll see the results next week. :)
But I just thought I'd pop in and share this card I created last weekend, using lots of Simon Says Stamp products.
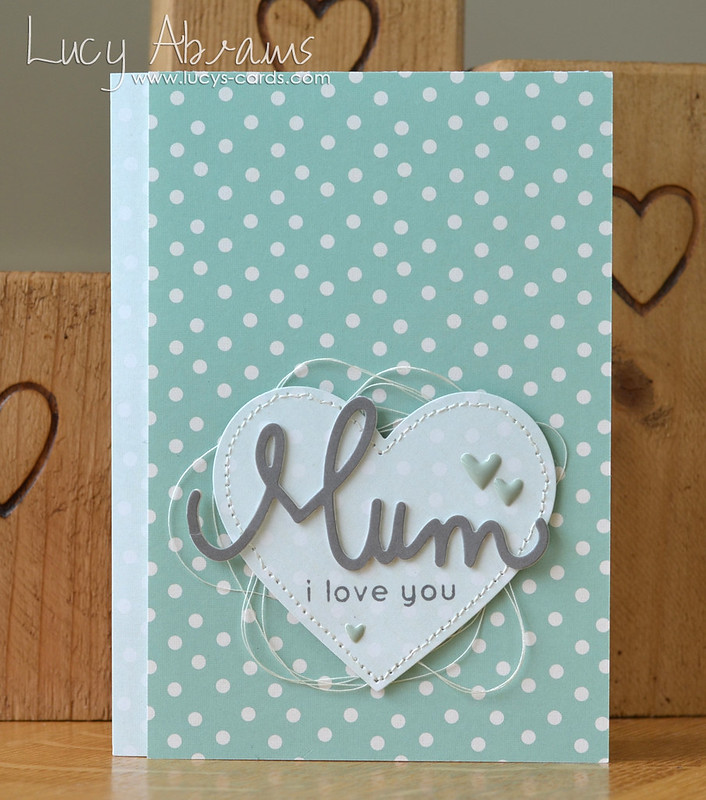
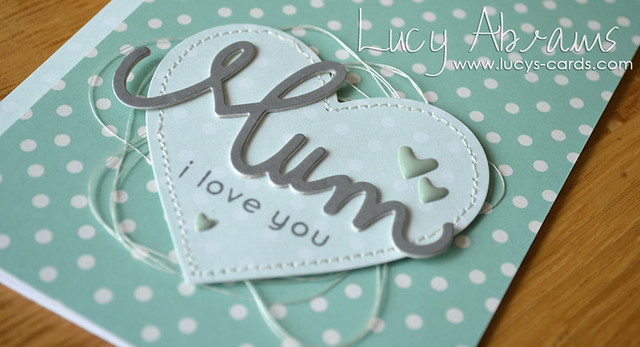
I first die cut the word Mum from the Full Card Love Mum die (love that you can use the words individually with a bit of careful trimming) using Hero Arts Charcoal paper, then die cut a heart (using THIS die) from some MME Sky's the Limit patterned paper. After adding some stitching, I stamped the sentiment taken from the Mother's Day stamp set, using Charcoal ink, then added some cute Lily Bee heart stickers.
DSC_0006 copy 
I"ve been meaning to try the thread looping for a while. Love the look… but it took me ages. :)
DSC_0034 copy
Oh, and NEWS...
Simon Says Stamp is having a 20% off sale EVERYTHING this weekend - just use the code HEARTU at the checkout. What a great opportunity to stock up on some new supplies.
Here's some of what I've ordered (they are on their merry way already!!! Look out for them in future Use It! classes. Yay!):
Wplus9's Borders and Backgrounds stamp set (I've been lusting after this for ages)
Paper Smooches Rainbow Wise Die - this is really for Lily :)
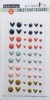
This amazing set of Doodlebug sequins… I can't WAIT to get my hands on this!!!
I can't wait for my package to arrive. :)
Anyway, enough from me. Hope you have a lovely weekend.
Bye for now.
Supplies



Friday, 9 May 2014

Use It! with Lucy's Cards - Class 3: Lesson 5 (Using up Scraps)

banner
It's the final lesson of my 3rd Use It! class. But don't fear, I have another one already prepared. :)
This week's products:
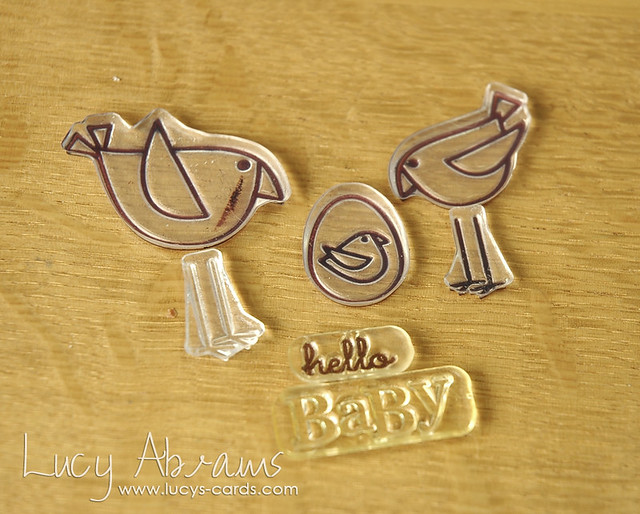
Simon Says Stamp's You're Expecting stamp set
Amy Tangerine's Cut & Paste Die Cut Shapes

Lesson 5 - Using Up Scraps

I have a LOT of patterned paper scraps. A lot. I do not like throwing anything away… especially not pretty papers. So I love paper piecing… it's one of the best ways to use up the bitty pieces of paper I have left behind after a project. Today's card uses a few pieces I had left behind from my other cards this week.

Creation
Before I make a card, I always sketch. And then I get out my stamps and have a play around on my work surface to see how they look in real life. This way I can see if the fonts match the style of the images and whether all the stamps have the same line thickness… because these things really annoy me if I get it wrong. :)
DSC_0168 
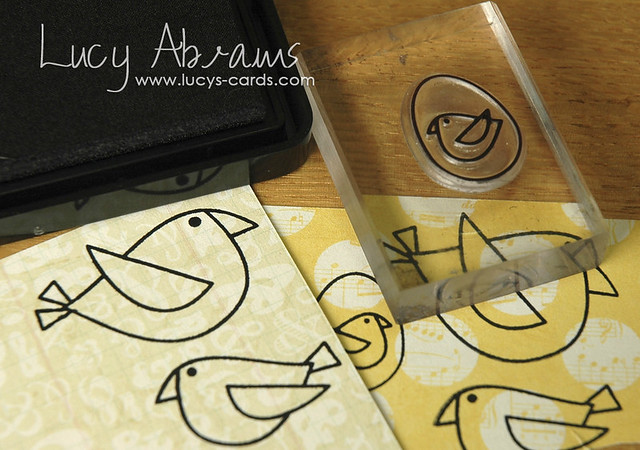
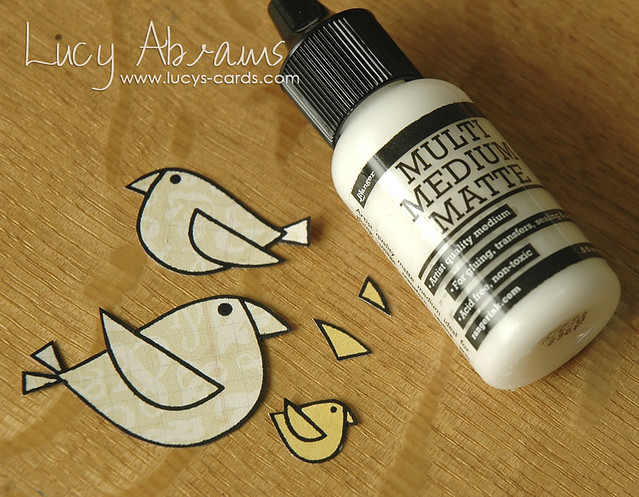
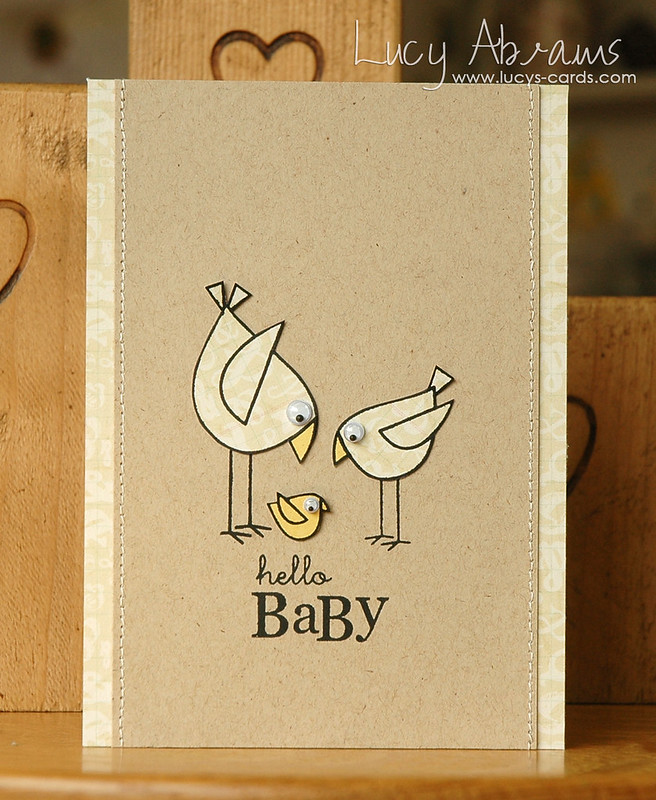
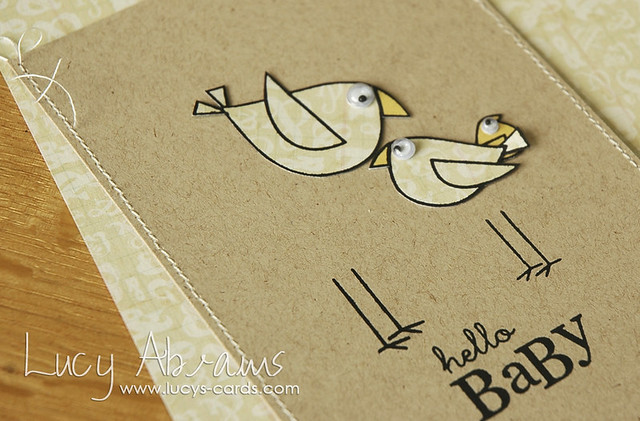
Stamp the birds onto scraps of paper. The two large birds need to be stamped on both papers so you can paper piece the beaks.
DSC_0169 
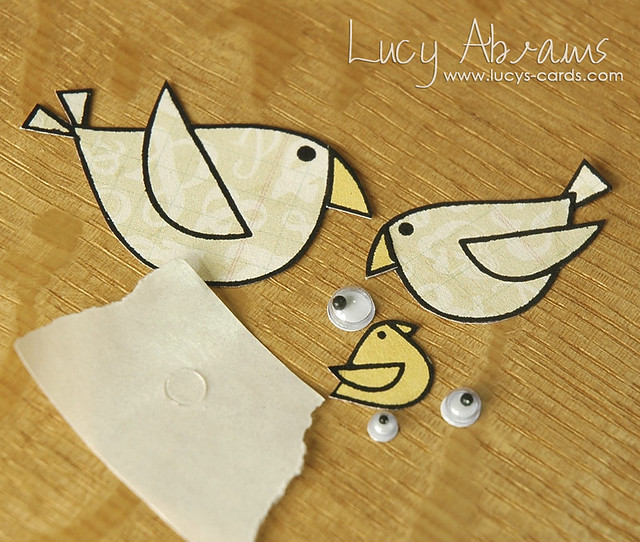
Trim the birds and beaks and paper piece together. I use Multi Matte Medium or Glossy Accents as they have lovely fine tips which are perfect for detail glueing.
DSC_0170 
Adhere wiggle eyes to the birds using a tiny bit taken from a tiny glue dot. One glue dot was used for all three eyes.
DSC_0172  
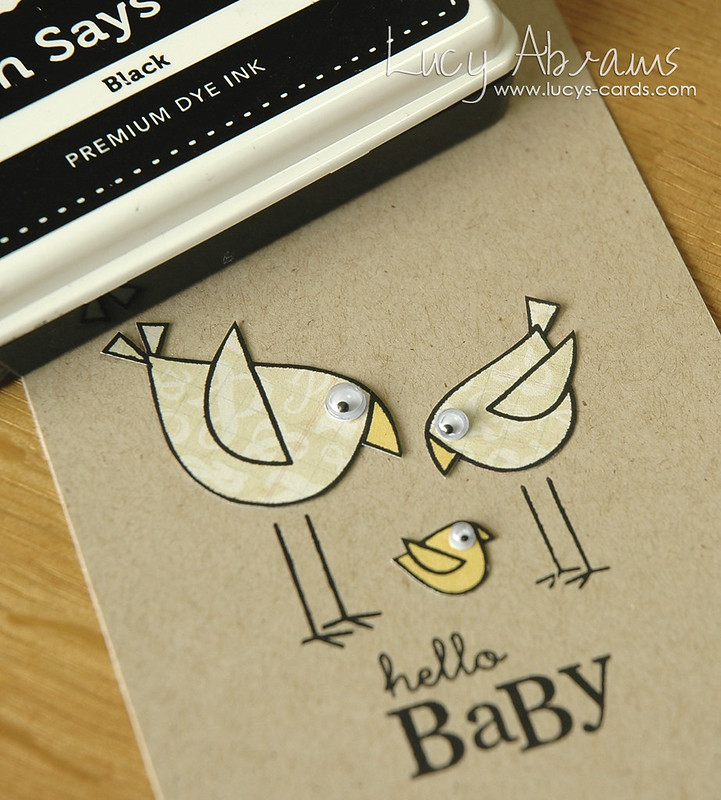
Trim a kraft panel to 5 1/2 x 3 1/2". Line up where you want your birds, then stamp the legs and sentiment in black ink.
DSC_0173 
Add stitching to the sides of the kraft panel. Fold the thread over the top and bottom of the card and adhere to the reverse.
DSC_0174 
Adhere the birds to the kraft panel.
Trim two 1/2" strips of ampersand paper and adhere behind the kraft panel.
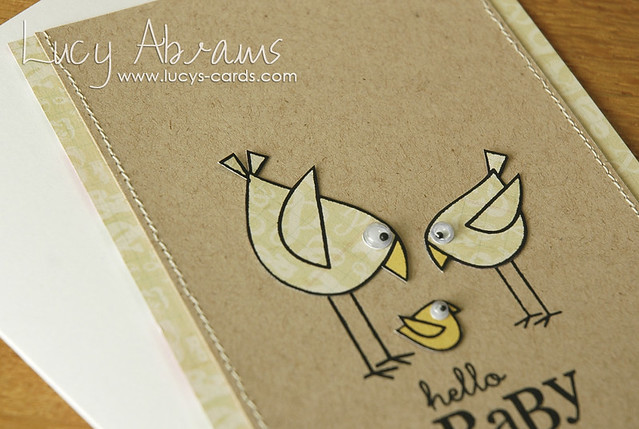
Adhere to a folded card measuring 5 1/2 x 4".
DSC_0175 
Oh how I love these little birds...
DSC_0184 copy 
And that's it! The week is over. Hello weekend. :)
I hope you have enjoyed this week's class.
I'll be back soon with my next one. Feel free to email me with any ideas you have.
Bye for now.
Supplies
Thursday, 8 May 2014

Use It! with Lucy's Cards - Class 3: Lesson 4 (Layering Die Cuts)

banner
I'm back with my 4th lesson of my 3rd Use It! class.
This week I am playing with:
Simon Says Stamp's You're Expecting stamp set
Amy Tangerine's Cut & Paste Die Cut Shapes

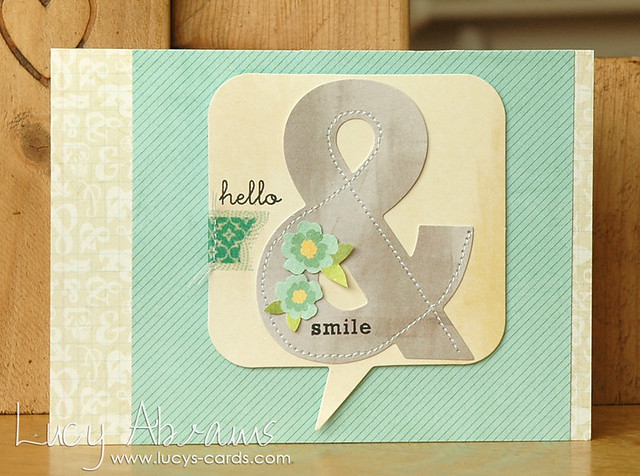
Lesson 4 - Layering Die Cuts

Creation
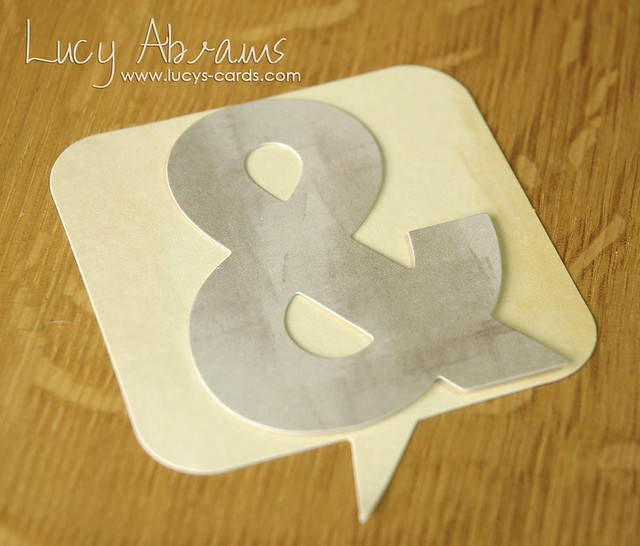
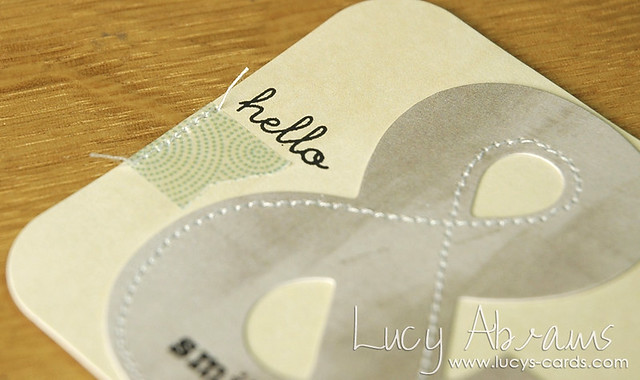
Adhere the ampersand die cut to the speech bubble die cut.
DSC_0022 
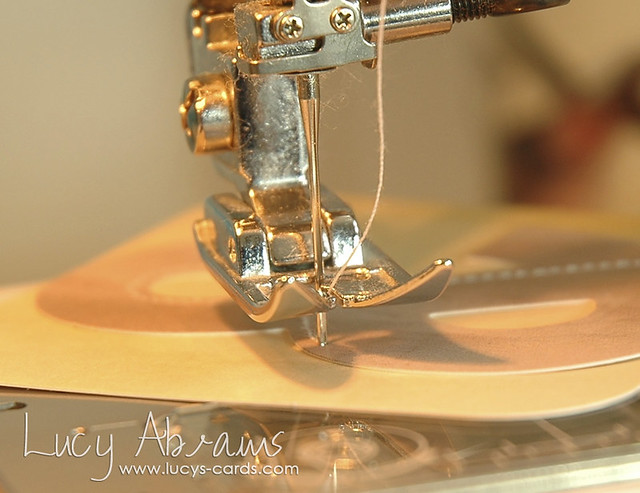
Stitch around one edge of the ampersand.
TIP: when sewing in a circle, life the foot with the needle fully down before turning the paper. This will  help you avoid wonky stitching lines.  When stitching difficult shapes like this, I often use the handle rather than the pedal. Slow and steady wins the race. :)
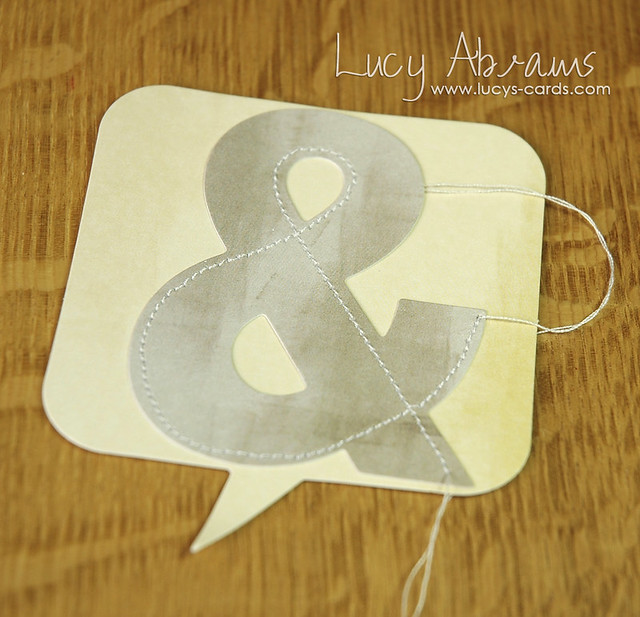
DSC_0027
This is what you end up with - the threads are hanging out the front and back.
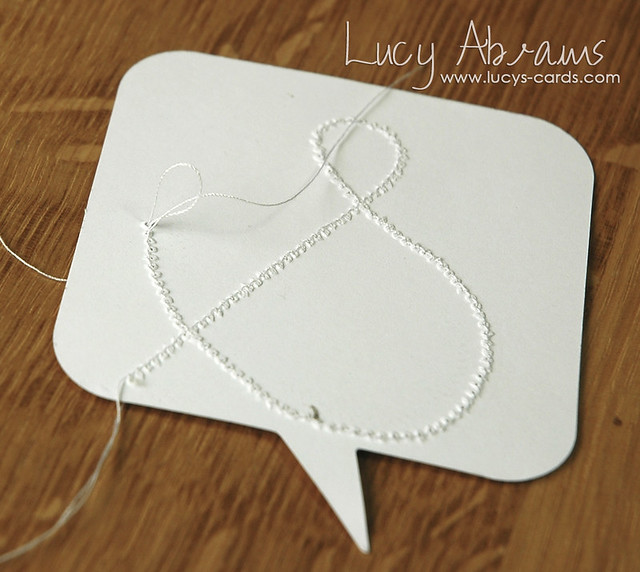
DSC_0029 
For a clean finish, pull the threads through to the back.
DSC_0032 
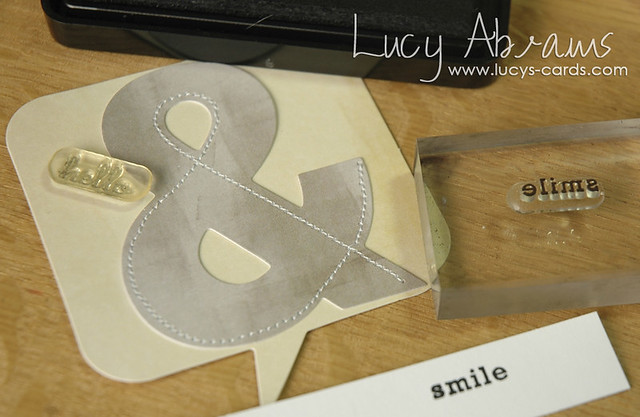
Stamp the words 'hello' and 'smile' onto the die cut. 
TIP: when you only have one chance to get it right, I recommend stamping the sentiment first onto some scrap paper to check for a clean finish. I often find fluff from baby wipes stick onto my stamps from previous cleaning, and I have ruined many a card in this way. :)
DSC_0035 
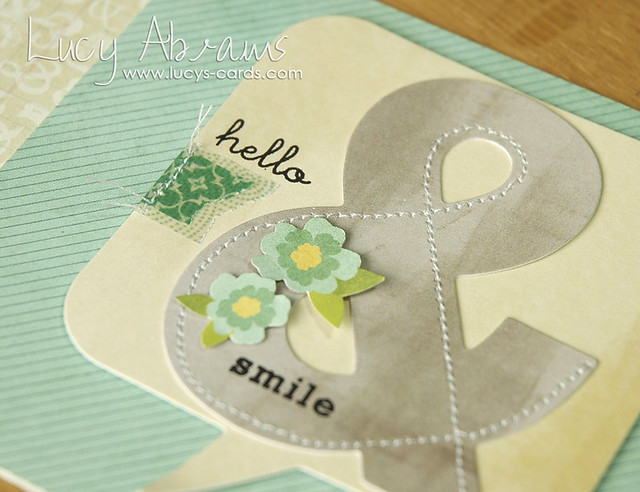
Adhere some vellum tape to the die cut and stitch in place. Leave the threads loose and trim.
DSC_0038 
Add more vellum tape on top and another line of stitching.
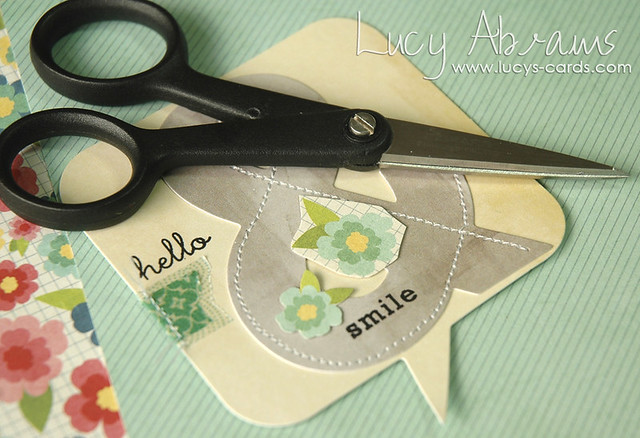
Trim two flowers from the floral patterned paper.
TIP: for detailed cutting like this you need some good scissors. I use Fiskars Avanti Sewing scissors and I love them. I've tried a lot of different scissors, and these are by far my favourite. 
DSC_0041 
Adhere the flowers to the die cut.
Trim ampersand paper to 5 1/2 x 4".
Trim the turquoise paper to 4 1/2 x 4". Adhere the papers together and adhere to a folded card.
DSC_0043 
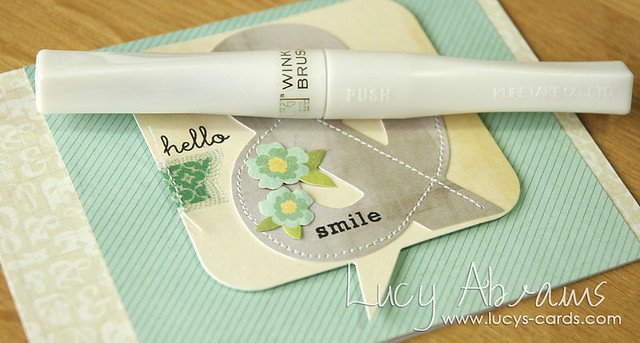
Add some shimmer to the flowers with a Wink of Stella glitter pen.
Adhere the die cut to the card with foam adhesive.
DSC_0046 
And that's it.
DSC_0019 copy
I love adding stitching to my cards… you may have noticed. :) And stitching on die cuts is FUN.
I hope I have inspired you to have a go too.
Have a lovely day, I'll be back tomorrow with Day 5: Using Up Scraps.
Supplies

Wednesday, 7 May 2014

Use It! with Lucy's Cards - Class 3: Lesson 3 (Die Cut Stencils)

banner
It's Day 3 of my 3rd Use It! class.
And just a quick recap of the supplies I am using this week:
Simon Says Stamp's You're Expecting stamp set
Amy Tangerine's Cut & Paste Die Cut Shapes
Lesson 3 - Die Cut Stencils
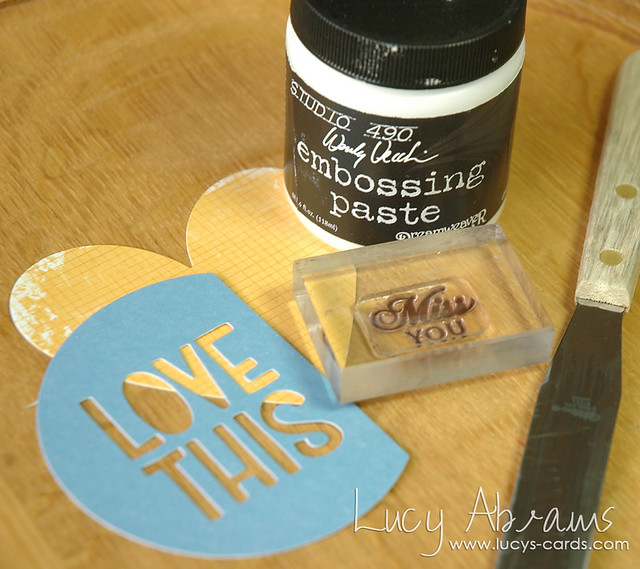
There are some super cool die cut shapes out there, and in the Cut & Paste set, there are some with words and shapes cut out of them. Very cool. And it got me thinking… I could use them as stencils. Yay. I'm pretty into stencils at the moment, and thought it would be fun to try this out for this class.
So…

Creation

I love the idea of this 'Love This' die cut, but wasn't sure how to use it on a card. So I decided to use just the 'Love' part as a stencil.
DSC_0001 
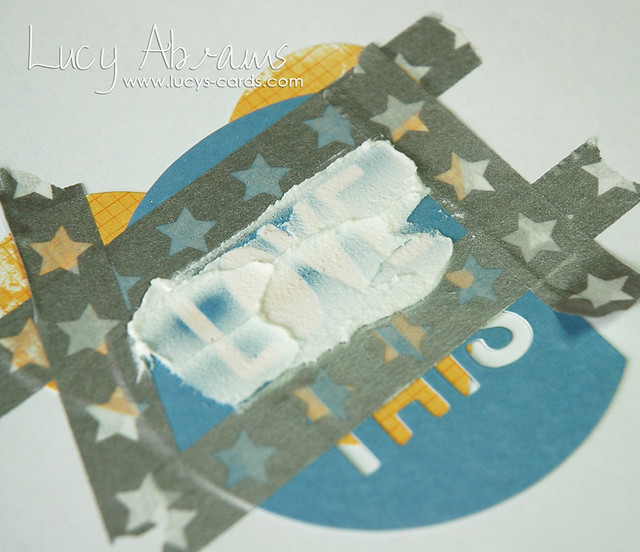
Adhere the 'Love This' die cut to the heart die cut with washi tape.
Apply white embossing paste thickly. Don't smooth it too much. 
DSC_0002 
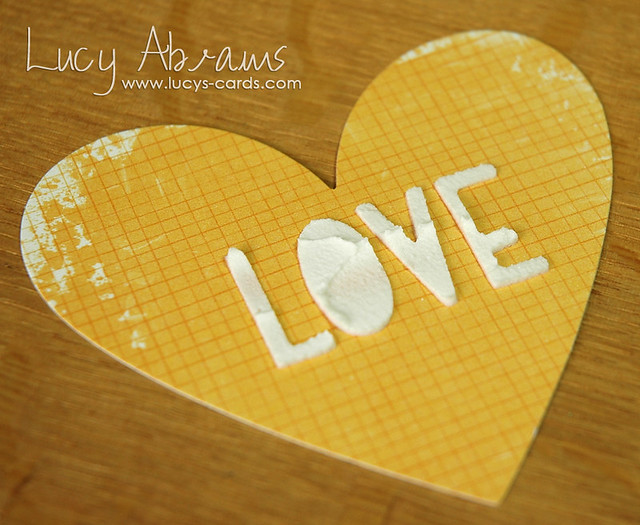
Remove the 'stencil' and leave the heart to dry.
DSC_0003w
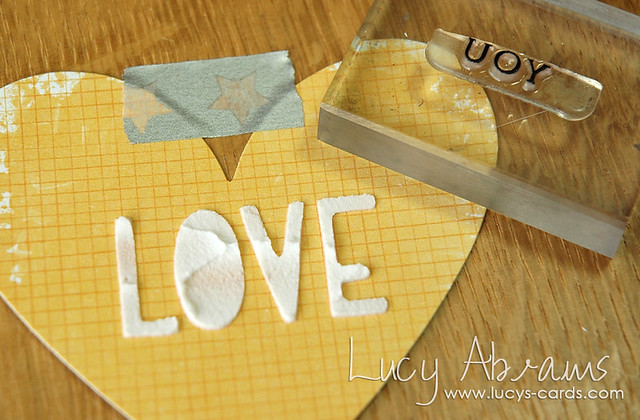
Once dry, adhere the heart to your work surface to prevent it slipping then stamp 'You' underneath in black ink.
(Note: I cut up my stamp… you could of course just mask it, but as I had embossed first, I would not have been able to mask… silly me. Having said that, I am not averse to a bit of stamp trimming. I do it often.)
DSC_0051  
Adhere a strip of vellum tape to a 5 1/2 x 4" panel of woodgrain card stock. Add a line of stitching and pull the threads out at the top.
Adhere the woodgrain panel to a folded card, then adhere the heart die cut.
DSC_0178 
And you're finished.DSC_0010
Another way to stretch your supplies.
I'll be looking at all my die cut shapes now to see if I can use them as stencils :)
Right. Tomorrow it's Lesson 4: Layering Die Cuts.
I hope you can join me then.
Supplies