
It's time for my 3rd class. Yay!
I'm having so much fun making these - I hope you are finding something of use in them… :)
Just for anyone new to the series… my class runs for 5 days. Each day I share a new card featuring a different technique or idea, but all 5 cards are made with the same set of supplies - some old, some new. My aim is to use up some of my long-neglected supplies, and play with a few new things at the same time.
Supplies
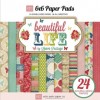
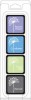
This week I am using the following products:
This week I am using the following products:
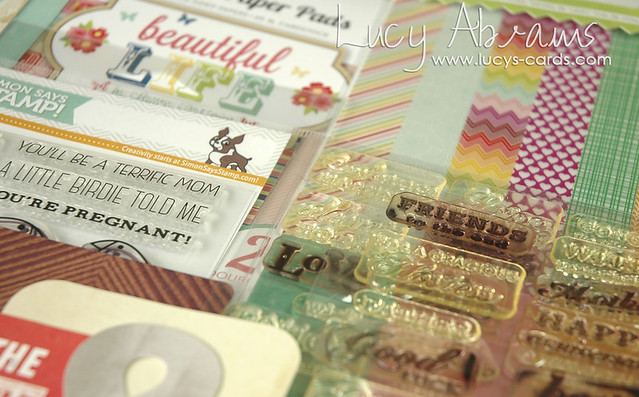
Lots of colour!!! Yay!
And on to today's lesson…
Lesson 1: Journaling Cards
And on to today's lesson…
Lesson 1: Journaling Cards
I used to use a LOT of journaling cards on my cards… recently, I have veered more towards tags. I have lots of these in my stash, and it's nice to come back to them again.
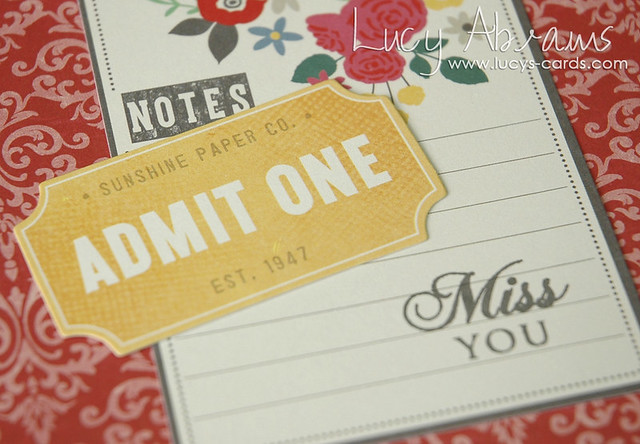
Journaling cards are great when you need to throw together a super quick card. Often, they are beautifully decorated, and require very little in addition. This is definitely the case with the card I used on today's card, taken from Amy Tangerine's Cut & Paste Die Cut Shape pack.
Creation
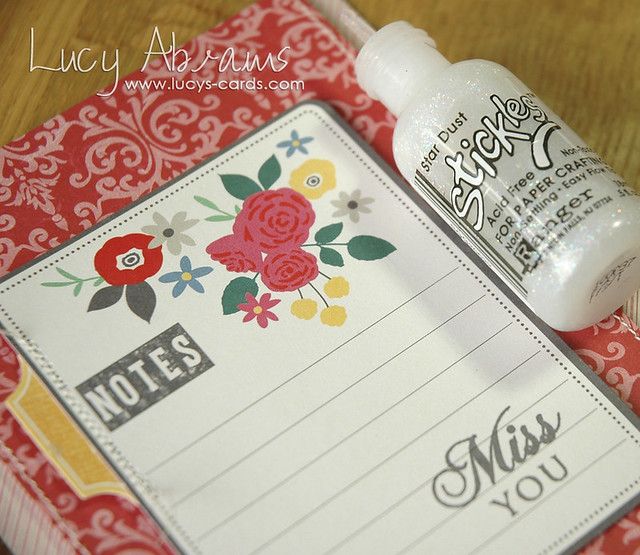
Using Hero Arts Charcoal ink, stamp the sentiment onto the journaling card.
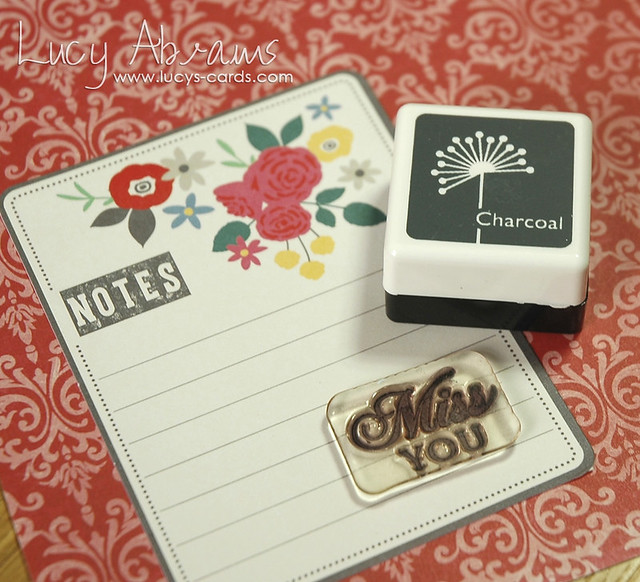
Charcoal ink is a really lovely grey colour, and - as you can see - is a perfect match to this particular journaling card. I think grey makes a lovely alternative to black for sentiments…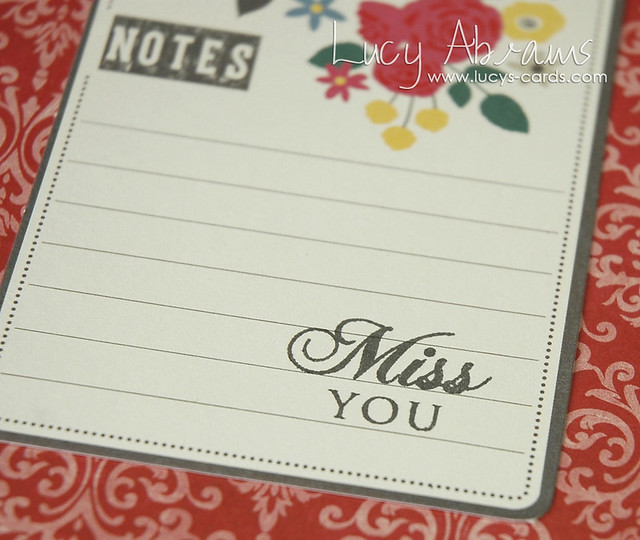
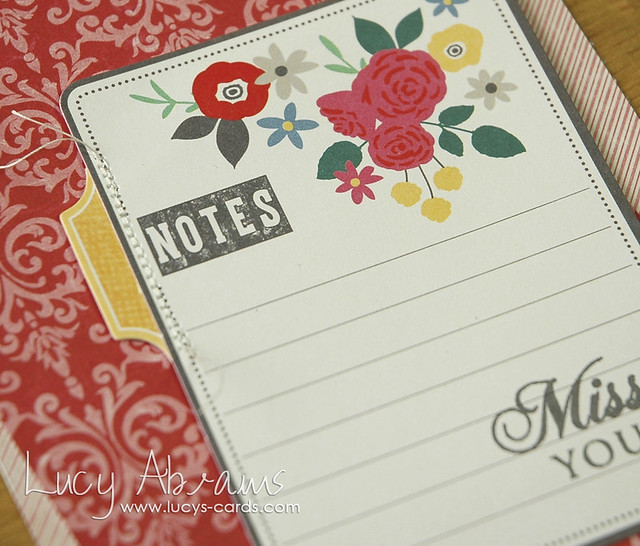
Next, I decided to add a little extra to the journaling card in the form of a tab on the side. I took one of the die cuts I knew I would never use on a card, and set about re-purposing it.
TIP: if, like me, you find you have die cut shapes that you think you will never use (ones that seem more geared towards scrappers than cardmakers), think about ways you can repurpose them. Perhaps a small portion can be salvaged or used in some way on a project… I hate throwing anything away!!
Adhere the ticket die cut to the journaling card with tape, then stitch it with two lines of stitches. Adhere the loose thread on the reverse with more tape.
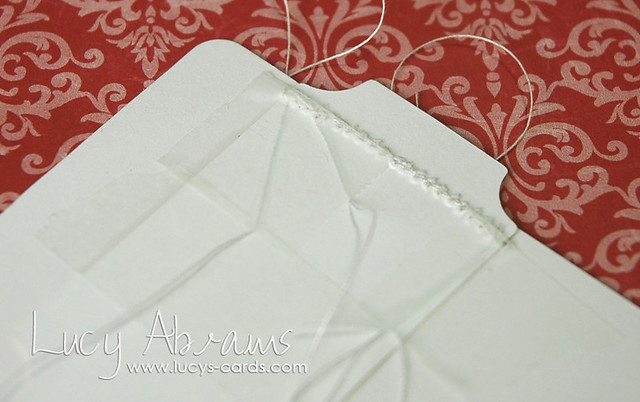
Trim the threads on the front, making each a different length for added interest.
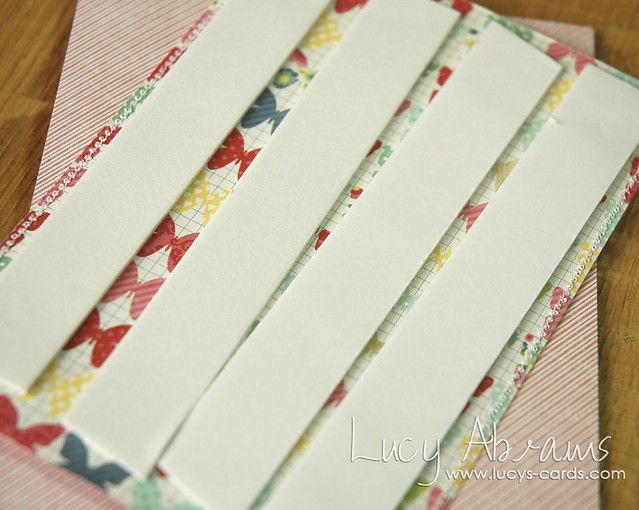
Trim the two patterned papers - one to 5 1/2 x 4" and one to 5 1/2 x 3 1/2".
Add a line of stitching to each side of the floral paper, then adhere to the stripy paper with foam adhesive. I've used lots of adhesive here - this is because the paper is quite thin and can get squashed in the mail. TIP: to save on foam tape, first adhere the patterned paper to some thicker card.
Adhere the papers to a folded card.
Add some detailing to the flowers on the journaling card with Star Dust Stickles.
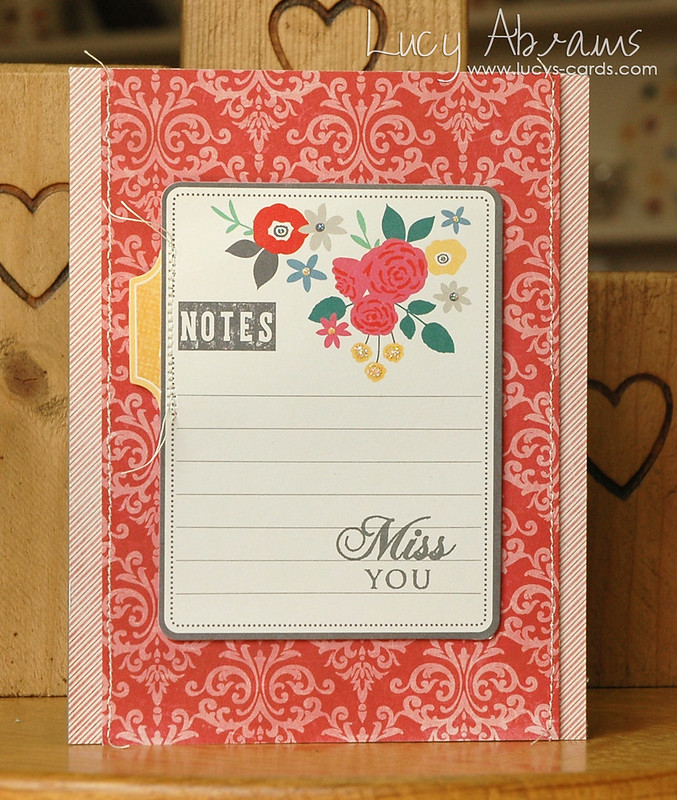
Once dry, adhere the journaling card to the patterned papers with more foam tape.
And you're done. A feminine and colourful card for a friend.
So I encourage you to look through your stash, find some old journaling cards, and use them up!! Don't just let these pretty things go to waste. :)
OK, that's it for today. Join me tomorrow for Lesson 2: Altering Stamped Images.
Bye for now.
Supplies


5 comments:
you are just too clever. A beautiful card x
Great idea! The card turned out beautifully!!
love your classes :)
Thanks, Lucy - it is great to see scrapping supplies being re-purposed! Love your classes :)
love this!
Post a Comment