
Hello!
Today I am honoured to be guest designing for Virginia's View Challenge Blog. If you have not yet discovered this blog, go NOW and see it. It's awesome. Virginia Lu (the lovely lady who set the blog up) is totally fantastic - she creates AMAZING cards, is super sweet and kind, and has hooked up some fabulous sponsors for her monthly challenges.
This month the challenge is to create a shaped card. Now you KNOW I love to make shaped cards, right. :)
So, I got creative with my Silhouette and here's what I came up with…
Yes, it's a glittery, wiggle-eyed octopus. :)
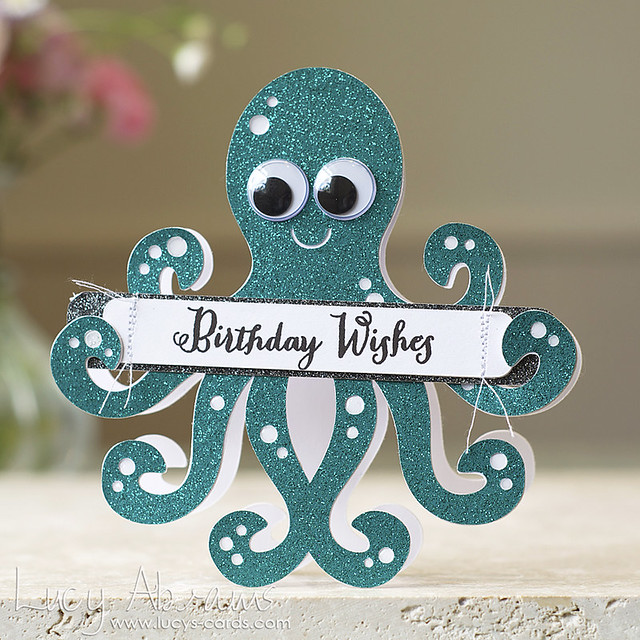
This card was such fun to make, so I put together a photo tutorial for you. I hope it helps if you fancy creating something similar. :)
Creation
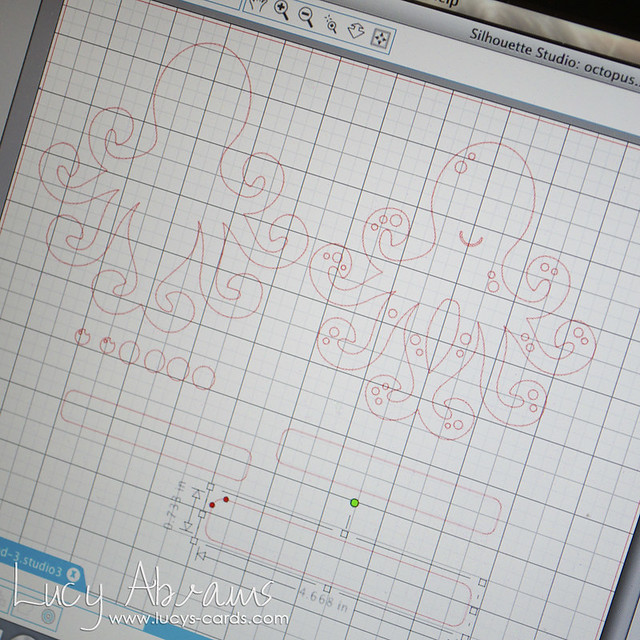
Using Silhouette Software, create your project. I used this cute Octopus cut file from the Silhouette online store. I had to remove the eyes as I decided to add wiggle eyes to my octopus. I made my octopus 5 x 5".
I traced the octopus to create a piece to mount the glittery octopus on and to create the back part of the card. I also created some various sizes of banners for my sentiment.
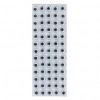
Once done with your design, cut the front octopus from glitter card stock (THIS DCWV card works brilliantly in the Silhouette with no messy residue!).
Then cut the back octopus twice from thick white card.
Cut the banners from white card and again from glitter card. (Mine came from THIS pad).
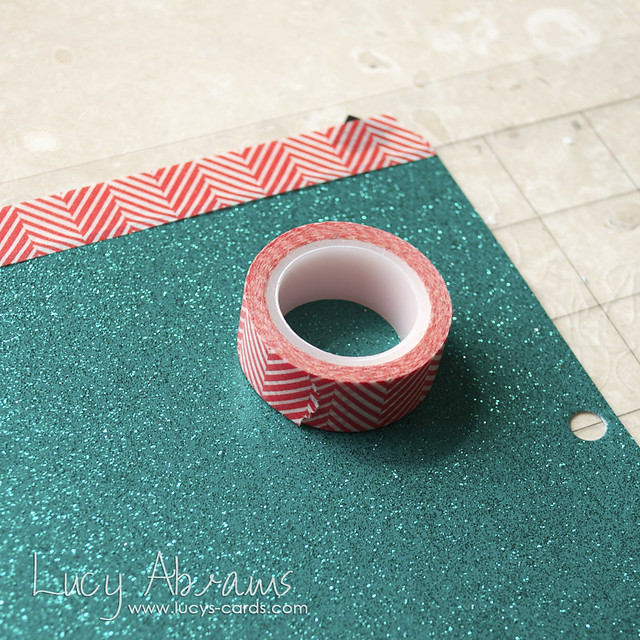
TIP: sometimes the cardstock moves in my Silhouette and messes up my cut… and I am too much of a cheapskate to buy a new sticky mat. Here's my solution - washi tape. (I could write a book for the 1001 uses for this product!)
TIP: sometimes the cardstock moves in my Silhouette and messes up my cut… and I am too much of a cheapskate to buy a new sticky mat. Here's my solution - washi tape. (I could write a book for the 1001 uses for this product!)
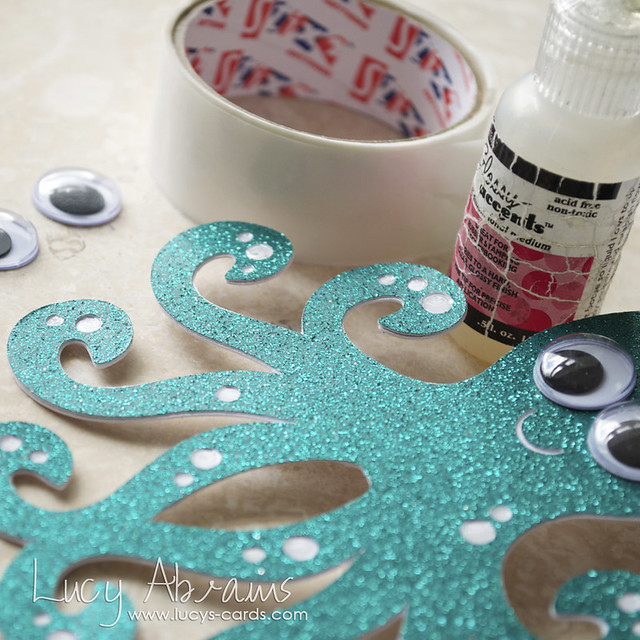
Once you have your pieces cut, adhere the glittery octopus to one of the white ones.
Adhere the wiggle eyes with glue dots, and add Glossy Accents to all the polka dots on the octopus for even more shine. :)
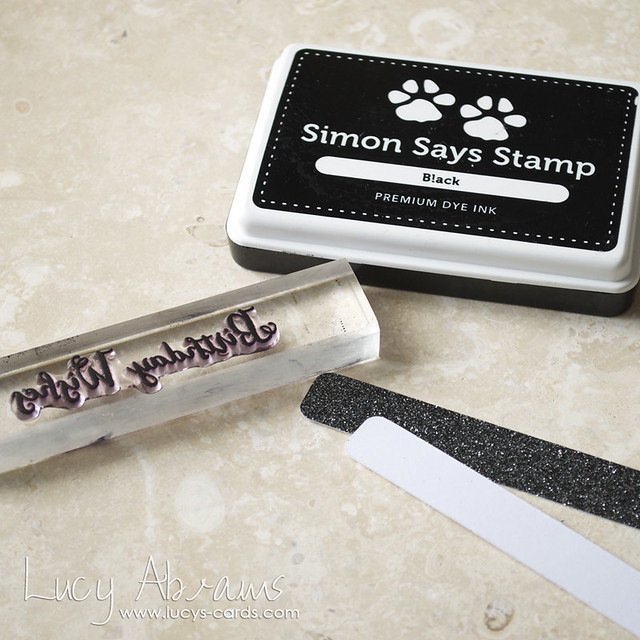
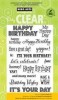
Stamp the sentiment from Hero Arts' It's Your Day stamp set onto one of the white banners.
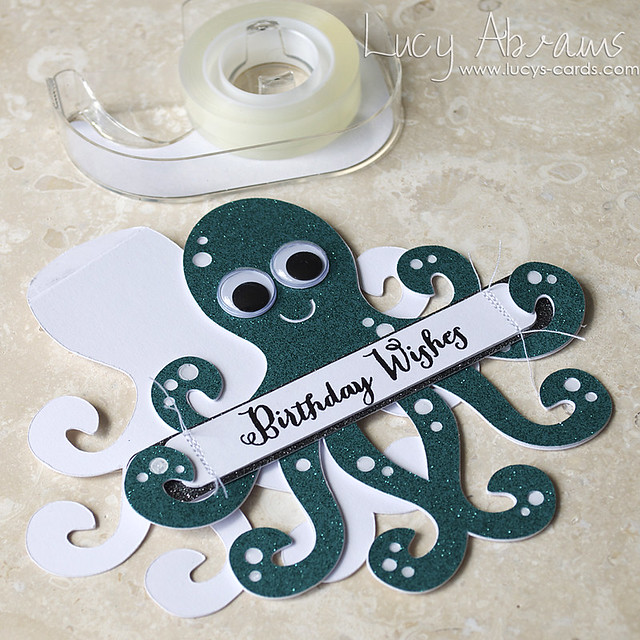
Adhere the white banner to the black glitter banner and add some stitching.
Adhere the banner to the octopus.
Score the top of the second white octopus about 1/2" from the top. Adhere to the reverse of the glittery octopus with double sided adhesive.
And that's it.
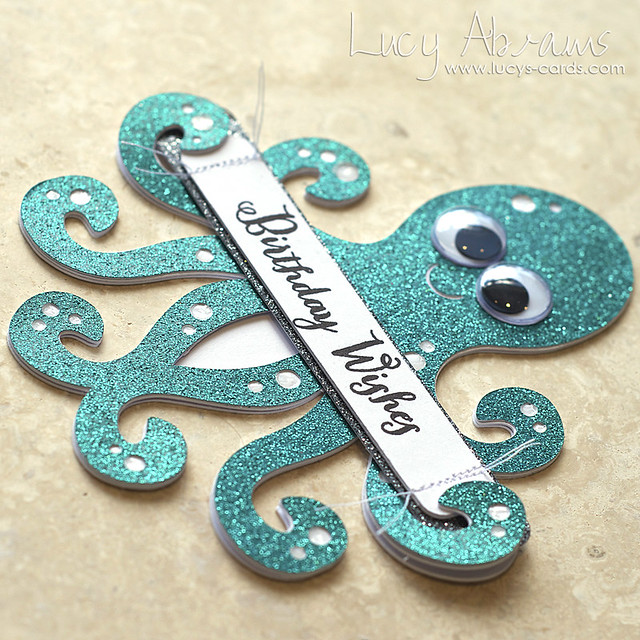
Here's a close up of all that delicious glittery goodness.
Here's a close up of all that delicious glittery goodness.
Right - now it's your turn.
Head over to Virginia's View blog to check out all the challenge details.
I hope you get a chance to join in.
And finally, a huge thank you to Virginia for not only creating her awesome blog and giving us all the opportunity to be inspired and play, but also for asking me to be a guest today. I had such a fun time making this card Virginia, thank you so much!!!
Bye for now.
x
Supplies


7 comments:
What a creative and utterly cute card! The sparkly octupus is just the best! And those eyes...
This is totally outstanding! Who would not love this glittery octopus, Lucy!? I love the stitching details and the googly eyes are just too cute! Thank you from the bottom of my heart to be the guest designer this month! YOU rock!
This is one of the cutest kids cards (or fun loving adult) I have ever seen. You have made a great card! I wish I had a silhouette, but at least I can enjoy what you can accomplish! Thanks for a fun Monday morning.
tonilea
Fabulous! Jo x
Beyond adorable!!
Super cute, Lucy! I love this darling Octopus!
This card is soooo cute!! Love it!!
Post a Comment