
Welcome to Day 2 of my Use It! class where I take a selection of supplies and create a series of cards each featuring a different technique. If you missed Lesson 1, click HERE.
Firstly, let me thank those of you who emailed me or left such kind comments on yesterday's post. It was great to see that people liked the idea. :)
Firstly, let me thank those of you who emailed me or left such kind comments on yesterday's post. It was great to see that people liked the idea. :)
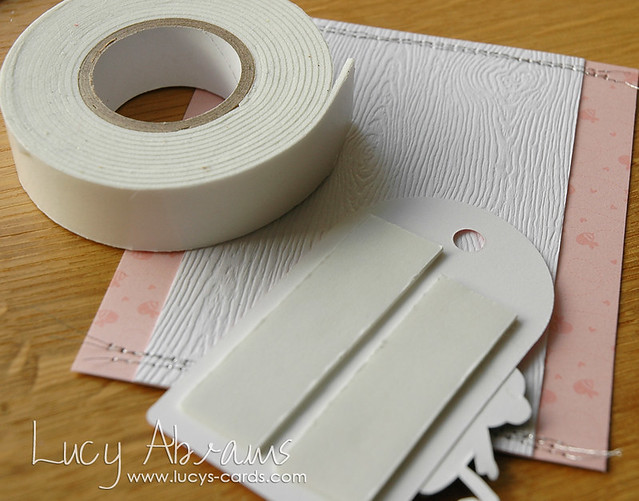
A recap on my supplies for this class:
Lesson 2 - Stencils
Today's card features stencils and embossing paste, a super fun technique with lovely results. I was first inspired to try this by my sweet friend Debbie who in my opinion is the queen of embossing paste.
Creation
Adhere a sheet of patterned paper to your work surface then adhere the Confetti stencil to the patterned paper. Washi tape works best for this.
Apply White Embossing Paste. I use a kitchen palette knife for this. (No fancy tools for me…)
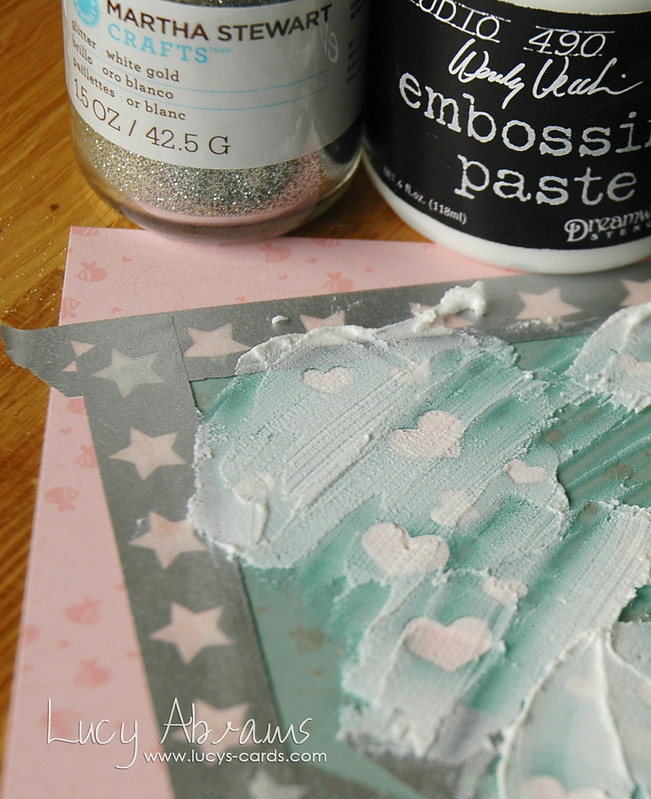
Scrape off the excess paste and return it to the pot.
Remove the stencil carefully from the patterned paper then sprinkle the paste with White Gold glitter, tap off the excess and set aside the paper to dry.
TIP: Be sure to clean your stencil immediately as the paste dries hard. (Experience has taught me this…)
Once completely dry, die cut a tag from the patterned paper. (You could of course cut the tag first then apply the stencil…)
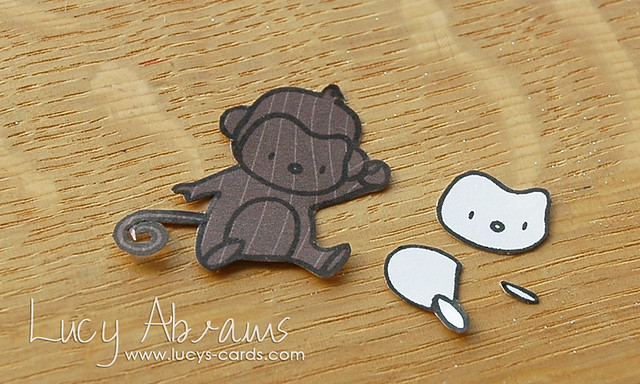
Stamp the monkey on woodgrain paper and cut him out. Stamp him again on white paper and cut out the face, tummy and feet.
Pause briefly and say "awwww". He is just too cute!
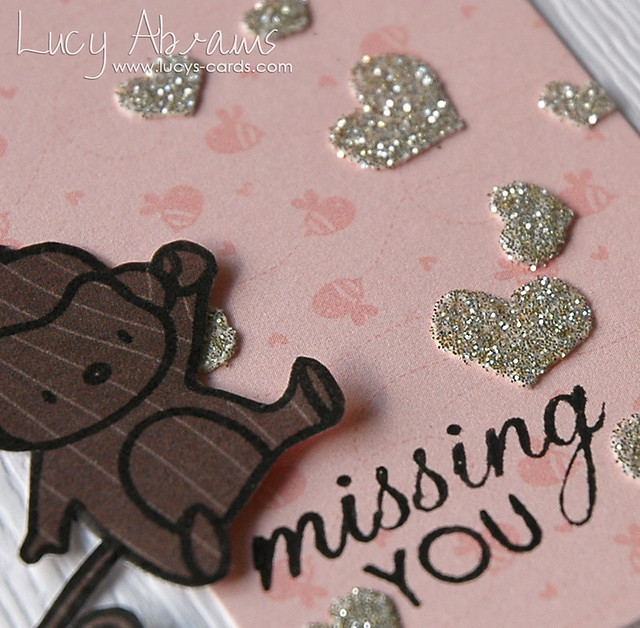
Stamp the sentiment onto the tag.
Stamp a flower on white paper and trim. Paper piece the monkey together then adhere the monkey and flower to the tag. Add dots of pink watercolour paint to the monkey's cheeks.
Cut two strips of the pink paper and adhere them behind a panel of white woodgrain card stock.
Stitch along the top with silver thread.
Adhere the tag to the background with foam adhesive.
Stitch along the top with silver thread.
Adhere the tag to the background with foam adhesive.
And that's it.
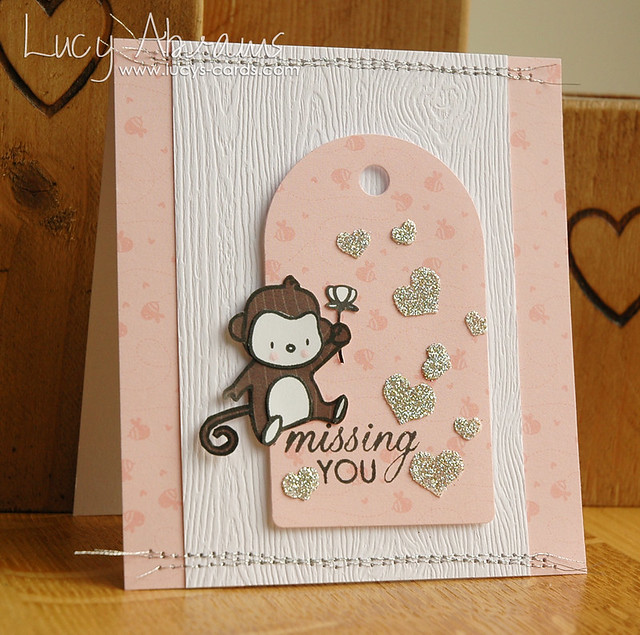
Loving the texture the embossing paste adds, and the sparkle from the glitter…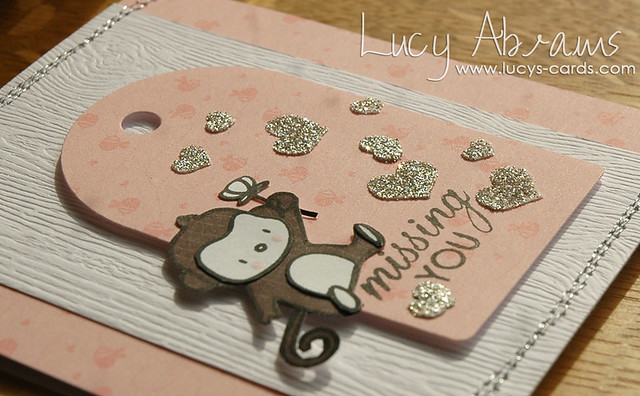
And today I have a bonus card.
I created a masculine card using exactly the same technique. I added some Calico Shine Mister Huey's to my heart background. Instead of spraying it, I flicked it onto the card for bigger droplets.

Variations
Adding different colours of glitter would be fun. You could even go with a rainbow effect if you had lots of time to spare. :) Alternatively, leave the paste to dry, then add Glossy Accents on top before adding the glitter (as I did with THIS card).
That's all for today.
Join me tomorrow for Lesson 3: Clean and Simple. :) And again, be sure to leave a comment if you have any questions or requests. I've had a few suggestions of future techniques (keep them coming), but would love to hear of any products you purchased and did not quite get around to using yet. If I have them, I'd love to help you with them. :)
Bye.
Supplies


23 comments:
Love how you used the same stencil and technique to create two totally different cards. I know I should be taking a look at my own supplies to see how I can put them to (better) use, but so far I'm especially tempted to go and buy more supplies, because your cards are so wonderful and I don't have any of the supplies you've used.
Love the embossing paste with the glitter! And that monkey is so darn cute! Thanks for sharing this technique, Lucy!
Two very beautiful cards from the same stencil ... Brilliant x
Another great lesson, Lucy! Love these beautiful cards! That gold glitter is soooo pretty!
I love this technique, it adds such a beautiful dimension to your card! I'll really have to try this.
Thanks for this wonderful class!!
I am enjoying how you stamp on patterned paper. Its giving me so many ideas. Thanks for making this series. I like seeing step by step how tos.
Thanks for sharing this, I'll try it. :-)
Thank you so much for taking the time to do this!!!
Fab cards, great lesson! Thx so much Lucy!
glitter ... we can never have too much glitter - can we ? - LOL ..
Such a cute card Lucy .. thank you for reminding us to use what we have.
Your card is super beautiful. I realy enjoyed your tutorial, I learn a lot from you and I get inspired. I can wait to get in my hands that I ordered so I can use the stanciles that I bought and work with tip and tricks you showed on those two days. Thanks again for sharing and inspiring.
Avigail
Lovely cards again. These tutorials are great fun. Keep it up please
Oh what a cute card. I recently got some embossing paste (actually have two - accidentally ordered it twice) so I need to get after it. Thanks for the tutorial to inspire me. :)
Both of these are fabulous! Love how you used glitter on top of the embossing paste! I am really enjoying this series, Lucy!!!
I love this idea of using a set of products and making many different cards! I hope you'll continue this series.
Love your fabulous cards and thanks for the tutorial.
Super sweet monkey card!
Wow what a great idea these series I have missed the first one but will go back. Great cards Lucy and I love embossingpaste and stencils.
Great cards! Love them.
stinking cute (again). So I looked at one of my papertreyink stamp sets (everyday button bits) and just did a google image search and wa-la, so many creative ideas! Even doing that helps with a starting point for an older stamp set.
Two very lovely cards, Lucy! Love the addition of the glitter.
Love the embossing paste and glitter - great texture and sparkle :)
Another gorgeous creation! I haven't got that paste but I do have others and I am thinking about playing with the paste and some glitter. I have been trying to use up my loose glitter so this technique could be perfect for that - thank you! Karen x
Post a Comment