
Hello!
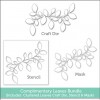
Today I have a card set to share with you. It's a set of 5 cards - all different but all sharing one same focal design - the new Clustered Leaf die, Stencil and Mask from Simon Says Stamp's Valentine's release. And best of all, when I told the lovely folks at Simon that I had made this set, they created a special offer meaning you can now buy the die, mask and stencil as a package for just $19.99 (to buy all three separately would be $31.97!) I just love the Simon folk.
I made the set as a Christmas gift for my Mother-in-Law, so chose a pretty, floral colour scheme with lots of yellow as she loves yellow. The main colours are Hero Arts' Carnation, Daffodil and Shallows. I kept the sentiments simple, using the new Perfect Love stamp set. I added the Happy Birthday from the From Us set.
Each card features a different technique, so I thought I'd give a little information on each. They were such fun to design and make…
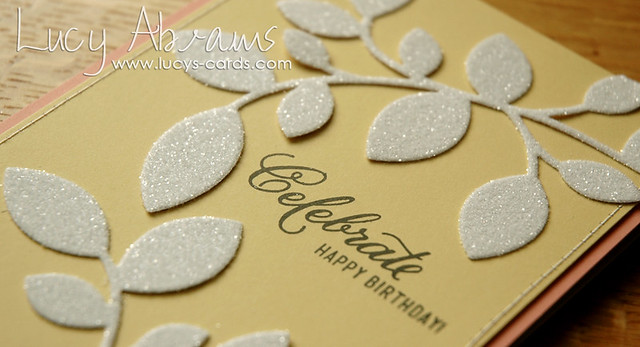
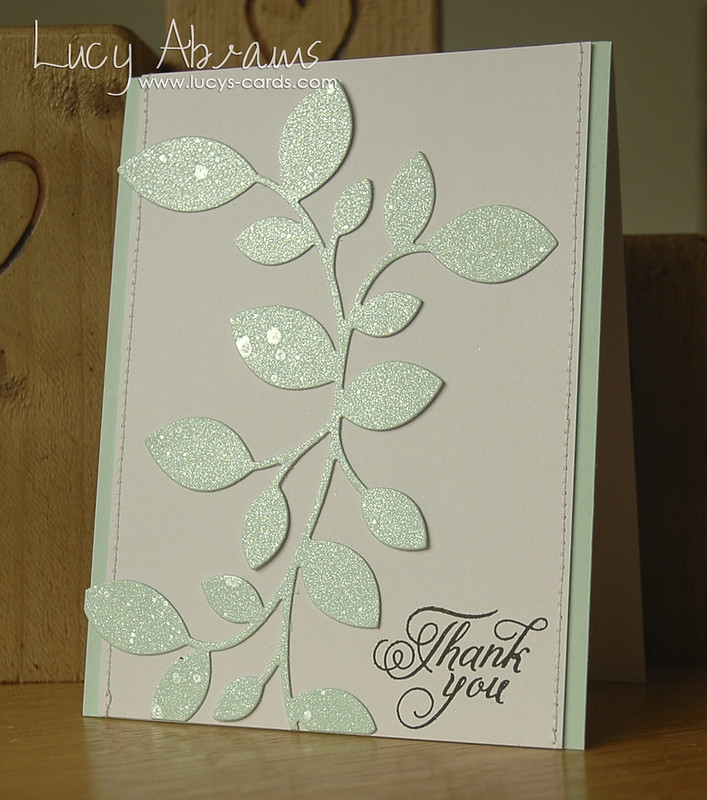
The first card features the Clustered Leaf die. I adhered some white cardstock to the back of a Double Sided Adhesive Sheet, then die cut the leaves. After adhering the leaves to my card, I peeled off the top layer and added lots of Rock Candy Distress Glitter. This Double Sided Adhesive is designed for the Silhouette but works brilliantly in the Cuttlebug too. :)
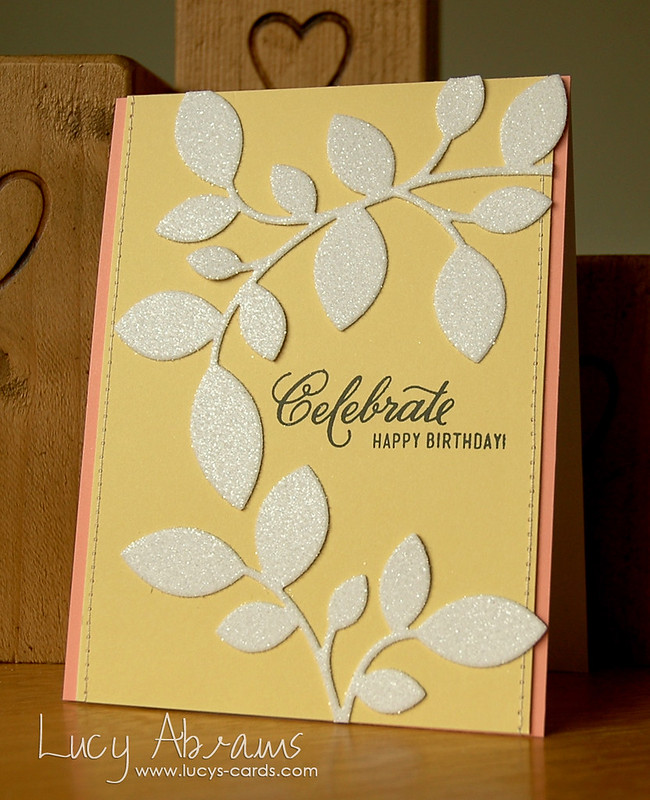
Rock Candy Distress Glitter gives such a soft shimmer. It's so very pretty.
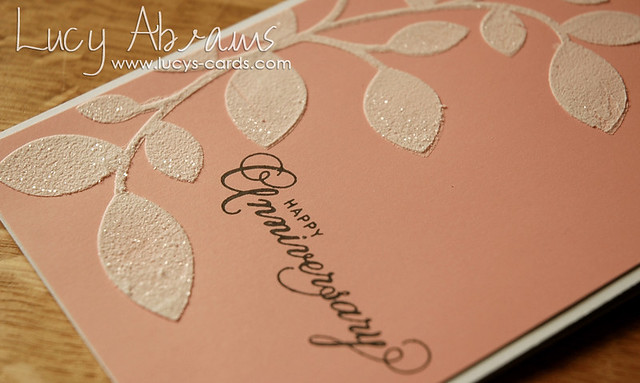
My next card features the Leaves Stencil. I used this stencil with some White Embossing Paste. And before it dried, I added a tiny touch of Rock Candy Distress Glitter. I tried to only glitter the tips of the leaves, but it was pretty hard! :)
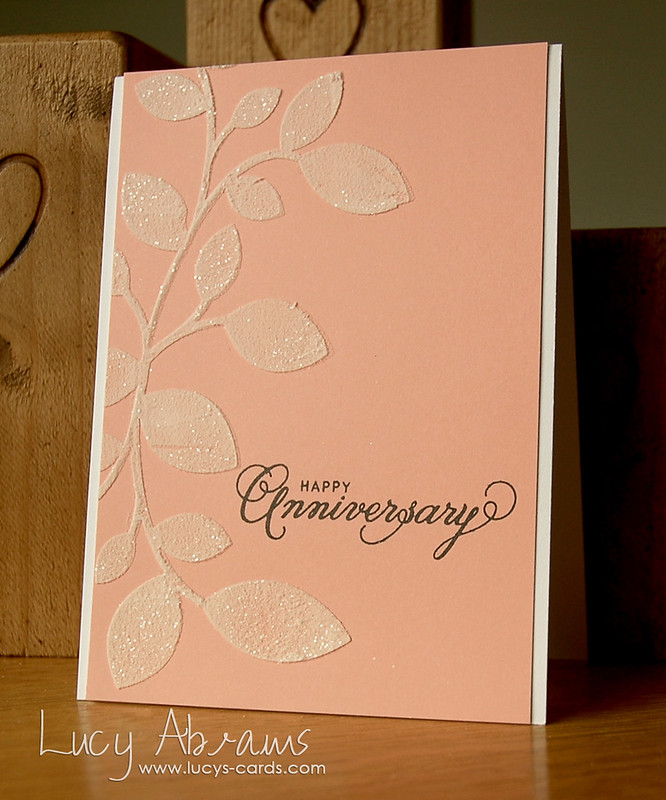
Love the texture this paste adds. It's such a unique product! I'm still a beginner with this technique… hence the slightly rough edges - but I think it adds character. ;)
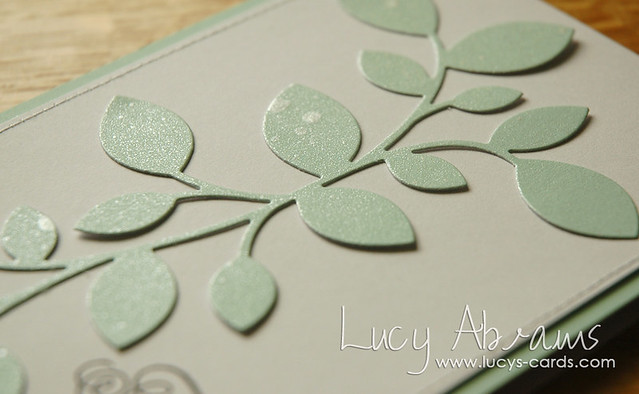
Next, a shimmery Thank You card. For this one, I die cut the Leaves from Shallows paper then added LOTS of Calico Shine Mister Huey's.
Again, the shimmer added by Calico Shine is not too bling-y, but just perfect. I really love this mist. :)
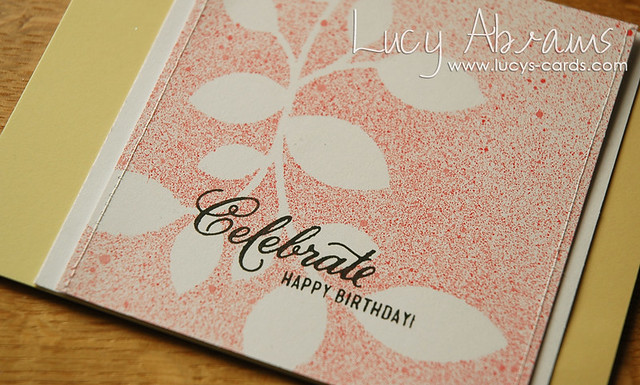
Next, I used the Mask. I taped the mask to some white card stock, then sprayed it with First Kiss Mister Huey's.
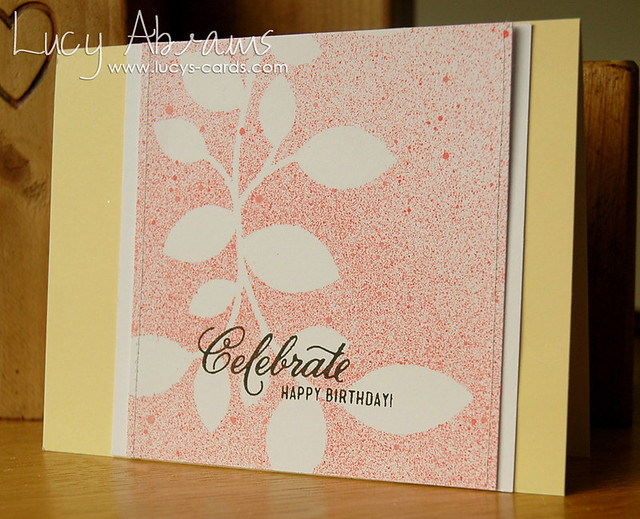
The First Kiss colour works beautifully with these Hero Hues colours. (Although I am SO EXCITED to see that Hero Arts have just released their own line of mists… can't WAIT to get my hands on some of them!!)
And my final card…
For this card I used the Leaves die again. First I die cut the leaves from Daffodil paper, then again from white and Shallows. I adhered the negative of the Daffodil die to a Hero Arts Snow notecard, then slotted the white die cut into the negative space. Finally, I adhered the Shallows die cut on top but at an angle for a bit of visual interest.
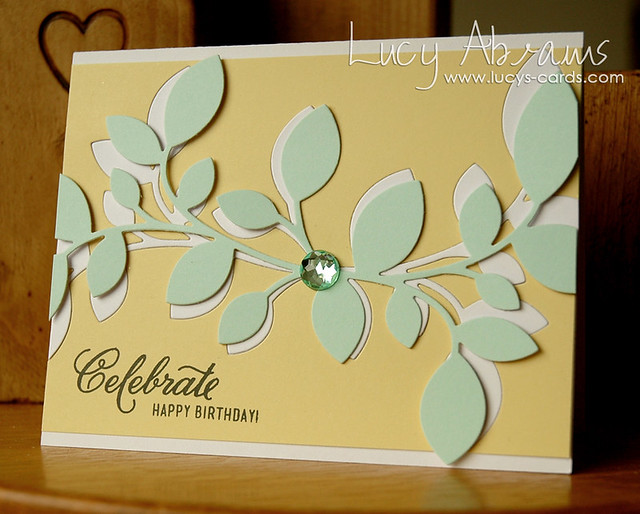
I added a gorgeous Doodlebug jewel to the centre of the card. 
And that's it. I packaged them into a clear box and added a simple ribbon. I hope she'll like the set. I always feel a bit funny about giving handmade gifts, even though they take a lot more thought and preparation than store bought stuff!
I hope you enjoyed seeing some of these fab products in action. Congratulations to Simon Says Stamp on an awesome release. I love the new products and hope I get more time to play, even after our imminent arrival!!
Here's a final peek at that fab special offer from Simon:

Here's a final peek at that fab special offer from Simon:
Bye for now. Back soon.
Supplies


12 comments:
Such a pretty set of cards, Lucy. Love how you've used the different products and techniques to create this set. And a big thank you to SSS. I think I will need to go shopping...
Very very good. I only just found your website and it is inspirational. Extremely well done and we'll designed cards.
Beautiful Lucy. I love all the different techniques and ways you have demonstrated the versatility of this product. Awesome job.
They are lovely Lucy ... I think I know what I am buying for my birthday .. I love using dies , punches and stencils when making my cards .
thank you for sharing this idea.
So many fun techniques! TFS ;-)
Absolutely awesome Lucy! The leaves are possibly my favourite from the new release and you have just made them shine!
I just love these simple designs so the gorgeous leaves can take centre stage!
Love what you created Lucy - they are all fabulous.
wow--you really did a lot with a simple piece!
Gorgeous cards! What a great set!
Sparkly cards match the holiday
season...Love them all....
I know this is an older post, but wow! I just purchased this die and I thank you for the wonderful inspiration!
Post a Comment