Wednesday, 26 March 2014

Use It! with Lucy's Cards - Class 1: Lesson 3 (Clean and Simple)

banner
It's time for Day 3 of my Use It! class. I hope you have enjoyed seeing how my card-making brain works. :)
A recap on my supplies for this class:
Hello Sunshine and Into the Woods 6 x 6 pads
Welcome to lesson 3:

Lesson 3: Clean and Simple

Clean and simple is how I work.
I love it.
And there are some AMAZING CAS gurus out there, my favourite being Laura Bassen. She really is incredible, right?
People often comment on how simple my cards are, and I like that. However, simple does not necessarily mean easy. It's HARD to stop adding more and more pretty things… you have to know when to stop. :)
So on to today's card… not many steps, not many photos… it's CAS after all. ;)

Creation
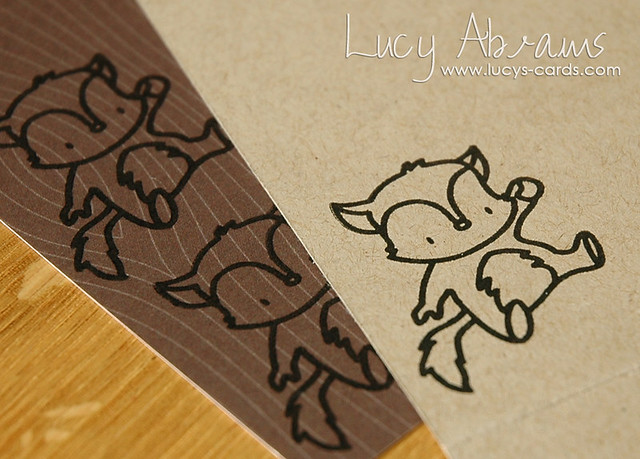
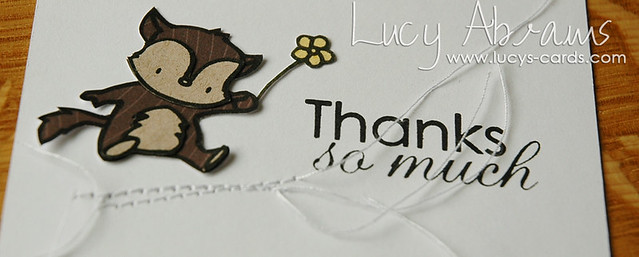
Stamp the cute critter onto woodgrain paper and again onto kraft cardstock. (See I stamped him twice… that's because I messed up the first one just a teensy tiny bit. And with a CAS card, teensy tiny mistakes show up!)
DSC_0081
Trim the face, tummy and feet from the kraft critter and adhere to the woodgrain one.
Trim a piece of white card stock to 3 3/4 x 5 1/2".
Play around with where you want your critter to go, then stamp the sentiment.
Add some stitched lines beneath where you plan to place your critter. I adhered him temporarily with some washi tape while I did this so I could see where to add my stitching.
Stamp a flower on yellow paper and trim.
DSC_0082 
Cut off the threads, making each a slightly different length. Adhere the loose threads on the reverse of the card.
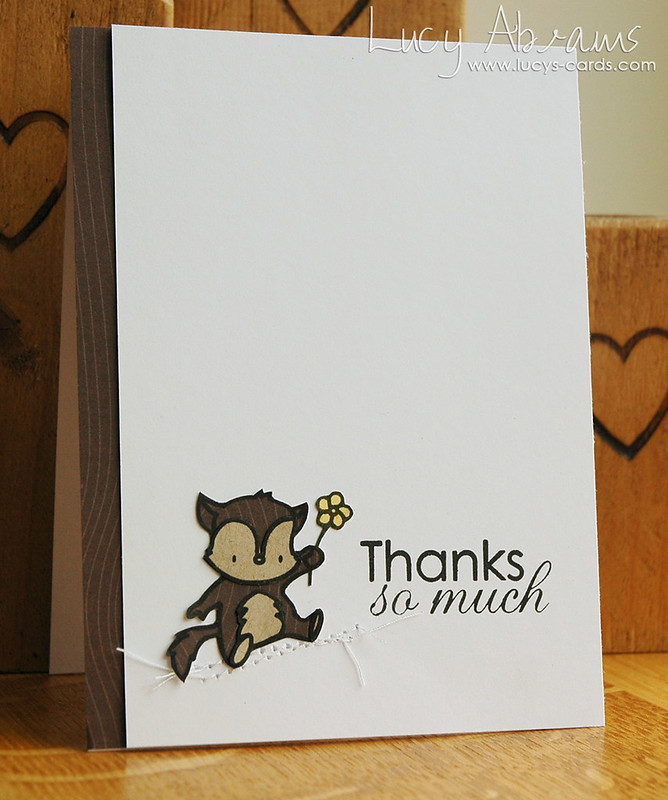
Trim a strip of woodgrain paper and adhere behind the white panel.
Adhere to a notecard.
Step away. :)
DSC_0086
TIP: Clean and simple cards rely on white space. So make sure your cardstock is good quality and pristine before you start. There's nothing more annoying than finding a speck of dirt on your card just after you've finished… believe me, this has happened to me MANY times. :)
OK - so that's it for today.
Lesson 4: Watercolours follows tomorrow.
Bye for now.
P.S.
Just to say - this is my 1000th blog post!!!
Wow! How time flies!
Supplies


Tuesday, 25 March 2014

Use It! with Lucy's Cards - Class 1: Lesson 2 (Stencils)

banner
Welcome to Day 2 of my Use It! class where I take a selection of supplies and create a series of cards each featuring a different technique. If you missed Lesson 1, click HERE.
Firstly, let me thank those of you who emailed me or left such kind comments on yesterday's post. It was great to see that people liked the idea. :)
A recap on my supplies for this class:
Hello Sunshine and Into the Woods 6 x 6 pads
And now it's time to begin lesson 2:

Lesson 2 - Stencils

Today's card features stencils and embossing paste, a super fun technique with lovely results. I was first inspired to try this by my sweet friend Debbie who in my opinion is the queen of embossing paste.

Creation
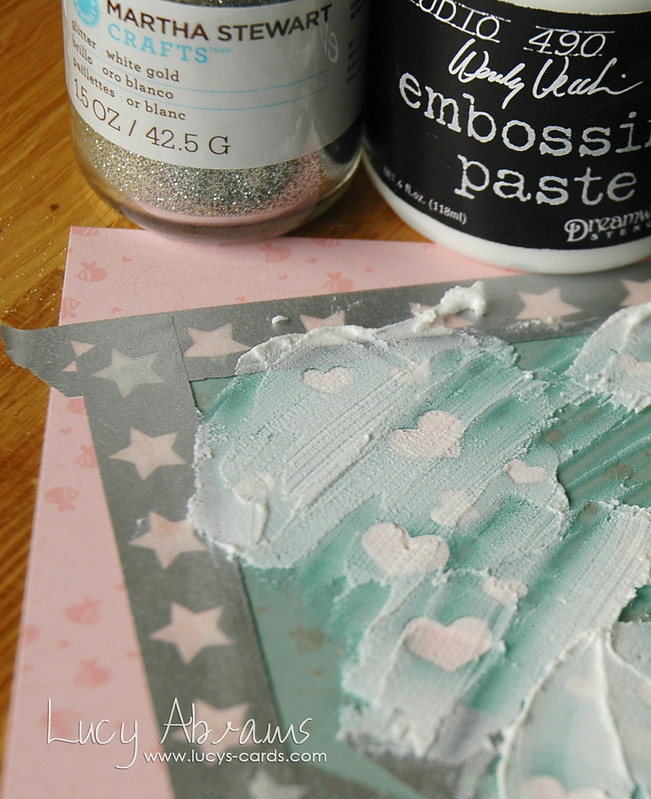
Adhere a sheet of patterned paper to your work surface then adhere the Confetti stencil to the patterned paper. Washi tape works best for this.
Apply White Embossing Paste. I use a kitchen palette knife for this. (No fancy tools for me…)
DSC_0088
Scrape off the excess paste and return it to the pot.
Remove the stencil carefully from the patterned paper then sprinkle the paste with White Gold glitter, tap off the excess and set aside the paper to dry.
TIP: Be sure to clean your stencil immediately as the paste dries hard. (Experience has taught me this…)
Once completely dry, die cut a tag from the patterned paper. (You could of course cut the tag first then apply the stencil…)
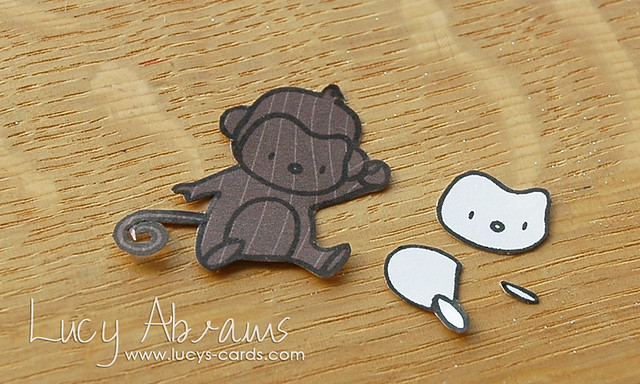
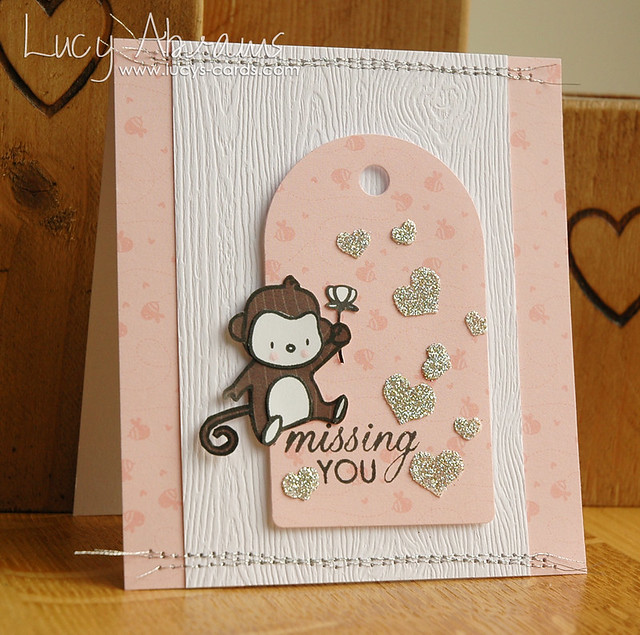
Stamp the monkey on woodgrain paper and cut him out. Stamp him again on white paper and cut out the face, tummy and feet.
Pause briefly and say "awwww". He is just too cute!
DSC_0041
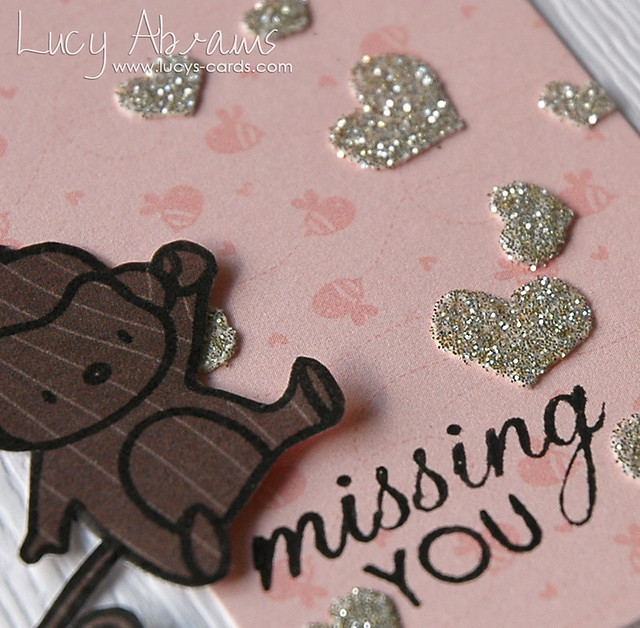
Stamp the sentiment onto the tag.
DSC_0038
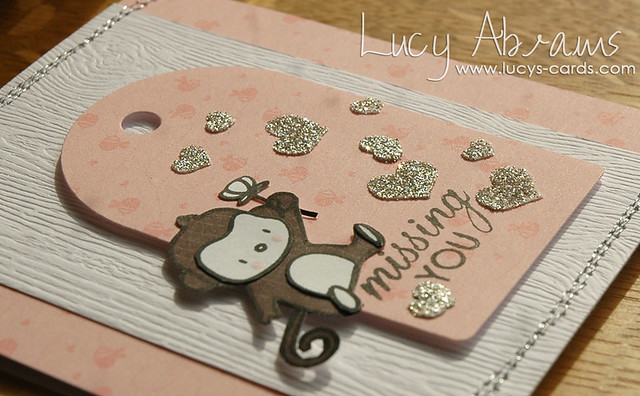
Stamp a flower on white paper and trim. Paper piece the monkey together then adhere the monkey and flower to the tag. Add dots of pink watercolour paint to the monkey's cheeks.
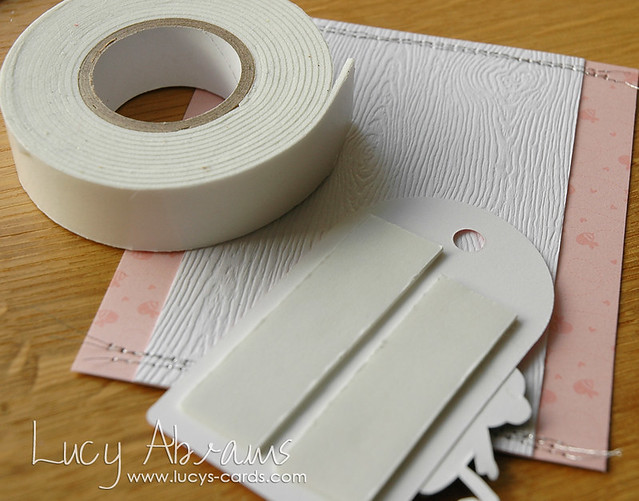
Cut two strips of the pink paper and adhere them behind a panel of white woodgrain card stock.
Stitch along the top with silver thread.
Adhere the tag to the background with foam adhesive.
DSC_0043 
And that's it.
DSC_0068 
Loving the texture the embossing paste adds, and the sparkle from the glitter…DSC_0070 
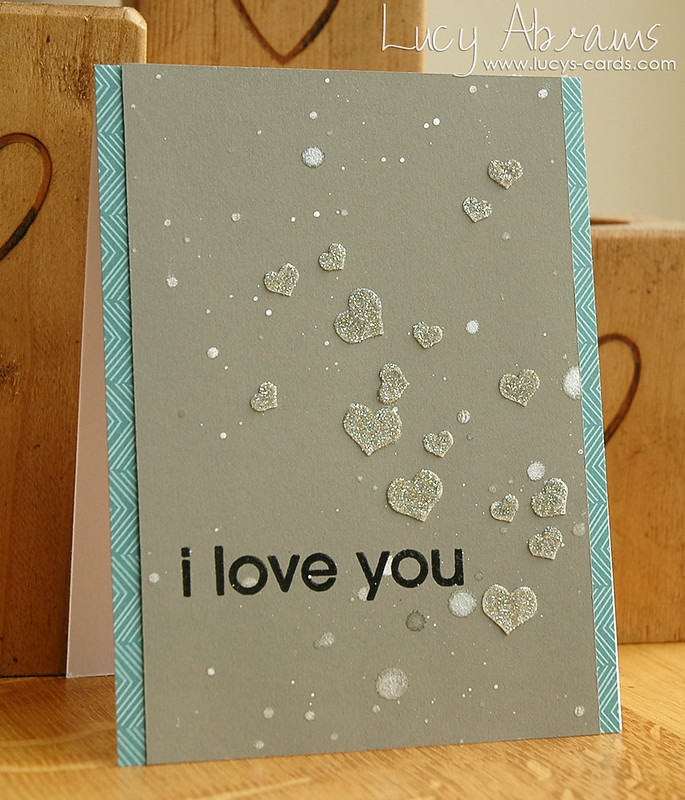
And today I have a bonus card.
I created a masculine card using exactly the same technique. I added some Calico Shine Mister Huey's to my heart background. Instead of spraying it, I flicked it onto the card for bigger droplets.
 DSC_0073 

Variations
Adding different colours of glitter would be fun. You could even go with a rainbow effect if you had lots of time to spare. :) Alternatively, leave the paste to dry, then add Glossy Accents on top before adding the glitter (as I did with THIS card).

That's all for today.
Join me tomorrow for Lesson 3: Clean and Simple. :) And again, be sure to leave a comment if you have any questions or requests. I've had a few suggestions of future techniques (keep them coming), but would love to hear of any products you purchased and did not quite get around to using yet. If I have them, I'd love to help you with them. :)
Bye.
Supplies

Monday, 24 March 2014

Use It! with Lucy's Cards - Class 1: Lesson 1 (Paper Piecing with Patterned Paper)

banner
If you are anything like me, you love to buy new supplies.
If you are anything like me, you often fail to use these new supplies enough… oh dear!
Welcome to Use It! my new blog class.
Each day this week, I will offer a card featuring a different technique, but created with the same selection of supplies - some new and some not so new. 
I will accompany each card with step-by-step instructions and photos to show you how I made it. I'm not offering anything new or innovative, but I always enjoy seeing others' processes and thought maybe someone somewhere may find it useful. :) I hope so anyway…
If this week is a success - if you enjoy it - I will try to do some more. And I will take requests too… techniques or products you would like to see me use.

Supplies
So first things first, here are my supplies for my first ever Use It! week.
DSC_0056
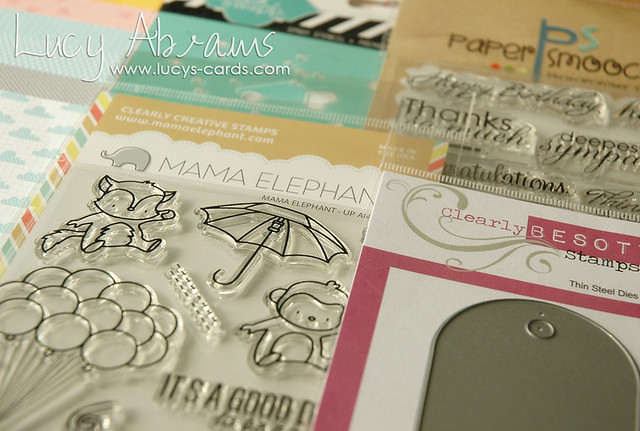
Firstly my stamps. I chose two sets that I thought coordinated well together - one new and one not so new. I wanted images and a good mix of sentiments so I could create a variety of different cards. My choices:
Next, I decided to add in Heidi Swapp's Confetti stencil. This stencil has three different designs on it and is therefore suitable for lots of different themes and designs.
I knew I needed a tag die as I use tags a LOT so I selected Clearly Besotted's Rounded Tag Die.
And finally, paper. I decided to work with two different 6x6 paper pads, both by Lawn Fawn: Hello Sunshine and Into the Woods.

Preparation
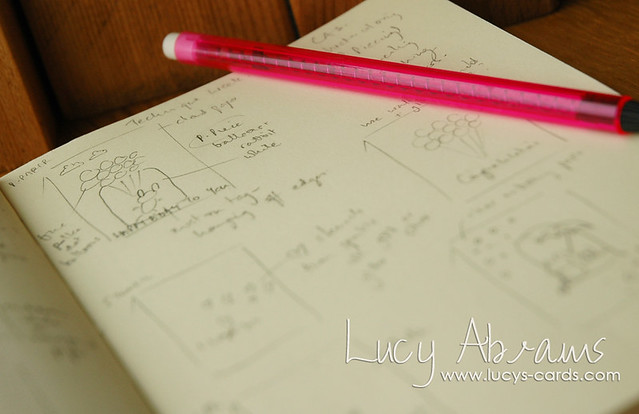
Once I had chosen my supplies, it was time to sketch.
DSC_0048
I always sketch out my ideas before making cards. This works best for me and ensures that the time I have to create is used well. Plus, I can sketch and plan whilst doing other things (such as feeding babies!!).
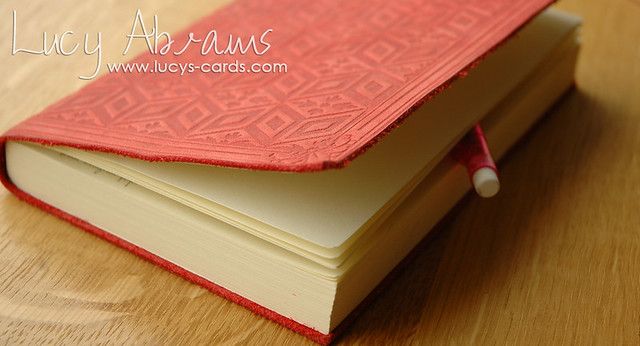
Having a super pretty sketch book also helps me a lot. For some reason, I have no desire to sketch in a boring old notepad.
Here's a glimpse at the inside of my sketch book… you can see that I write a lot down too. Although my cards do not always turn out exactly as sketched, they are usually pretty close. Today's card is the one in the top left… you can see the changes I made as I worked on it. :)
DSC_0046
So - on to today's lesson:

Lesson 1 - Paper Piecing with Patterned Paper

Creation
Die cut a tag from white card stock. 
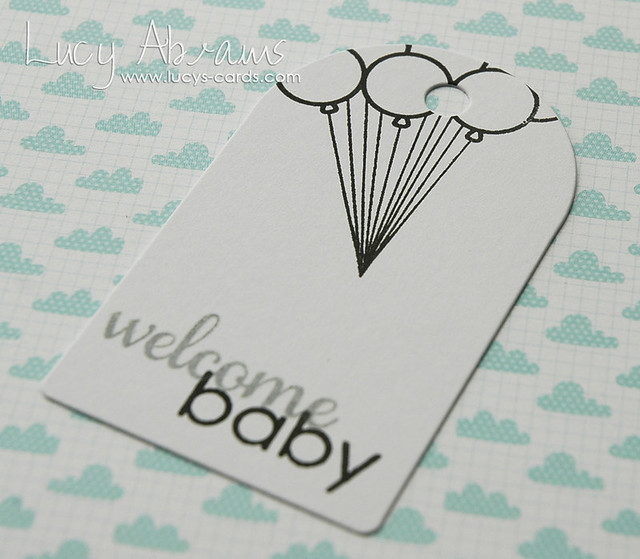
Stamp the sentiment - part in black ink, and part in Silver Shadow Ink.
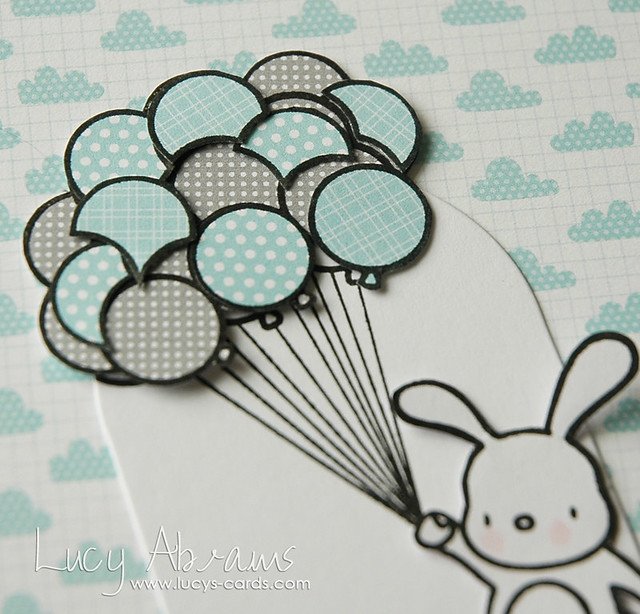
Stamp the bunch of balloons onto the tag.
DSC_0062
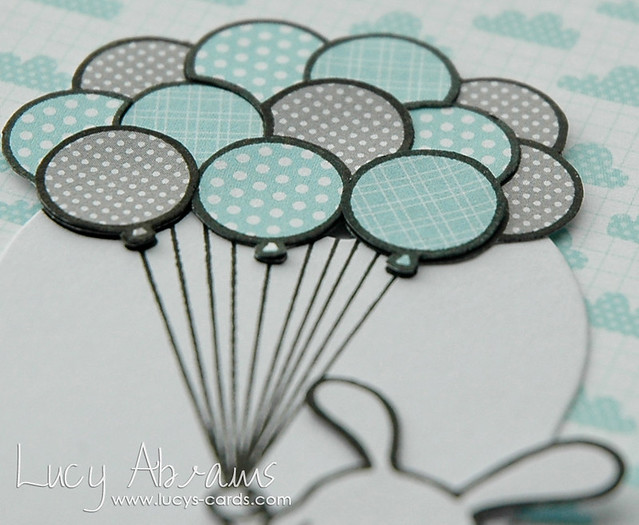
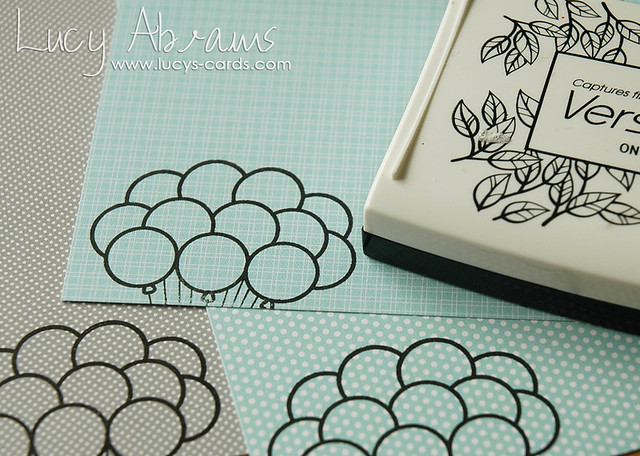
Stamp the balloons again onto three different patterned papers.
DSC_0059
Trim the balloons, using one colour as a base piece to adhere all the balloons to (I used the grey paper).
Stamp the bunny onto white card stock and trim. Add a drop of pink watercolour to its cheeks and adhere to the tag.
DSC_0063
Adhere the balloons together and add to the tag.
DSC_0065
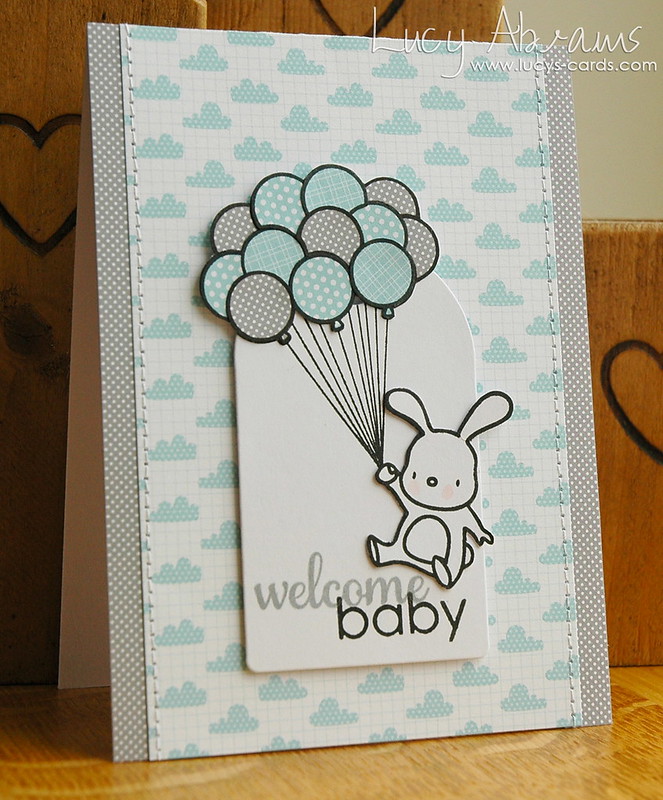
Create the background by trimming cloud paper to 3 1/2" x 5 1/2".
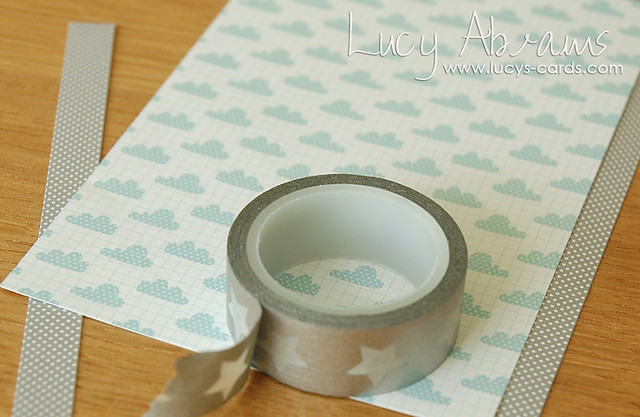
TIP: To avoid wasting precious patterned paper, trim two strips of grey polka dot paper and adhere to the reverse of the cloud paper. I always use washi tape for this… I have a LOT and do not use it very often. :)
DSC_0067
Add some stitching to the cloud paper panel. TIP: Do this before adhering the background to your card so your stitching is not visible on the inside of the card.
Adhere the background to a 5 1/2 x 4" folded card. 
Adhere the tag to the card with foam adhesive.
And voila. :)
DSC_0084 
Variations
This card would be super cute in baby girl pinks too, or simply change the sentiment for a birthday or congratulations card.  Adding glitter or glossy accents to the balloons would add sparkle or shine.

I'll be back tomorrow with Lesson 2: Stencils. Hope to see you then.
P.S. Please leave me a comment if there's anything you might be interested in seeing in future classes.
Supplies