Tuesday, 6 May 2014

Use It! with Lucy's Cards: Class 3 - Lesson 2 (Altering Stamped Images)

banner
Welcome to Day 2 of my 3rd class.
Here are my supplies for this week:
Simon Says Stamp's You're Expecting stamp set
Amy Tangerine's Cut & Paste Die Cut Shapes

Lesson 2 - Altering Stamped Images

Creation
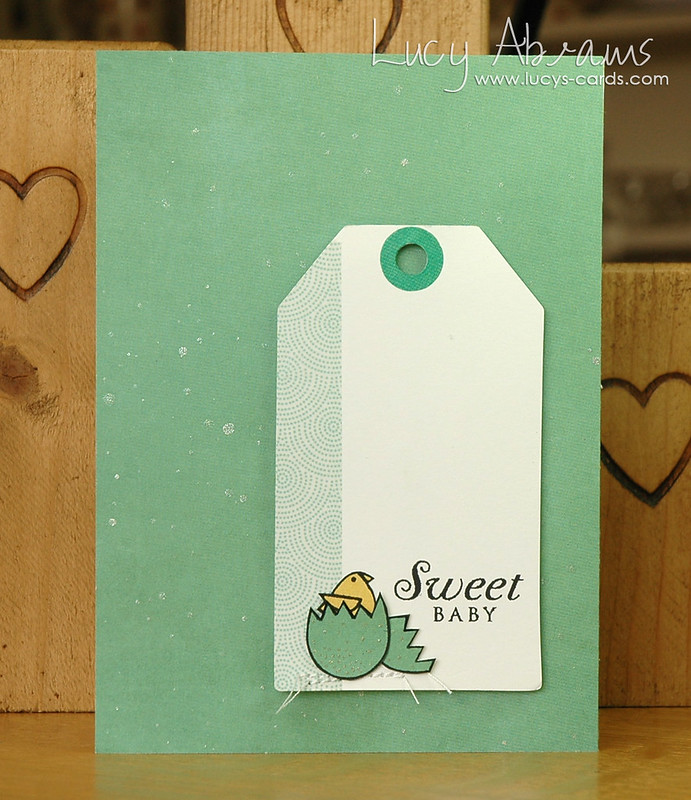
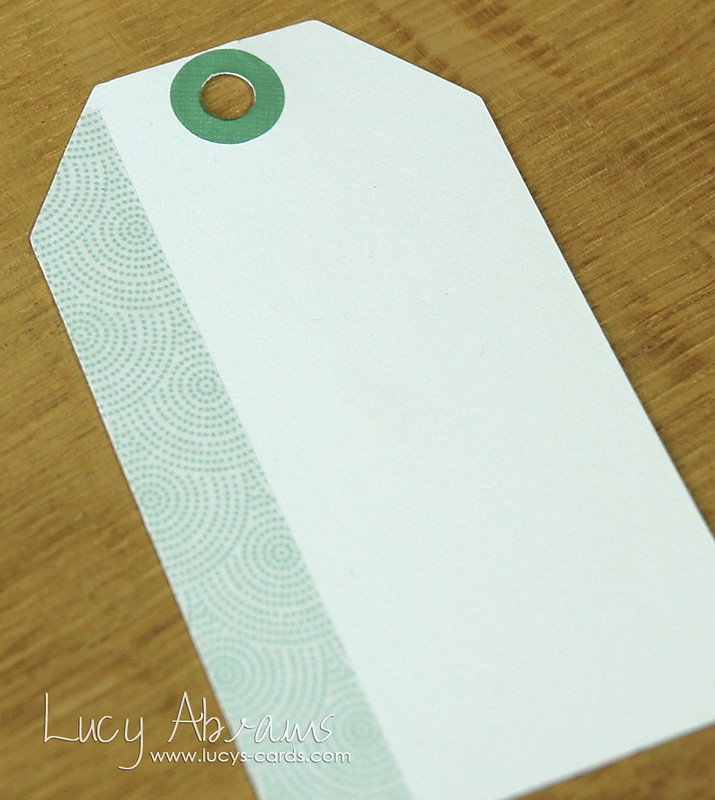
As I mentioned yesterday, I am always looking for ways to repurpose bits and pieces from die cut sets that I do not think I will use. Take this 'Good Stuff' tag from the Cut & Paste die cut shapes set. Perfect for scrapbooking maybe, and it might work well on a graduation card or something… but it's not really my style. So, I thought I'd just use the reverse. A nice plain white tag. Now that IS my style. :)  
DSC_0046
Embellish the tag with vellum stickers and tape.
DSC_0032 
And like my embellishments, I try to find ways to re-purpose my stamps too. For this card, I wanted an egg, and I wanted a chick… but I wanted my chick popping OUT of the egg. So I had to do some creative thinking…
Stamp the egg image onto the sticky part of a Post-It note.
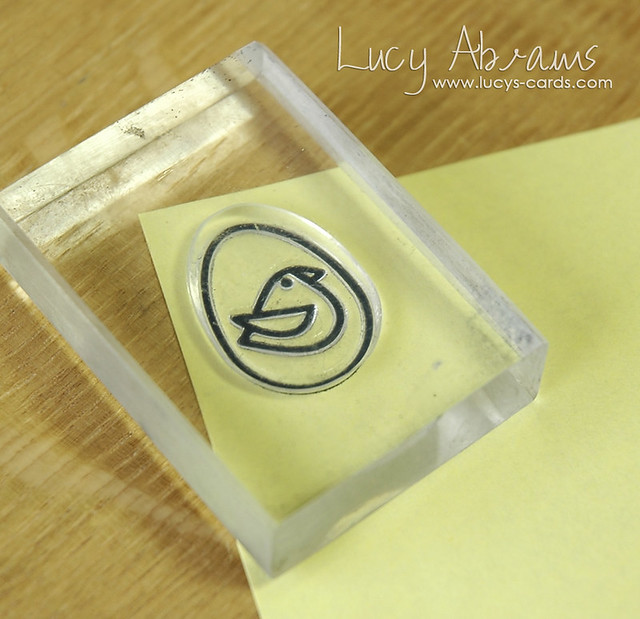
DSC_0033 
Roughly cut around the chick, then adhere the Post-It chick onto some patterned paper. Stamp the image again, lining it up on top of the Post-It chick.
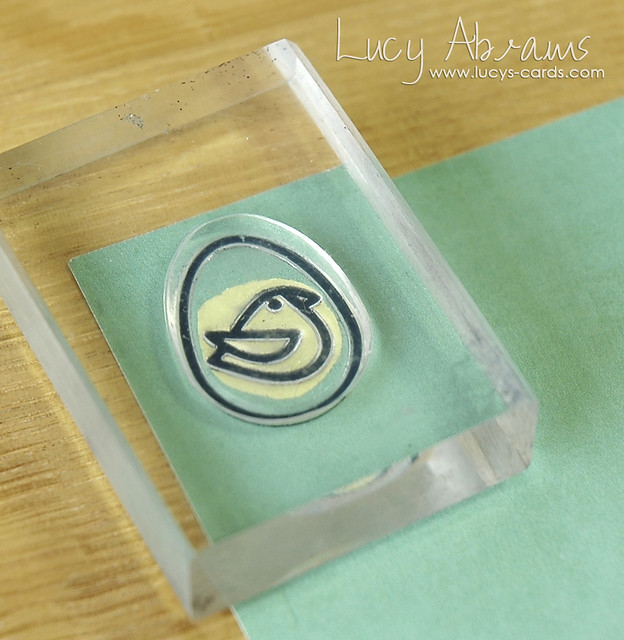
DSC_0035 
Remove the Post-It chick and you have just the egg. Perfect!
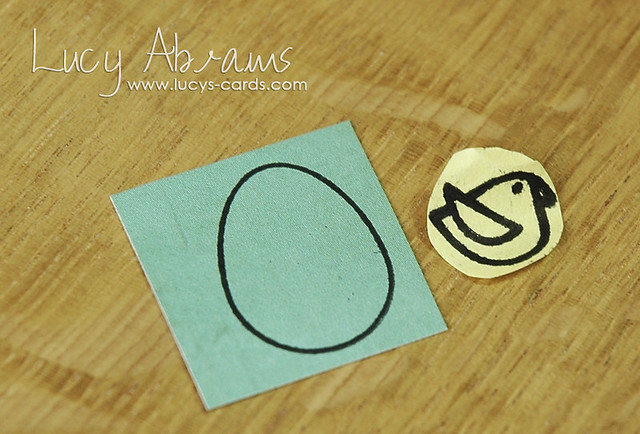
DSC_0036 
Using a black pen, draw a crack across the egg.
TIP: as you are going to cut this egg up, make the line nice and thick.
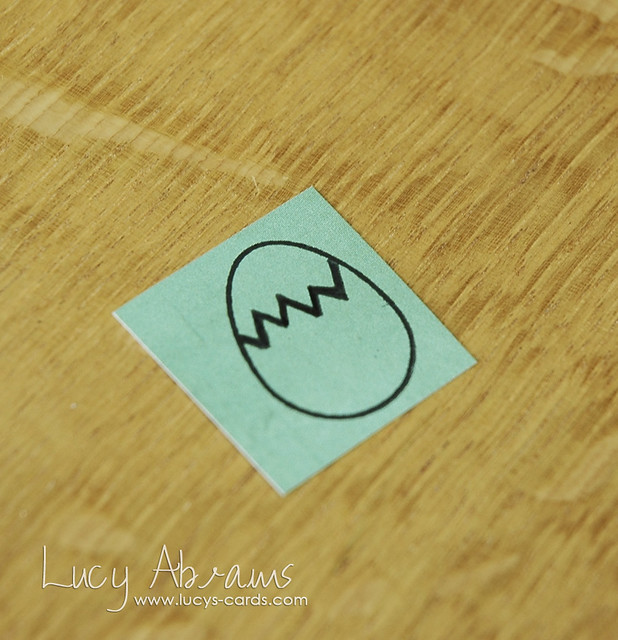
DSC_0037 
Stamp the egg again onto some yellow paper. This time, you will only be using the chick.
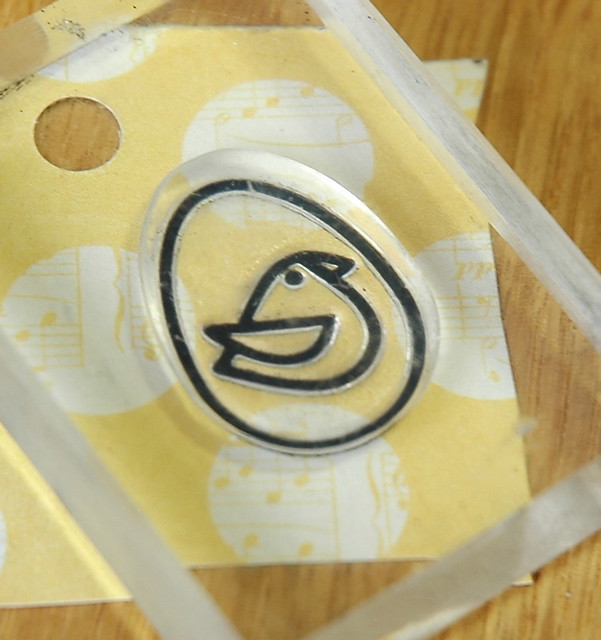
DSC_0039 
Fussy cut the egg and chick and arrange onto the tag.
Stamp the sentiment in black ink.
Stitch a couple of lines under where you want the egg to sit.
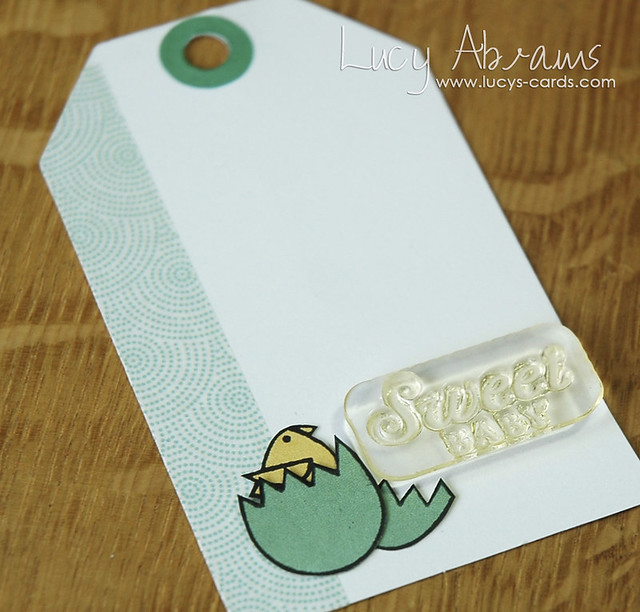
DSC_0041 
Add some speckles to the egg with a gel pen then adhere to the tag.
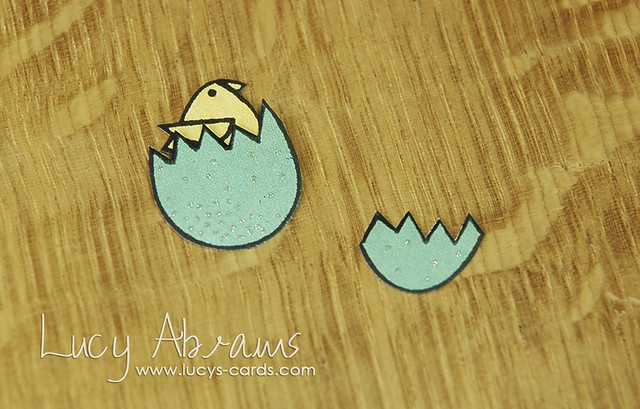
DSC_0044
Mist the background paper with Calico Shine Mister Huey's.
Adhere the paper to a folded card, then add the tag with foam adhesive.
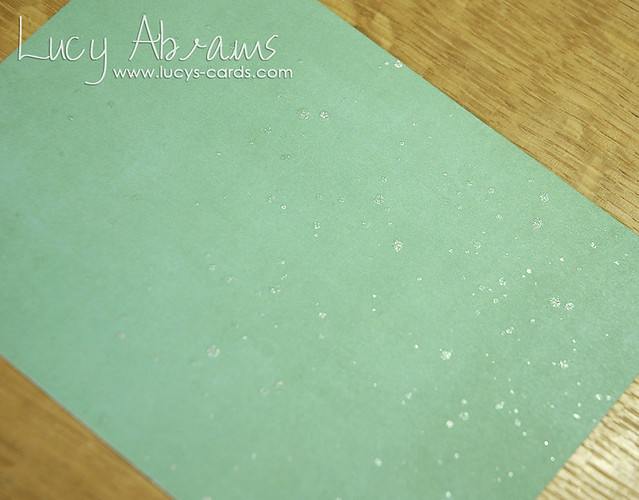
DSC_0047
And that's it:
DSC_00072
So, have a look at some of your stamps and see if you can alter them in any way.
This is such a fun way to get even more from your supplies… die cuts AND stamps.
Right. That's me done for the day… but pop back tomorrow for Lesson 3: Die Cut Stencils.
Bye.
Supplies

Monday, 5 May 2014

Use It! with Lucy's Cards - Class 3: Lesson 1 (Journaling Cards)

banner
It's time for my 3rd class. Yay!
I'm having so much fun making these - I hope you are finding something of use in them… :)
Just for anyone new to the series… my class runs for 5 days. Each day I share a new card featuring a different technique or idea, but all 5 cards are made with the same set of supplies - some old, some new. My aim is to use up some of my long-neglected supplies, and play with a few new things at the same time.

Supplies
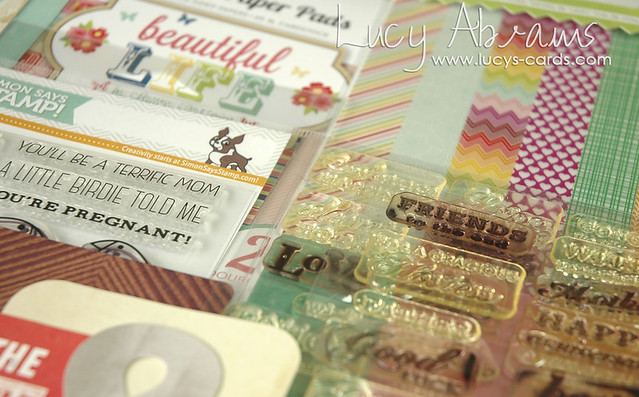
This week I am using the following products:
DSC_0016
Lots of colour!!! Yay!

And on to today's lesson…

Lesson 1: Journaling Cards

I used to use a LOT of journaling cards on my cards… recently, I have veered more towards tags. I have lots of these in my stash, and it's nice to come back to them again.
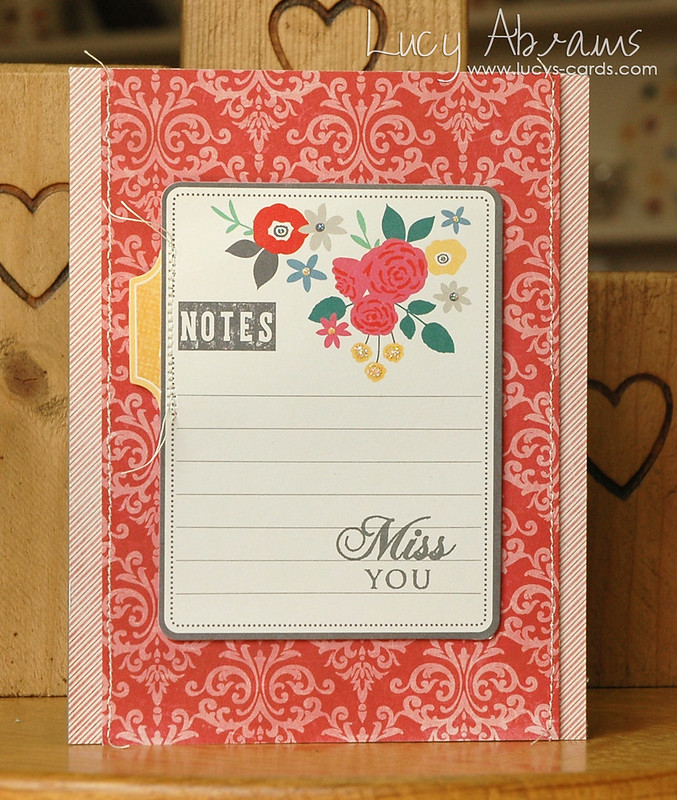
Journaling cards are great when you need to throw together a super quick card. Often, they are beautifully decorated, and require very little in addition. This is definitely the case with the card I used on today's card, taken from Amy Tangerine's Cut & Paste Die Cut Shape pack.

Creation
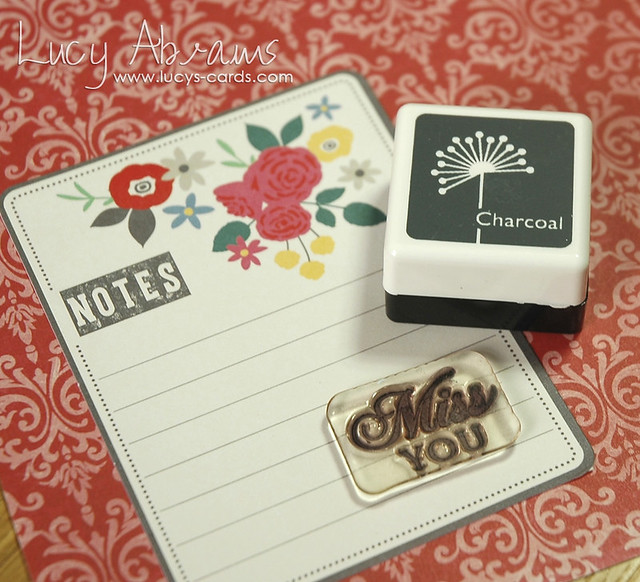
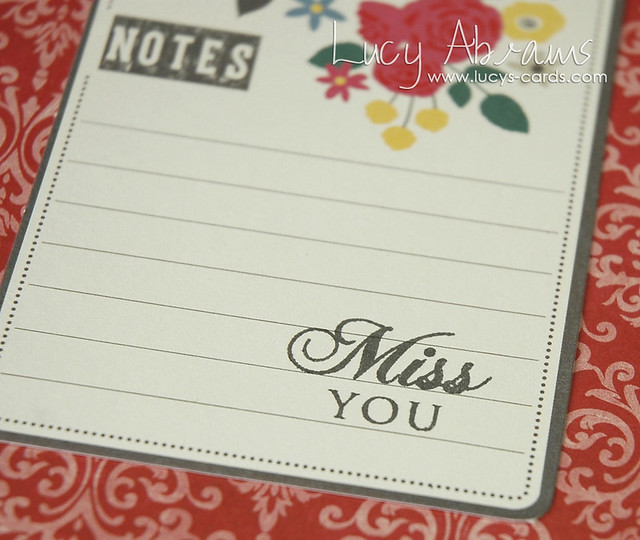
Using Hero Arts Charcoal ink, stamp the sentiment onto the journaling card. 
DSC_0054
 Charcoal ink is a really lovely grey colour, and - as you can see - is a perfect match to this particular journaling card. I think grey makes a lovely alternative to black for sentiments…DSC_0057 
Next, I decided to add a little extra to the journaling card in the form of a tab on the side. I took one of the die cuts I knew I would never use on a card, and set about re-purposing it. 
TIP: if, like me, you find you have die cut shapes that you think you will never use (ones that seem more geared towards scrappers than cardmakers), think about ways you can repurpose them. Perhaps a small portion can be salvaged or used in some way on a project… I hate throwing anything away!!
DSC_0059 
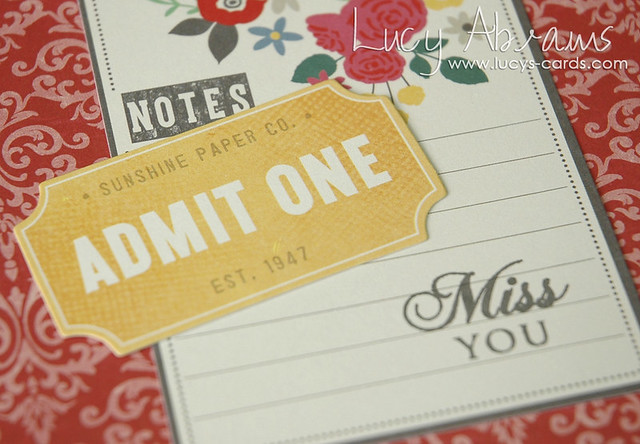
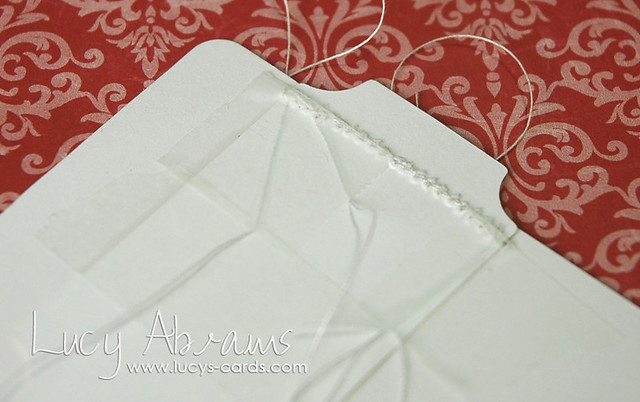
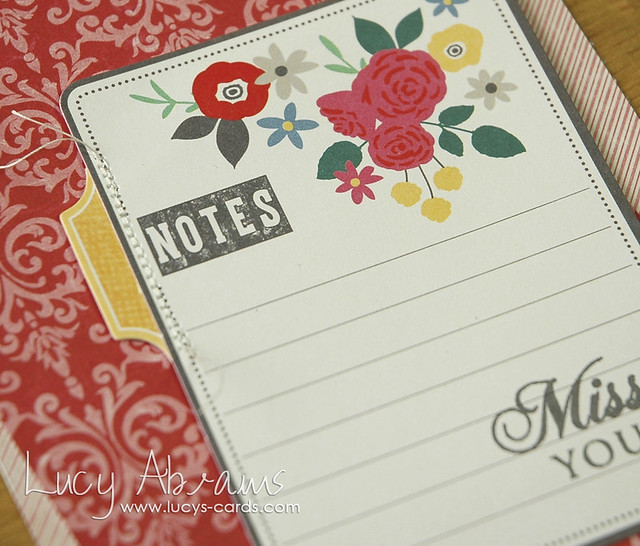
Adhere the ticket die cut to the journaling card with tape, then stitch it with two lines of stitches. Adhere the loose thread on the reverse with more tape.
DSC_0060
Trim the threads on the front, making each a different length for added interest.

DSC_0061 
Trim the two patterned papers - one to 5 1/2 x 4" and one to 5 1/2 x 3 1/2".
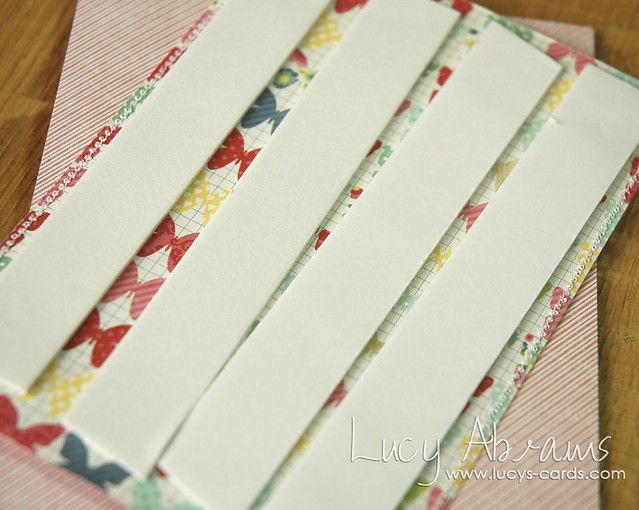
Add a line of stitching to each side of the floral paper, then adhere to the stripy paper with foam adhesive. I've used lots of adhesive here - this is because the paper is quite thin and can get squashed in the mail. TIP: to save on foam tape, first adhere the patterned paper to some thicker card.
Adhere the papers to a folded card.
DSC_0062
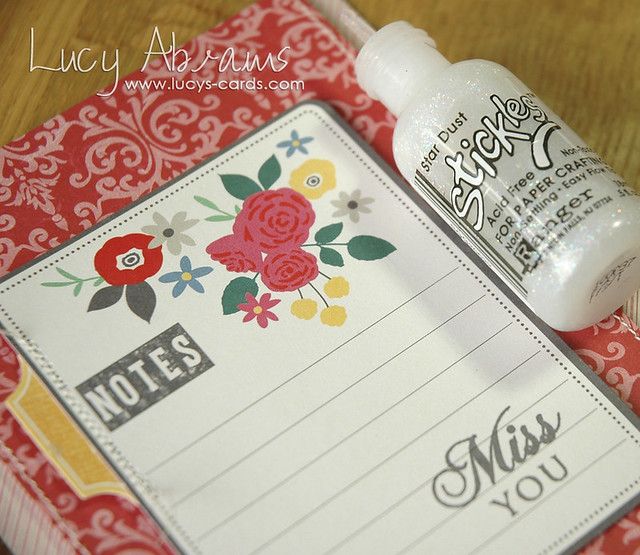
Add some detailing to the flowers on the journaling card with Star Dust Stickles.
Once dry, adhere the journaling card to the patterned papers with more foam tape.
DSC_0063 
And you're done. A feminine and colourful card for a friend.
DSC_0020 copy
So I encourage you to look through your stash, find some old journaling cards, and use them up!! Don't just let these pretty things go to waste. :)
OK, that's it for today. Join me tomorrow for Lesson 2: Altering Stamped Images.
Bye for now.
Supplies

Sunday, 4 May 2014

Welcome Little One

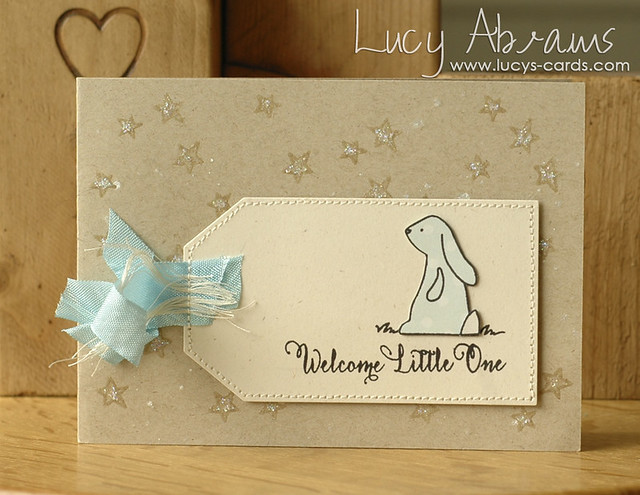
Have you seen the adorable new Storybook stamp set from Avery Elle? Well, it's an adorable set of animal themed stamps designed by talented artist Heather Campbell and it's been on my wish list from the moment I first saw it…
And kind Heather sent me a set to play with. :) (She is just the sweetest!)
So here's a card I created with some of the lovely stamps in the set.
DSC_0012
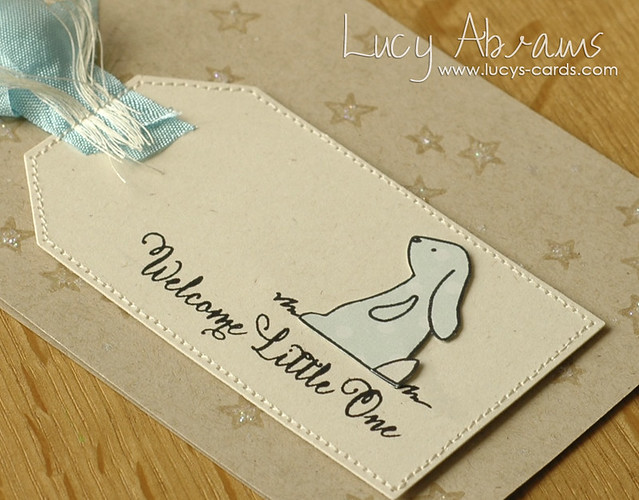
To create the background, I stamped a load of different shaped stars on kraft card with Versamark ink then added clear embossing powder and heat set. I filled the stars with Star Dust Stickles, then flicked Calico Shine Mister Hueys on for even more shimmer. 
DSC_0014
This stamp set is available at Simon Says Stamp or Avery Elle (though I think it is out of stock right now)
And if you are in the UK, good news, you can (or will be able to) buy this cute set HERE. (Love this shop… they sell all sorts of hard to find US products…)
Have a lovely Sunday.
p.s.

----------------NEWS---------------

I'll be back tomorrow with the first day of my 3rd Use It! Class. Yay!! Dig into your stash for some journaling cards. ;)
Supplies


Friday, 2 May 2014

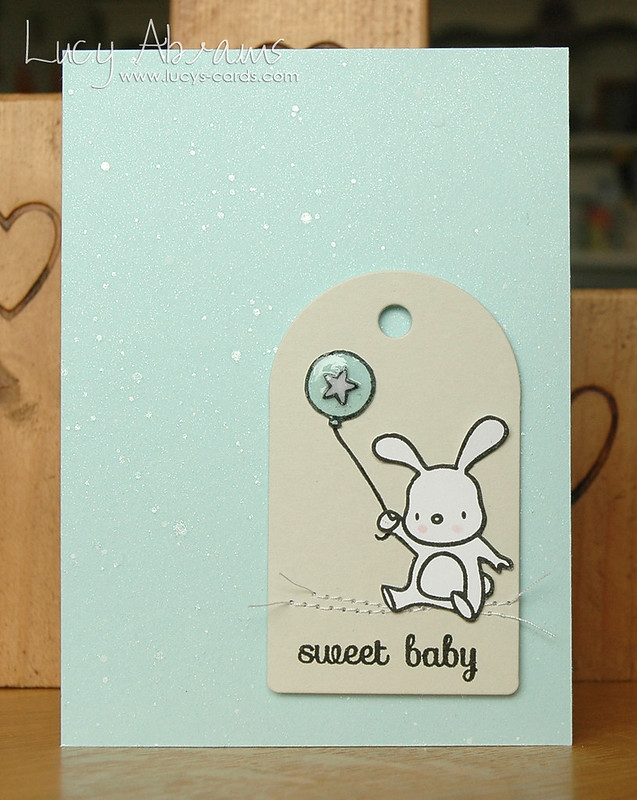
Sweet Baby

I couldn't resist creating another card for Mama Elephant's current photo inspiration challenge. It's such a pretty photo… perfect colours for a baby card I think.
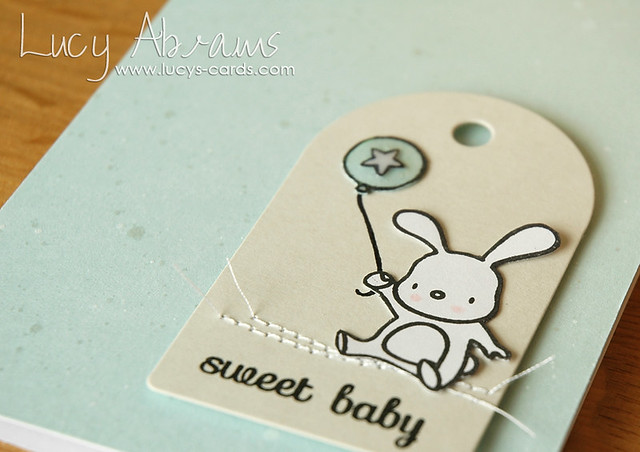
So for my card, I chose to use Mama Elephant's Up and Away and Nursery Deco stamp sets. I took inspiration from the colours and the stone board in the photo which I turned into a tag (cut with THIS die). I splattered the background with Calico Shine Mister Hueys, inspired by the spilled salt in the photo. Finally, I added Glossy Accents to my balloon to reflect all the shiny glass.
DSC_0101 
And you know I can hardly ever make a card without a little stitching… essential on a baby card don;t you think. :)
DSC_0108
OK - that's all for today.
Don't forget to play along with the challenge - there's an amazing prize. See the details HERE.
Bye.
Supplies