Tuesday, 17 June 2014

Lucy Recommends - Post 2

Watercolours.
They are ALL THE RAGE right now. :) 
So, although I'm not really a watercolour expert (read: total beginner), I thought I'd devote my 2nd 'Lucy Recommends' post to the watercolours I love. And yes, I really love them.
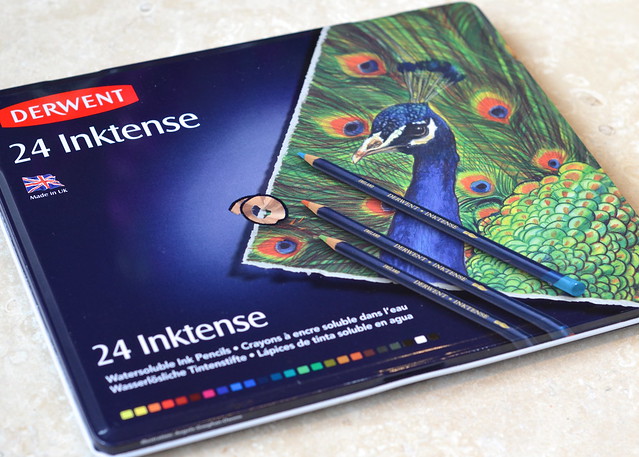
My dear dad bought me this set of Inktense pencils a year or so ago. And there's lots to love about them. First, they are English. Yay for English craft supplies. :) This means they are less expensive over here than they are in the US. And that NEVER HAPPENS. ;)
DSC_0005
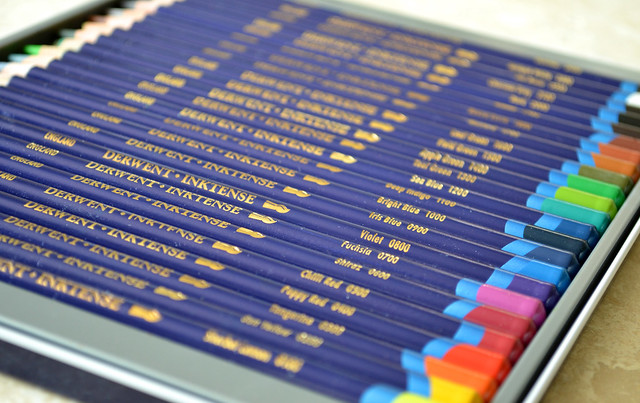
Next, the colours are GORGEOUS. I cannot see myself ever needing more than the 24 colours in this set - you can blend, right? 
DSC_0019
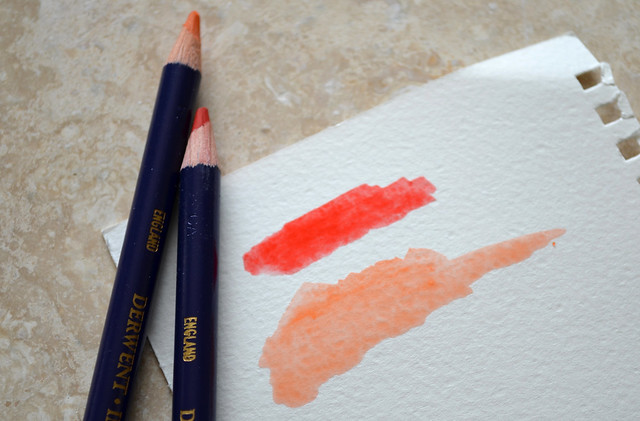
Third, they are so easy to use. Scribble… DSC_0024
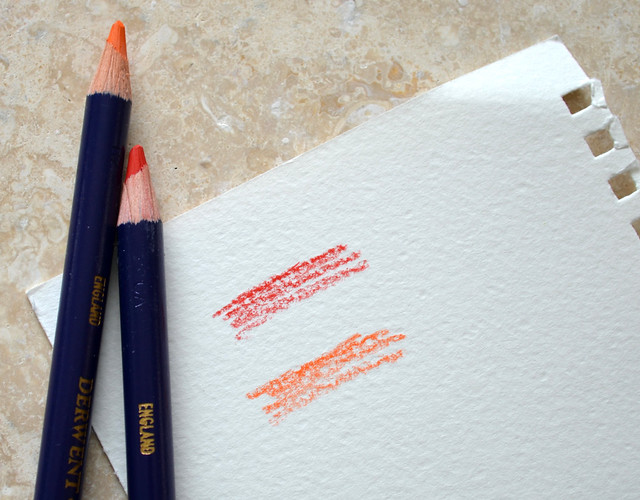
then wash with water… DSC_0025
perfect for detailed colouring (see this post here for an example) or more general watercolour washes. They are so much more intense than regular waterclours, but if you add more water they can look more like traditional muted watercolours too. Here I picked up the colour from the red scribble on the top of the paper and added more water.
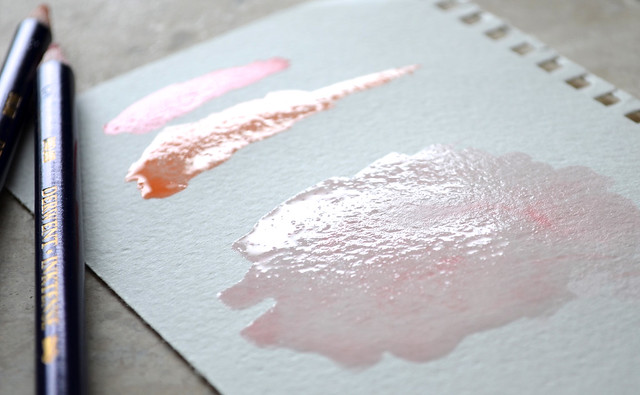
DSC_0027
And you can add extra colour too - just scribble again, pick up more colour and add it on top. So pretty when dry. And it took less than 20 seconds to create. :)
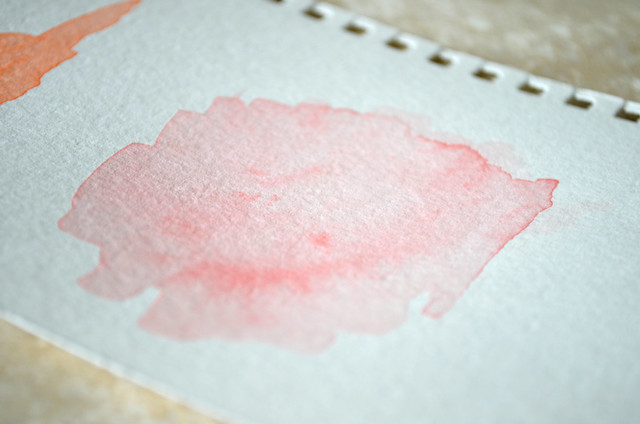
DSC_0030
So...
I challenged myself to use this pink experimental scrap on a card and here is what I came up with…
I die cut the watercolour paper with THIS circle die, added a tiny sentiment from Clearly Besotted's Love Blossoms stamp set, a little wooden house and hearts from Freckled Fawn, and patterned paper from My Mind's Eye's Heirloom pad. And I have a fun new home card.
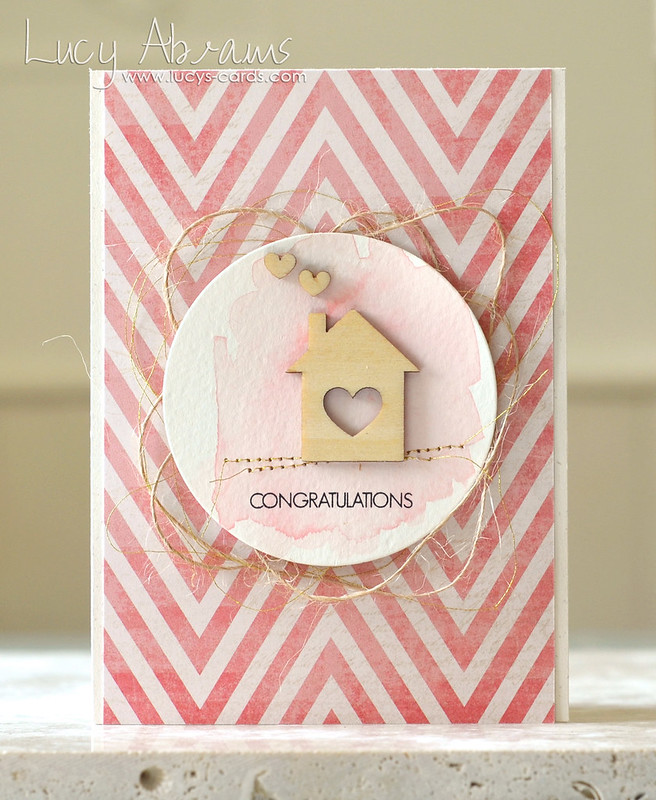
DSC_0341
I looped a mixture of twine and gold thread around my hand then added it behind the die cut circle.
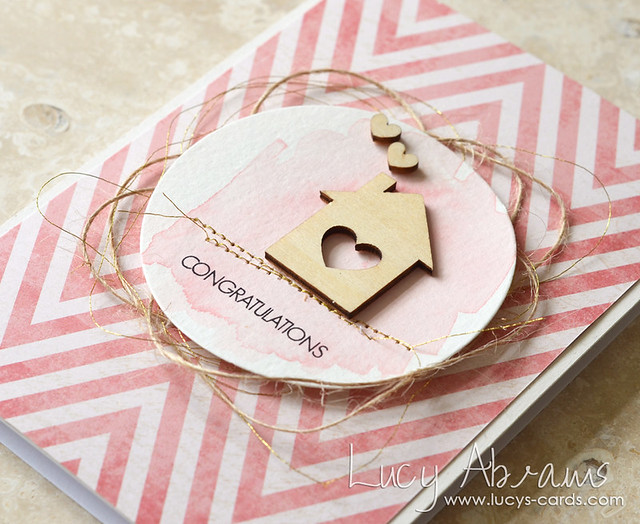
DSC_0360
U.S. friends, you can buy Inktense pencils HERE at Simon Says Stamp (they also have this cute 6 pencil set you can get). Brits, Dad got mine HERE from Amazon.
I have another card to share later this week created with these pencils. Stay tuned. :)
Bye for now.
Supplies

Monday, 16 June 2014

Sending Lots of Love

Hello! 
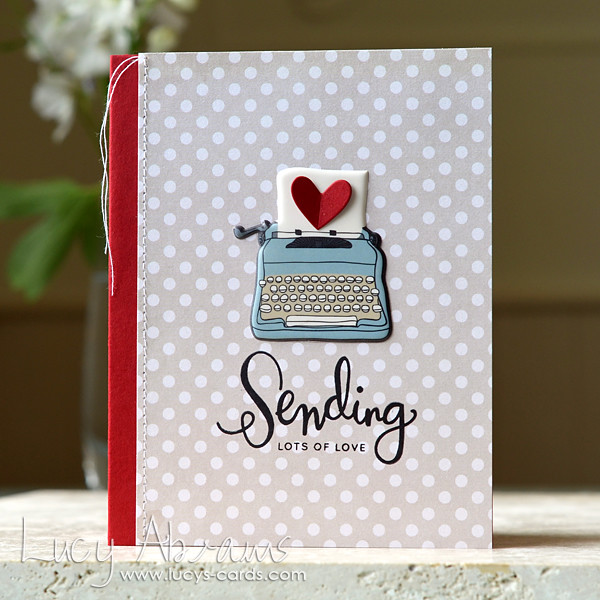
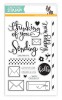
Today I have a card to share that I created with the July Simon Says Stamp Card Kit. This is a beautiful kit - especially the awesome stamp set. Kristina's designs are always so amazing!! I was just recently thinking that I need more 'Just Because' or 'Hello' cards… and this kit is perfect for them. 
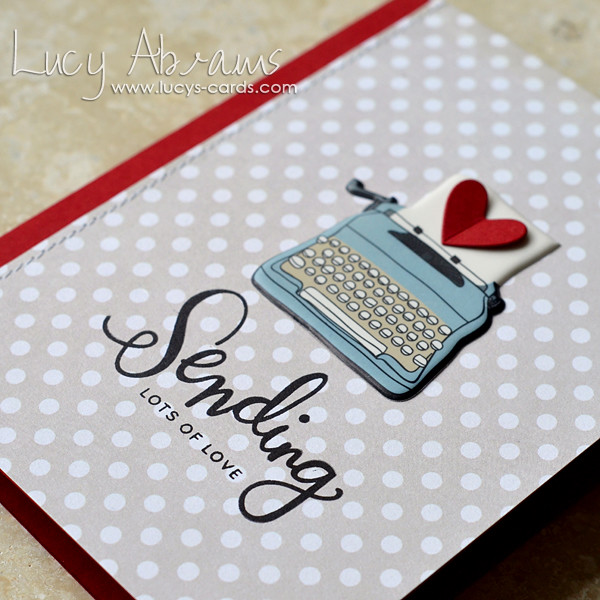
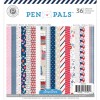
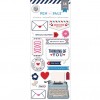
For today's card I used a bit of almost everything in the kit… some of the lovely Pink Paislee Pen Pals Paper, a fun puffy sticker (boy do these things take me STRAIGHT back to my childhood…), some of the stamps, and some of the Lipstick Red cardstock to create my folded card. You really do not need anything else with these kits. (Although I confess, I added a small die cut heart to my typewriter)
DSC_03453
And in case you were wondering what black ink I used to get such a crisp result, it is Simon's own Black. It is excellent quality.
DSC_0359
I have more cards to share with you made with this kit. I had a fun Sunday crafting session. :)
Back soon.
Supplies

Saturday, 14 June 2014

Happy Father's Day

Hello!
So I had a mini emergency on Wednesday when I realised I had not made cards for my dad and Father-in-Law… eeek. I thought I was going to have to go and BUY some…
BUT, thanks to some awesome Simon Says Stamp products, and a 20 minute window when both babies were sleeping, I managed to throw together two simple cards.
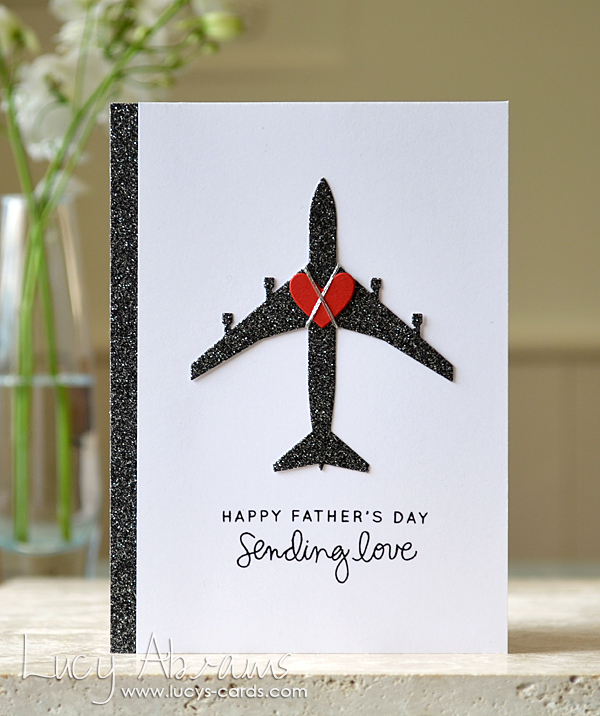
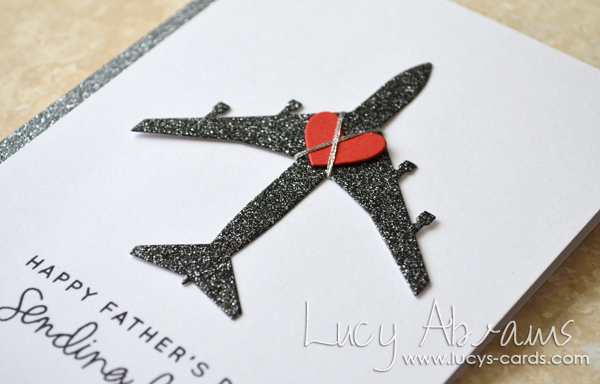
Here is my design. It is based on a card I made a while ago, and features a fabulous Jumbo Jets die. I cut my jet from some DCWV glitter card stock, and tied on a small heart with some silver thread (the heart is from THIS die). I stamped a Father's Day sentiment from the Father's Day stamp set and Sending Love from the Handwritten Sentiments set.
DSC_0342
These Jumbo Jet dies have come to my rescue many times now when I have needed a card for a guy… they are my go-to masculine product. And I think they look lovely in glitter. :)
DSC_0344
And the best thing about this design… switch 'Happy Father's Day' for 'Happy Birthday' and you have a masculine birthday card… I can see myself making this design a few more times. :) I find masculine cards so hard!!
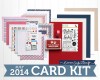
Oh, and as it's the 14th June, that means that Simon Says Stamp's July Card Kit is revealed today. And it's a cracker. My all time favourite. SUCH value for money… look at all you get:
Those stamps… swoon.
Anyway - I hope you have a happy weekend. I have lots to make with my July Card Kit… 
Back soon with more.
x
Supplies


Friday, 13 June 2014

Use It! with Lucy's Cards - Class 4: Lesson 5 (Simple Stitching)

banner
Welcome to the final day of my 4th Use It! class.
My supplies for this week are:
and Simple Stories Sn@p Typeset and Letters

Lesson 5: Simple Stitching

As you may have noticed, I am a bit of a sewing addict. I have hundreds of sewing projects in my mind, and if I only had the time, I would be sewing all day long. So it is no surprise that I add a lot of sewing to my cards. Seriously, I adore my sewing machine. :)

Creation

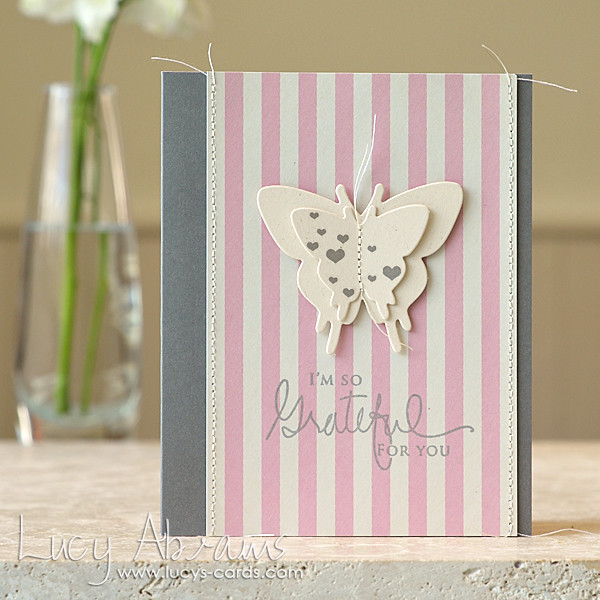
For this card, I used the die cut butterflies left over from my Lesson 1 card. I just couldn't throw them away!!!
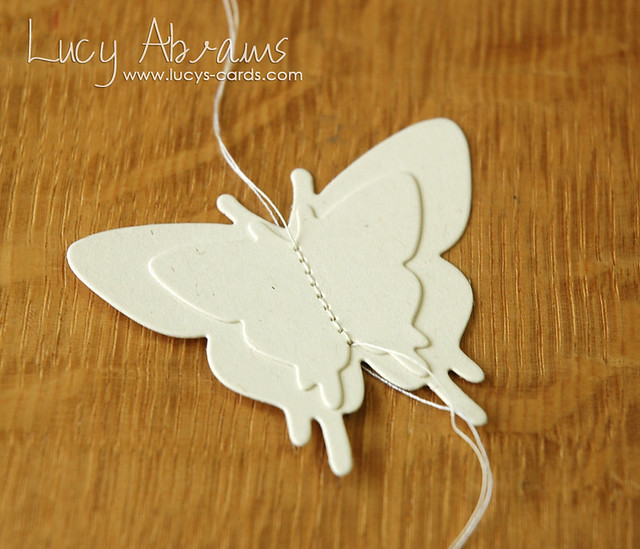
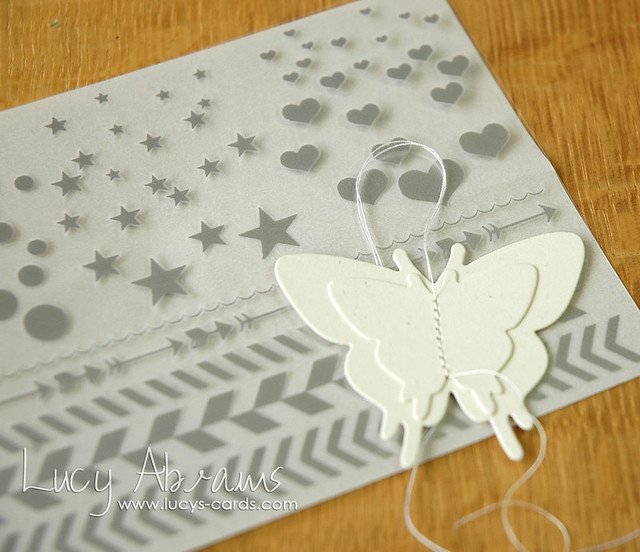
Stitch the butterflies together with a simple straight stitch. Trim the ends but leave them hanging.
DSC_0050 
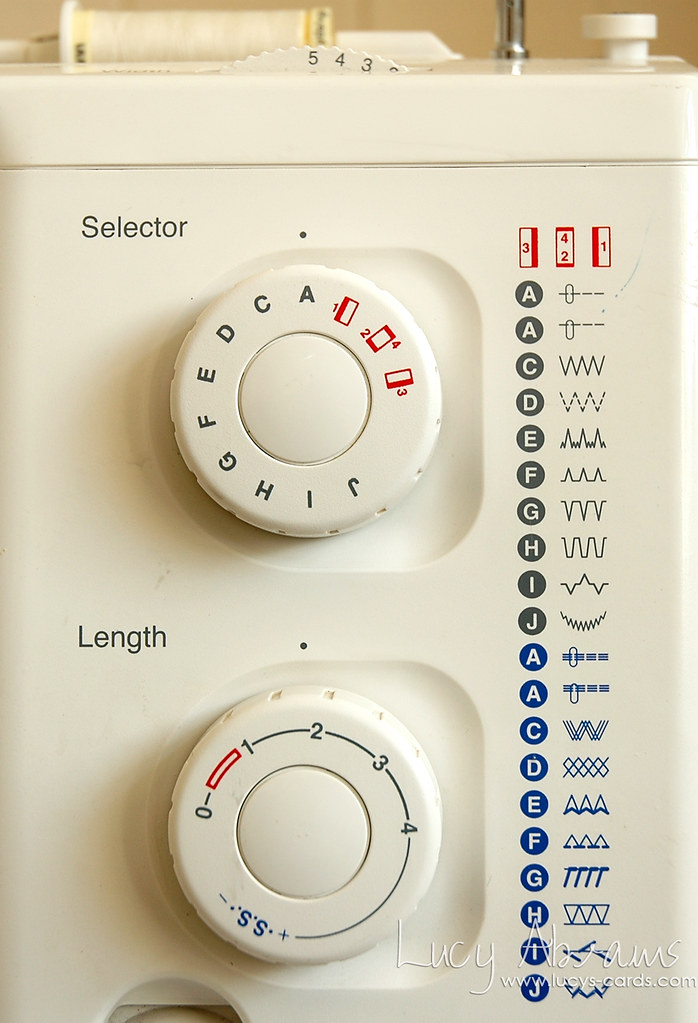
Here's a peek at my sewing machine so you can see my settings… just in case you are interested. :)
DSC_0077
Select your rub ons and trim from the pack.
DSC_0051
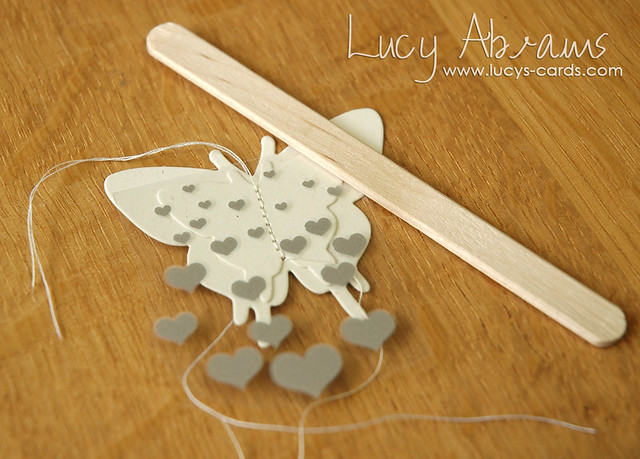
Apply the rub ons to the butterfly.
DSC_0052
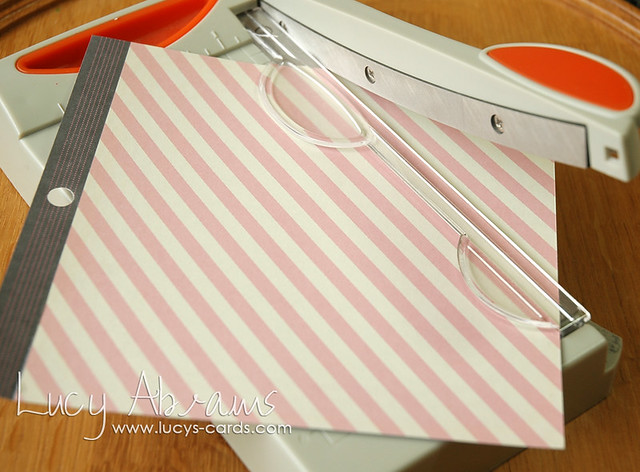
The Mayberry paper pad has this pretty diagonal stripe paper. However, for this card I wanted vertical stripes. So I trimmed the paper down the stripes and made it vertical. :)
DSC_0061
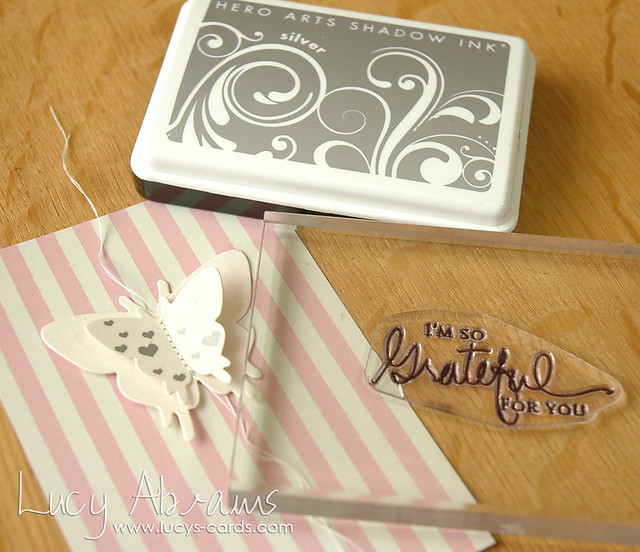
Stamp the sentiment in Silver Shadow Ink.
DSC_0062 
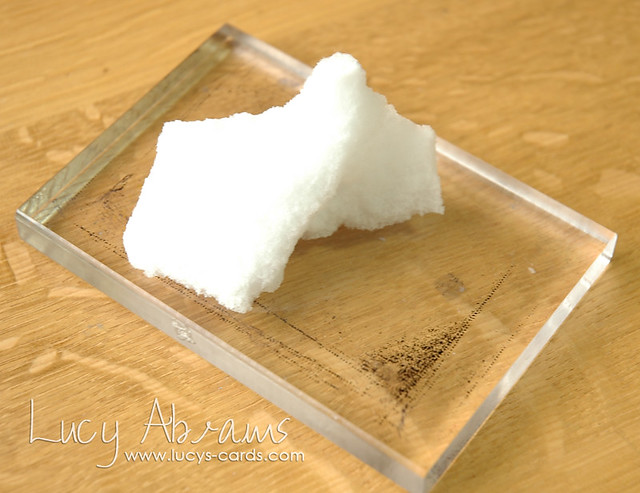
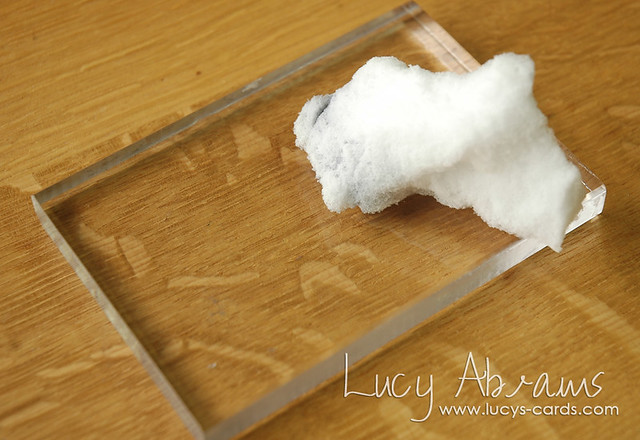
TIP: when I was about to take the previous photo, I noticed that my acrylic block was pretty filthy. So I thought I'd share my method of cleaning my acrylic blocks. I found this on Pinterest (follow me HERE - I am a regular pinner!) and it works a treat.
Use Magic Eraser household cleaning pads. I love these things… and I never even considered using them for cleaning my craft supplies. Genius!
Before: 
DSC_0056
After:
DSC_0057 
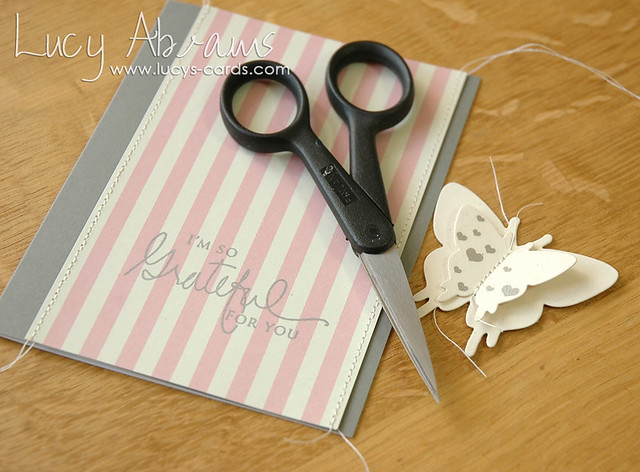
Stitch the edges of the stripy paper and trim the ends. For this card I have left the ends loose on the butterfly and the paper panel. I am loving this look at the moment. If you like a cleaner finish, adhere them to the reverse with some sticky tape.
Adhere the butterfly to the stripy panel and then adhere the panel to a folded card.
 DSC_0069
And that it it. Finis.
sograteful
It always feels to good to use up scraps. Right. :)
I hope you have enjoyed this week.
Please let me know - anything you want / don't want… I'd love to hear your feedback as I will be starting preparations for the next class tomorrow!! 
Have a happy weekend.
x
Supplies