Wednesday, 23 April 2014

Use It! with Lucy's Cards - Class 2: Lesson 3 (Hand Stitching)

banner
It's time for Day 3 of my 2nd Use It! class.
Here's a reminder of the supplies I am using this week:

Lesson 3 - Hand Stitching

OK, I admit… I rarely hand stitch on my cards. My sewing machine is my best buddy. :)
But for today's card, I wanted a different look…

Creation
Trim XOXO patterned paper to 5 1/2 x 4" and adhere to a folded card cut to the same size.
Trim turquoise paper to 5 1/2 x 3 1/2".
Arrange the sentiment and wood veneer plane on the page until you have the position you like.
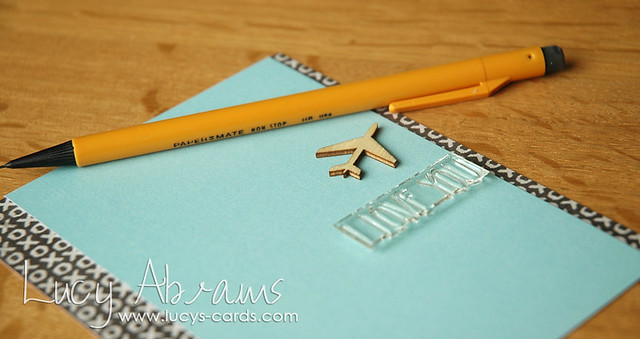
DSC_0174
Hand draw a heart shaped vapour trail behind your plane. Don't worry if it's not perfect, it does not need to be. :)
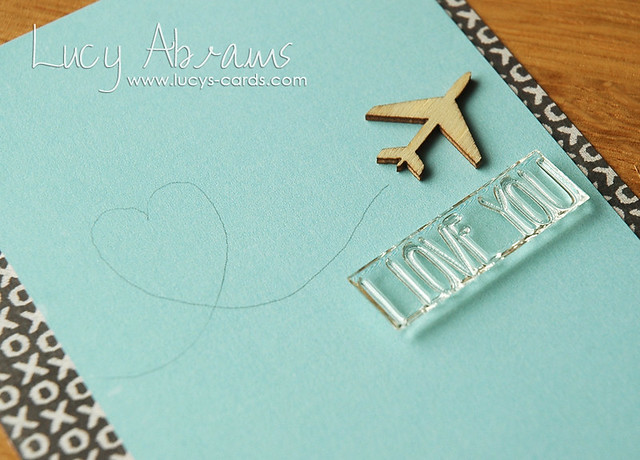
DSC_0177
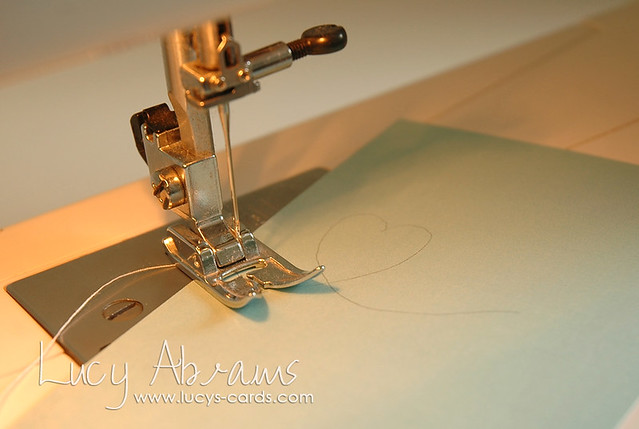
Use an unthreaded sewing machine to punch holes along the paper line. If you don't have a sewing machine, just use a needle through the paper onto a cork board or cutting mat.
DSC_0179
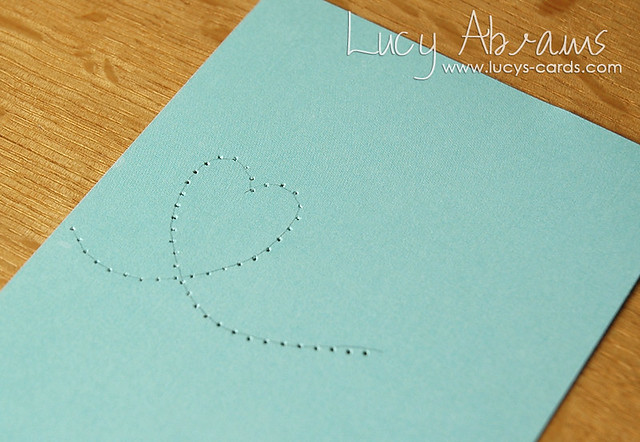
One completed, erase the pencil line.
DSC_0180
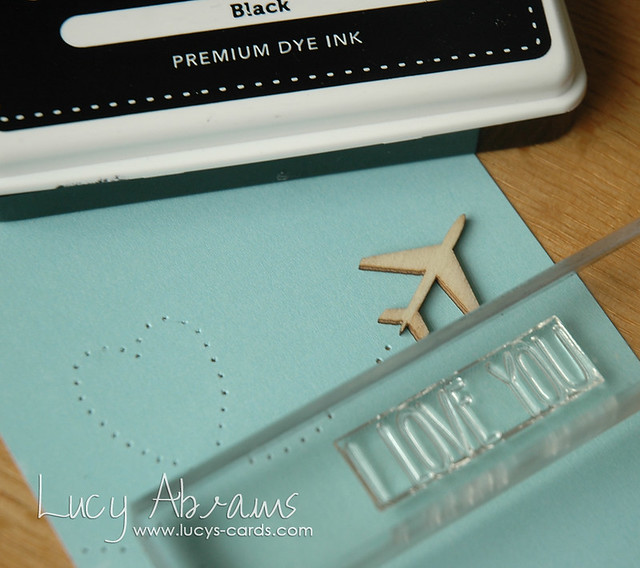
Stamp the sentiment in black ink. TIP - it's worth stamping your sentiment BEFORE you complete the time consuming hand stitching, just in case you mess it up and have to start again. :) This is exactly the kind of thing I often do… spend hours on one part of a card only to drop my ink pad onto it whilst trying to stamp a perfect sentiment...
DSC_0185
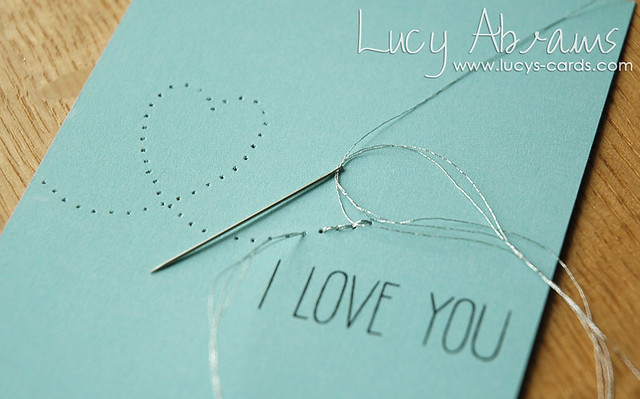
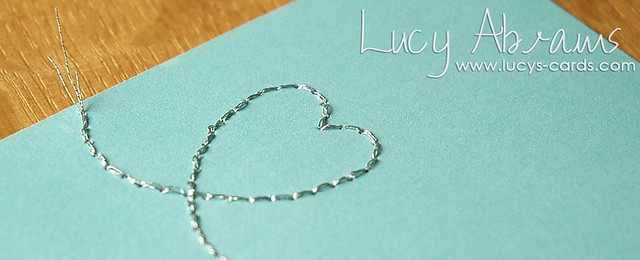
Thread your needle with three strands of metallic thread. The triple thickness works brilliantly and gives a much chunkier stitched effect.
Stitch the trail using backstitch.
DSC_0187
Trim the ends at different lengths and adhere the stitching on the reverse.
DSC_0188
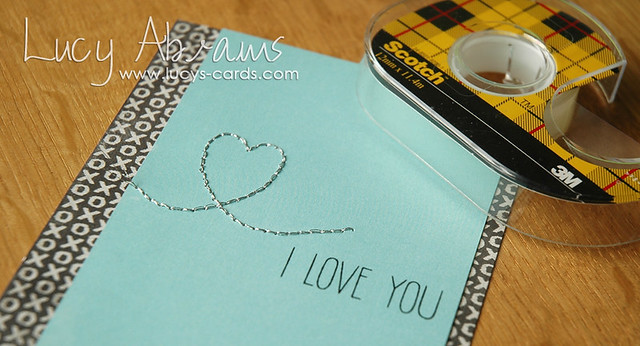
Adhere the turquoise panel to the card. I use Scotch double sided adhesive and love it.
DSC_0190
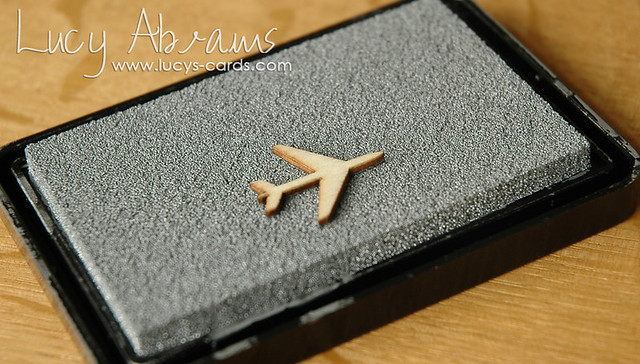
Finally, press the wood veneer aeroplane into a Silver Shadow Ink pad. Carefully remove and leave to dry.
DSC_0181
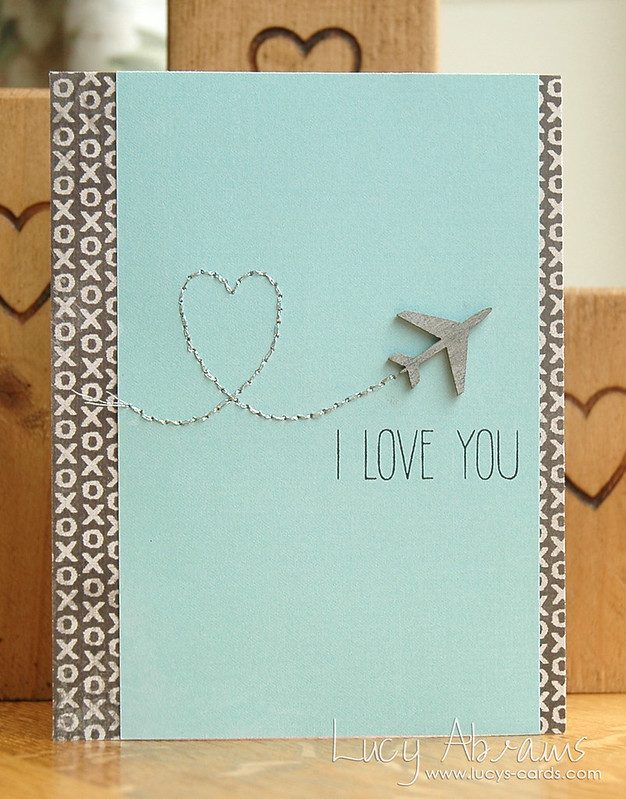
Adhere the aeroplane to the card and you are done.
DSC_0005
A clean and simple masculine card with a touch of glitter and shine. :)
Right - I'll be back tomorrow with Lesson 4 - Wiggle Eyes. :) :) :)
Supplies

Tuesday, 22 April 2014

Use It! with Lucy's Cards - Class 2: Lesson 2 (One Layer Cards)

banner
Welcome to Day 2 of my 2nd class.
Firstly, let me recap on my supplies for this week's class. They are:

Lesson 2 - One Layer Cards

OK, today's card is SUPER easy. And uses lots of yummy inks.
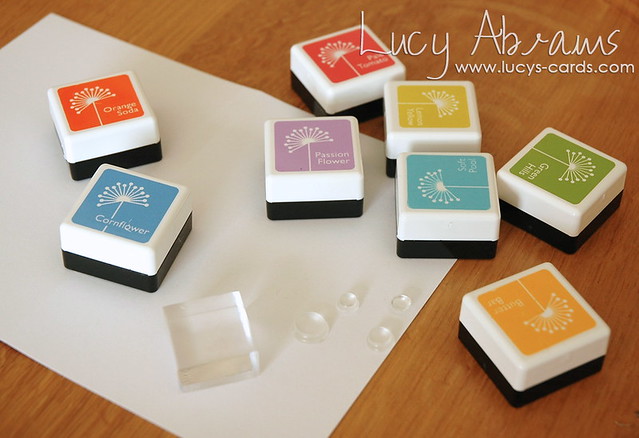
I adore Hero Arts Shadow Inks, and I especially love them in these little cubes. They are good value, take up less room (essential for me), and work brilliantly every time. What's not to love? So for my card, I chose a rainbow selection of inks from several different cube packs, a range of small polka dot stamps from the Lots of Dots set, and some good quality white card.
DSC_00042 
I actually stamped my sentiment first so I would have enough room, then just set off, stamping at random with the dots. So easy and fun.
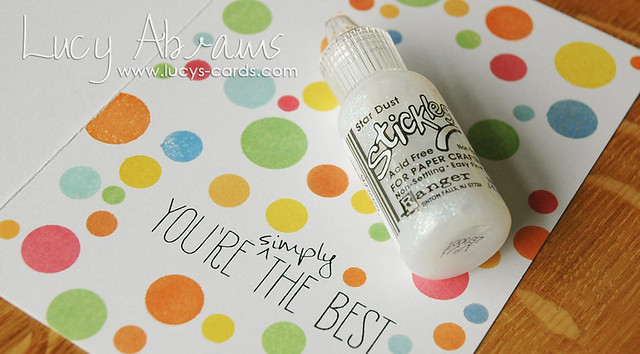
Once I'd finished, I decided that one of my blue dots wasn't perfect. Rather than redoing the card, I decided to add some Star Dust Stickles to all the blue polka dots.
DSC_0006 
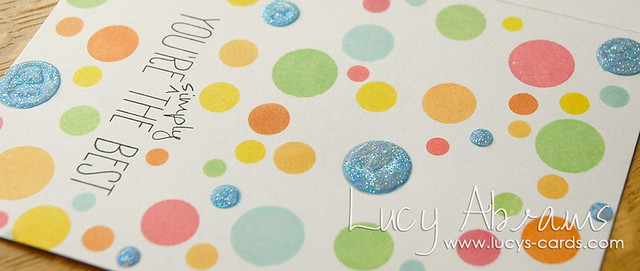
When it's wet, it looks like a gloopy mess… but don't worry, it dries beautifully and leaves an almost sugar like result with lovely glittery sparkle too.
DSC_0008 
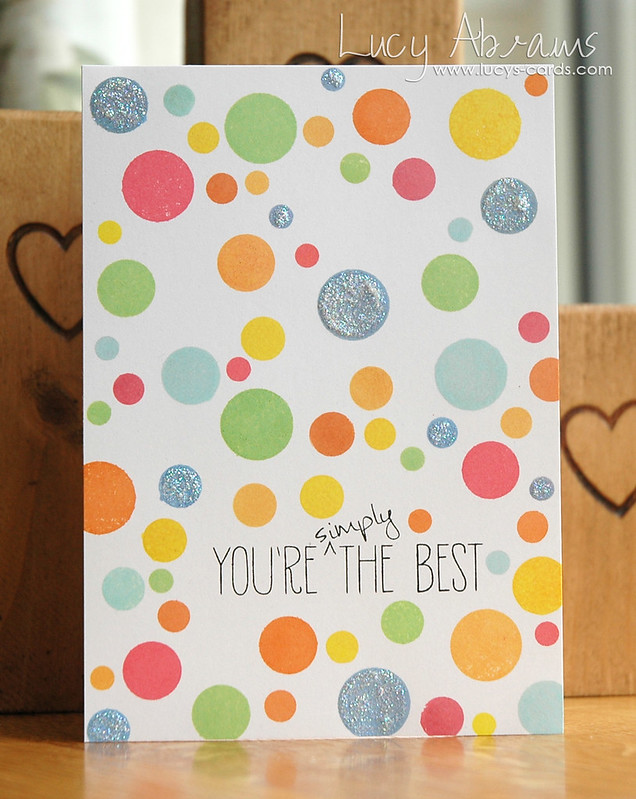
And here's the finished card. I actually had to mount the card onto a new card base as the Stickles caused a little bit of warping that I was not 100% happy with. But once adhered to a new card base, it is perfectly flat.
DSC_00052

Want to see a couple more one layer cards? (I don't make many - I am a layers girl)… click on the picture to see the card in full:

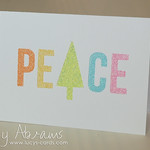
Rainbows  Peace
OK - I'll see you tomorrow for Lesson 3 - Hand Stitching.
Bye for now.
Supplies

Monday, 21 April 2014

Use It! with Lucy's Cards - Class 2: Lesson 1 (Embellishing Embellishments)

banner
Hello and welcome to the 2nd series of Use It! classes. 
So just a quick recap on how the class works: every day I will show you a new card. Each card will showcase a different technique, but all 5 cards will be created with the same selection of supplies. I hope that you are inspired to look back at your stash and see how you can use what you have already got!

Supplies
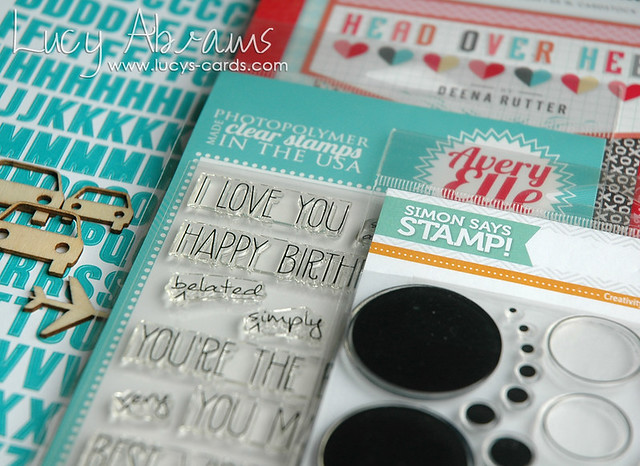
For this class, I have chosen 5 supplies to work with (along with inks / card stock etc).
DSC_0133
They are:
Handwritten Notes Stamp Set by Avery Elle. I've had this a while and not got around to opening it.
The awesome Lots of Dots Stamp Set by Simon Says Stamp is fun for many themes of card.
The cute Head Over Heels 6 x 6 Pad by Echo Park is useful for more than just Valentine's cards.

And now for today's lesson:

Lesson 1 - Embellishing Embellishments

Creation
OK - so this is a rather fiddly card, but I think the end result is quite fun and unique. Certainly not something you could buy in a store. :)
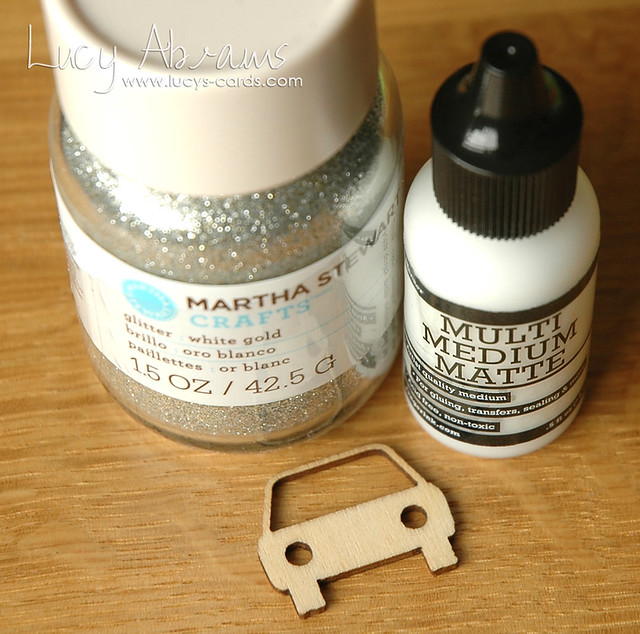
First, cover a wood veneer car in a thin layer of Multi Matte Medium then sprinkle with Martha Stewart White Gold Glitter. This glitter is lovely - a mix of silver and gold tones.
DSC_0142 
You may need to stick a pencil into the round holes on the car to clear up any drips… I did! :)
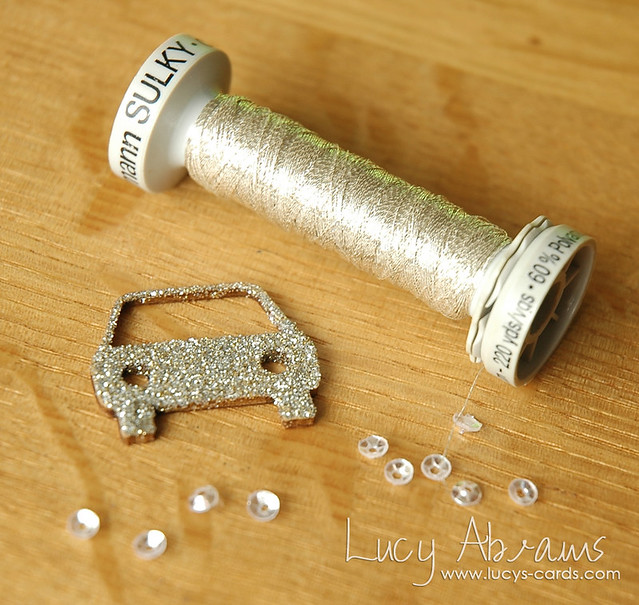
Next, you will need some silver metallic thread (mine is Gutermann)and some tiny sequins. (Love THESE ones).
DSC_0148 
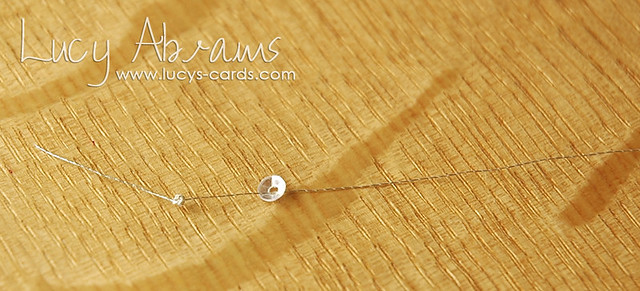
Here's the fiddly bit. Tie knots in the thread until you have a knot big enough to stop the sequin sliding off. (I did about 7 knots). Then thread the sequin onto the thread. Repeat this 3 times.
DSC_0151
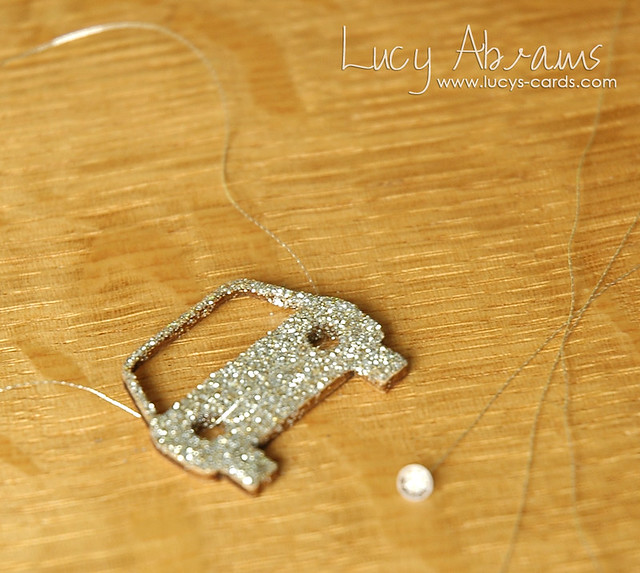
Now, thread some silver thread through the two headlight holes in the glittery car.
DSC_0157 
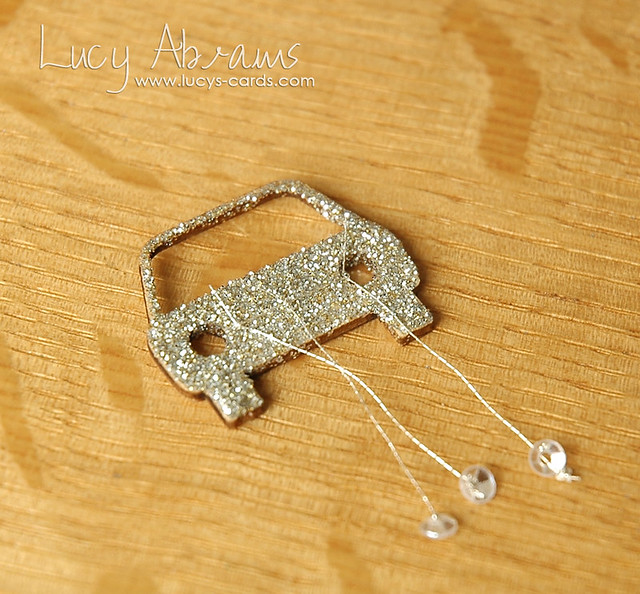
Finally, tie the sequin threads onto the headlight thread and trim the ends. Tie the two ends of the headlight thread securely together and adhere to the back of the car.
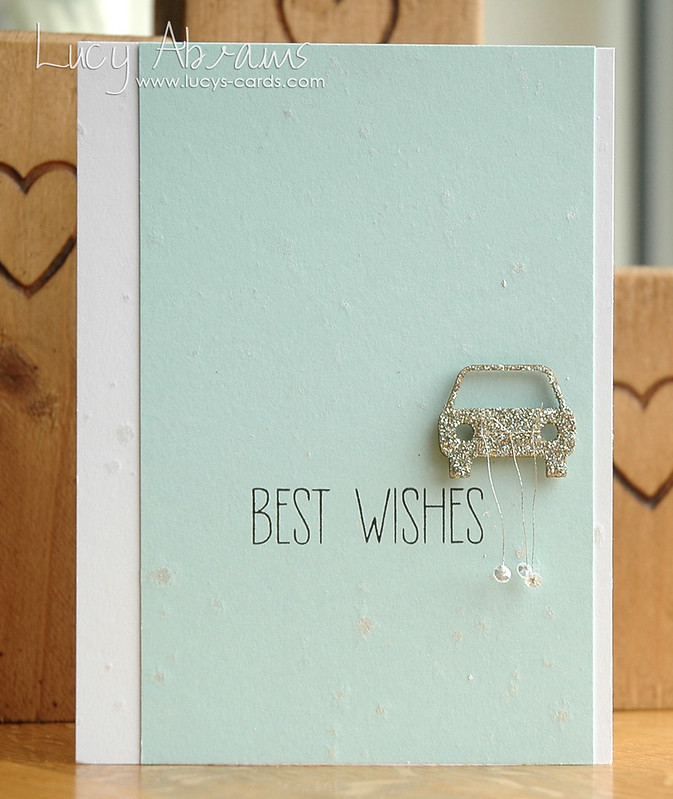
Now you have your fun 'Just Married' wedding car complete with sequin tin cans. It's so sparkly and cute.
DSC_0160 
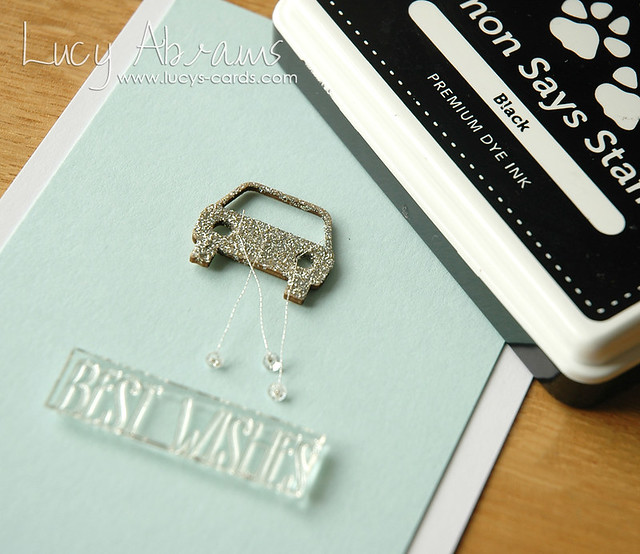
Next, work out the positioning of your sentiment and image. Initially, I planned to have my car in the centre. I changed my mind after a bit of fiddling about.
Stamp the sentiment in black ink on some Sea Glass Cardstock.
DSC_0162
Then adhere the Sea Glass panel to some white cardstock.
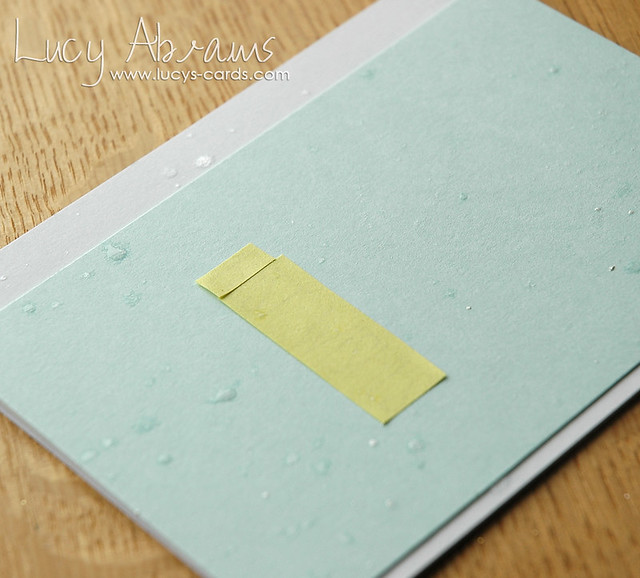
Mask the sentiment with a post it note, then sprits the card with some Calico Shine Mister Huey's.
DSC_0170 
Once dry, adhere the car to the card and you are finished.
Hooray.
DSC_0009
A bit fiddly, but so shiny and glittery - just what a wedding card should be.

Variations
Of course, without the sequins, this glittery car would be great for any travel themed card. Especially someone going on a road trip. :) You could even customise the colour of your glitter to the colour of the card's recipient's car. Fun.
Want to see some more cards where I've embellished wood veneer… click the pics to them see in full:

Row Your Boat    Cloudy DayDSC_0066

That's all for today.  Tomorrow I will share Lesson 2 - One Layer Cards. Hope to see you then. As always, feel free to leave a comment with any questions or requests.
Supplies